
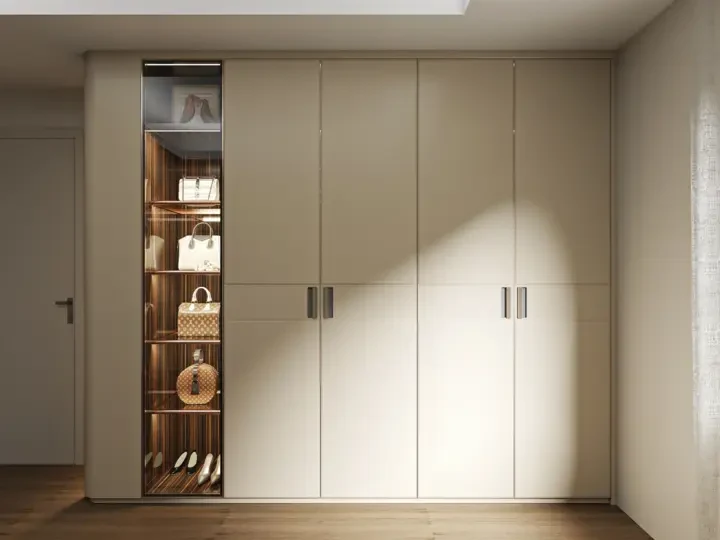
Fitted storage for bedrooms
A fitted wardrobe uses a wall or recess while keeping the rest of the room available. Check the bed, switches and door swings.
ARCAYA / MADE FOR THE WAY YOU LIVE
A place for everything you wear.
A layout that works for you.
01 / DEFINE YOUR NEEDS
With your clothes, your room and your daily routine.
Plan custom wardrobes from China around what you need to store—not a standard set of compartments. Discuss a fitted bedroom wardrobe, a dedicated walk-in or cabinetry around an awkward ceiling, then define the interiors, finishes and delivery scope together.
02 / CHOOSE THE ROOM LAYOUT
Choose the storage footprint first. Keep space to stand, dress and open doors or drawers before adding more cabinetry.
A fitted wardrobe uses a wall or recess while keeping the rest of the room available. Check the bed, switches and door swings.
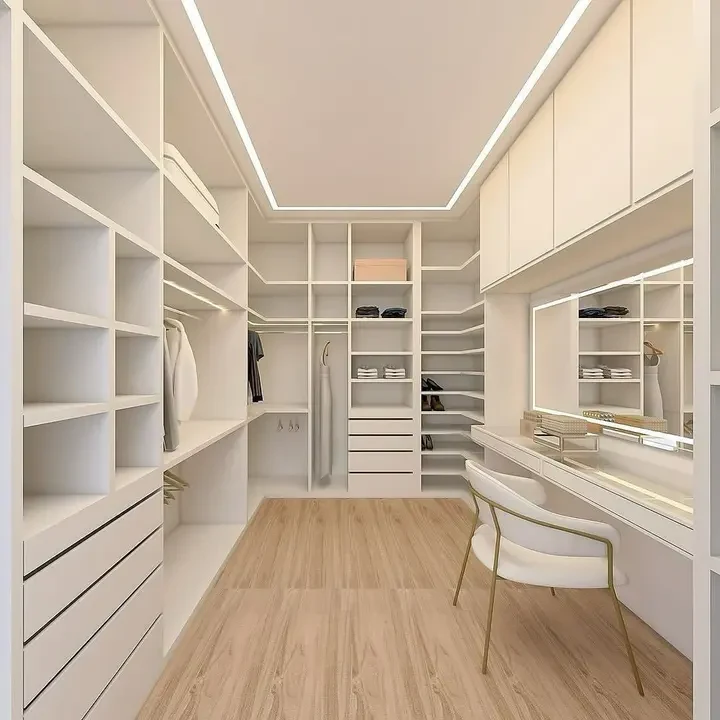
A walk-in brings hanging, drawers and display together. An island belongs only where movement and open drawers still work.
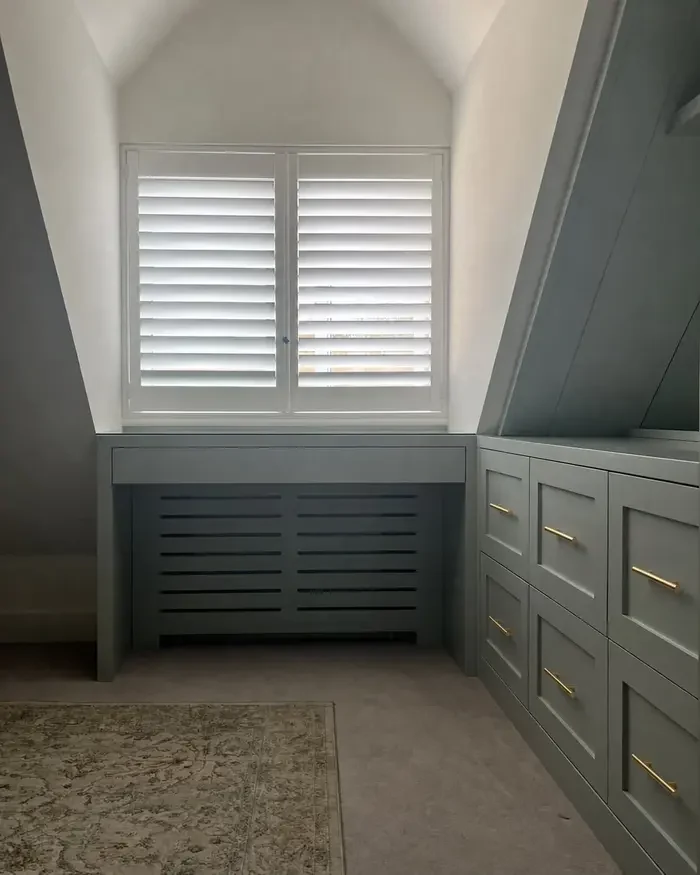
Place useful hanging height where the ceiling allows it; use lower areas for drawers or shelving. Survey the slope before drawing the run.
03 / VERIFY DIMENSIONS & ACCESS
Outside dimensions are only the starting point. The useful space is what remains after panels, door systems and fittings.
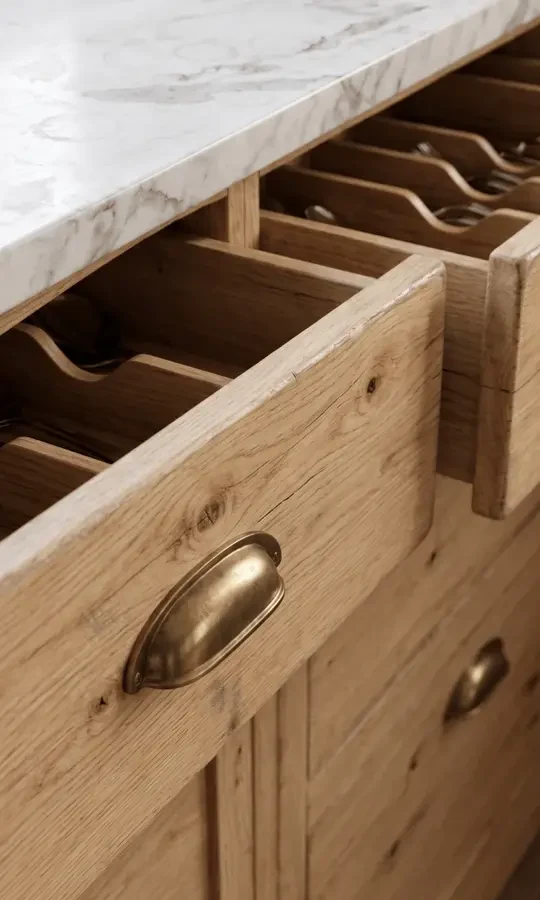
Check the clear space behind the doors with your actual hangers and thickest garments. A nominal cabinet depth does not tell you what remains inside.
Show door leaves, hinges and handles on the drawing. Check a drawer behind a hinged door or sliding panel against the available opening.
Set rails around the people using them. Keep daily items accessible and reserve less convenient spaces for occasional storage.
| Approach | What to check |
|---|---|
| Hinged doors | Allow for the swing and hinge position, especially beside drawers, walls and bedside furniture. |
| Sliding doors | Check the clear opening at each door position before locating internal drawers or pull-outs. |
| Open storage | Choose it for visible, easy access; decide how comfortable you are keeping clothes on display and maintaining the shelves. |
04 / PLAN THE INTERNAL STORAGE
Count long garments, short garments, folded pieces and accessories. Use the mix you own to decide the mix you need.
CONCEPT LAYOUT / ADAPT TO YOUR ROOM
Give short garments separate upper and lower rails, with a full-height bay for long pieces. Count your bulky coats before setting rail widths. As an initial check, ten thick coats may need roughly 0.8–1.0 m of rail; test your own garments and hangers.
Keep everyday rails within comfortable reach; a high rail is useful only if you can use it.
Bring a short inventory and photos of the storage that frustrates you now.
CONCEPT LAYOUT / ADAPT TO YOUR ROOM
Combine rails with adjustable shelves and drawers for items you prefer to fold. Avoid deep, tightly stacked piles that have to be disturbed to reach one piece.
Measure your baskets and folded items before fixing shelf positions.
Bring a short inventory and photos of the storage that frustrates you now.
CONCEPT LAYOUT / ADAPT TO YOUR ROOM
Allocate bays by the clothing each person actually owns, then place everyday items at their own reachable height. Equal-width sections are not always an equal fit.
Give worn-once clothing a separate home instead of mixing it back into clean storage.
Bring a short inventory and photos of the storage that frustrates you now.
05 / CHOOSE YOUR STYLE
Use a visual reference to start the conversation. Then approve the actual colour, texture and material specification.
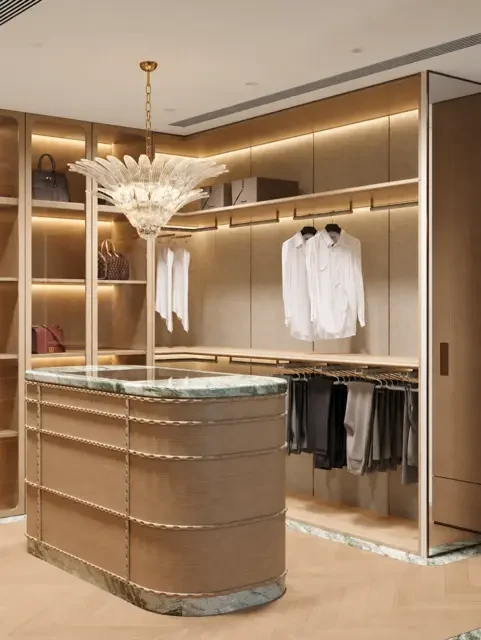
Natural-looking grain and open display for a warm dressing space.
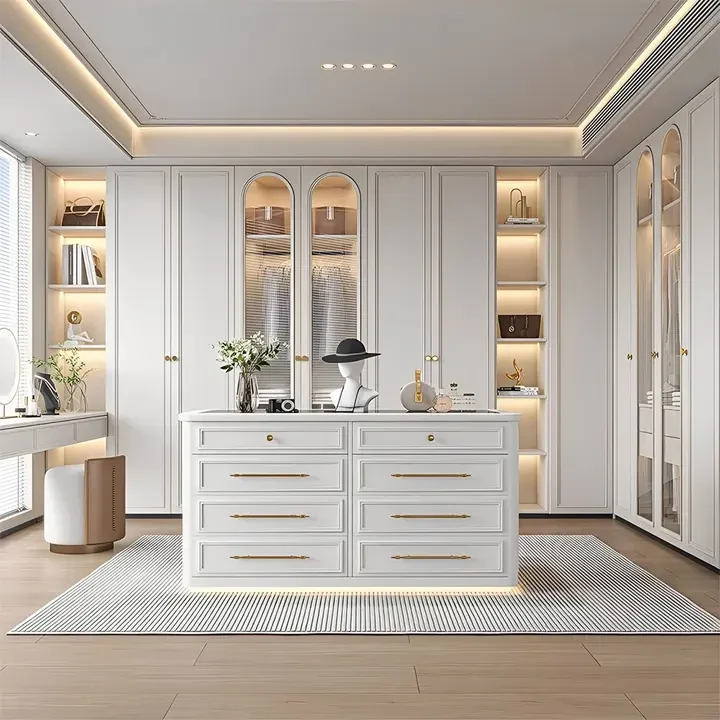
Light cabinetry with quiet tones and a considered mix of open and closed storage.
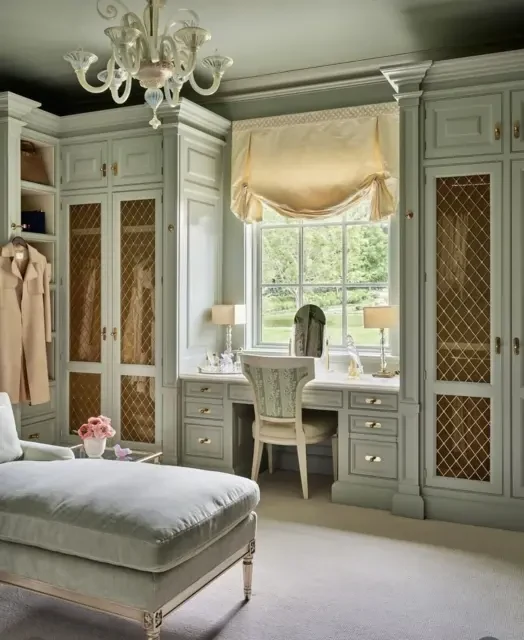
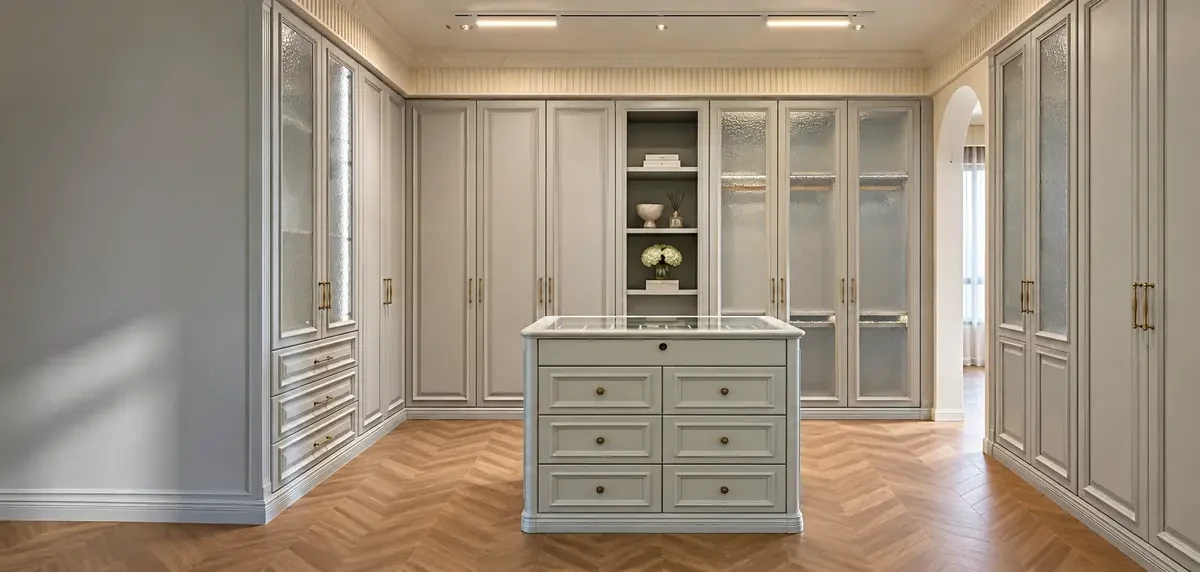
Framed profiles and coordinated hardware for a more traditional room.
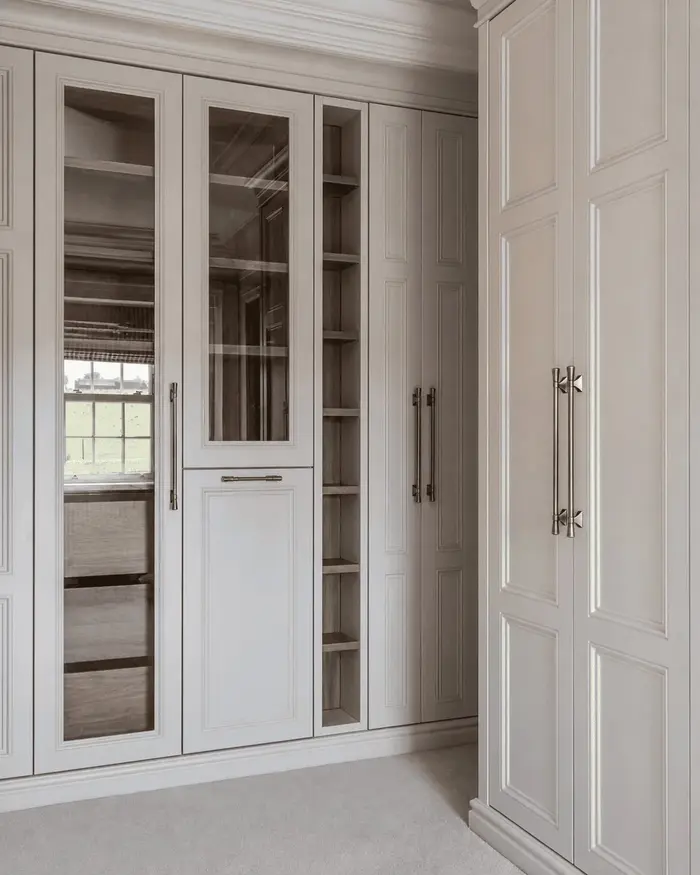
Raised-panel doors, framed glass and detailed architectural lines for a timeless dressing space.
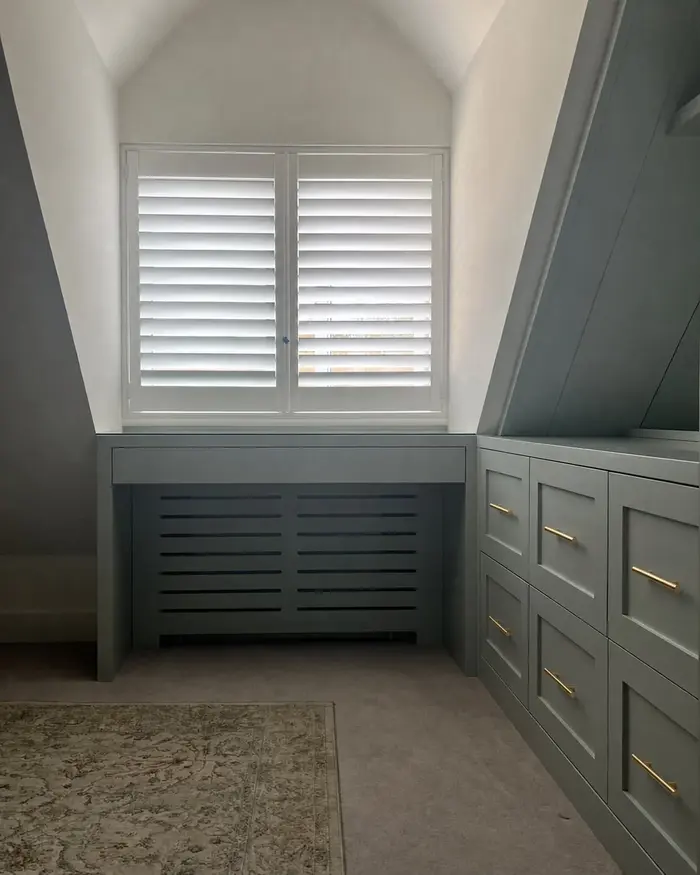
A softer take on traditional cabinetry, with restrained Shaker-style framing and calm proportions.
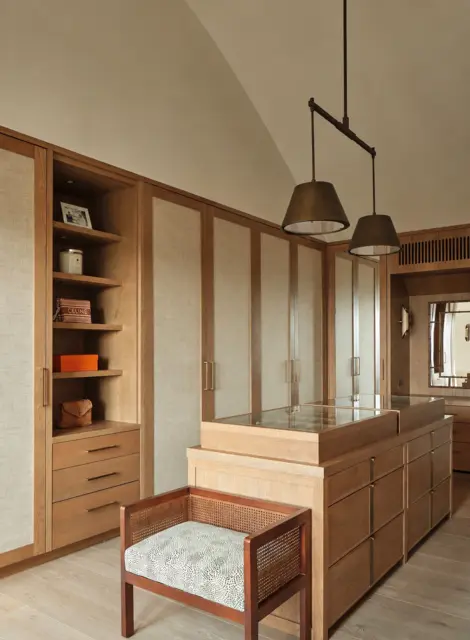
Minimal forms, considered lighting and an inviting, contemporary atmosphere without feeling cold.
06 / CONFIRM MATERIALS & SAMPLES
Specify the cabinet box, doors and exposed panels separately. A wood-grain appearance does not identify the board beneath it.

Record the core material and thickness, door finish, exposed sides and edge treatment. Match the interior finish and visible ends to the agreed design.
Discuss a physical sample. Review the colour, sheen and texture in your own lighting, then record the approved sample reference with the drawings.
07 / PLAN LIGHTING & CONNECTIONS
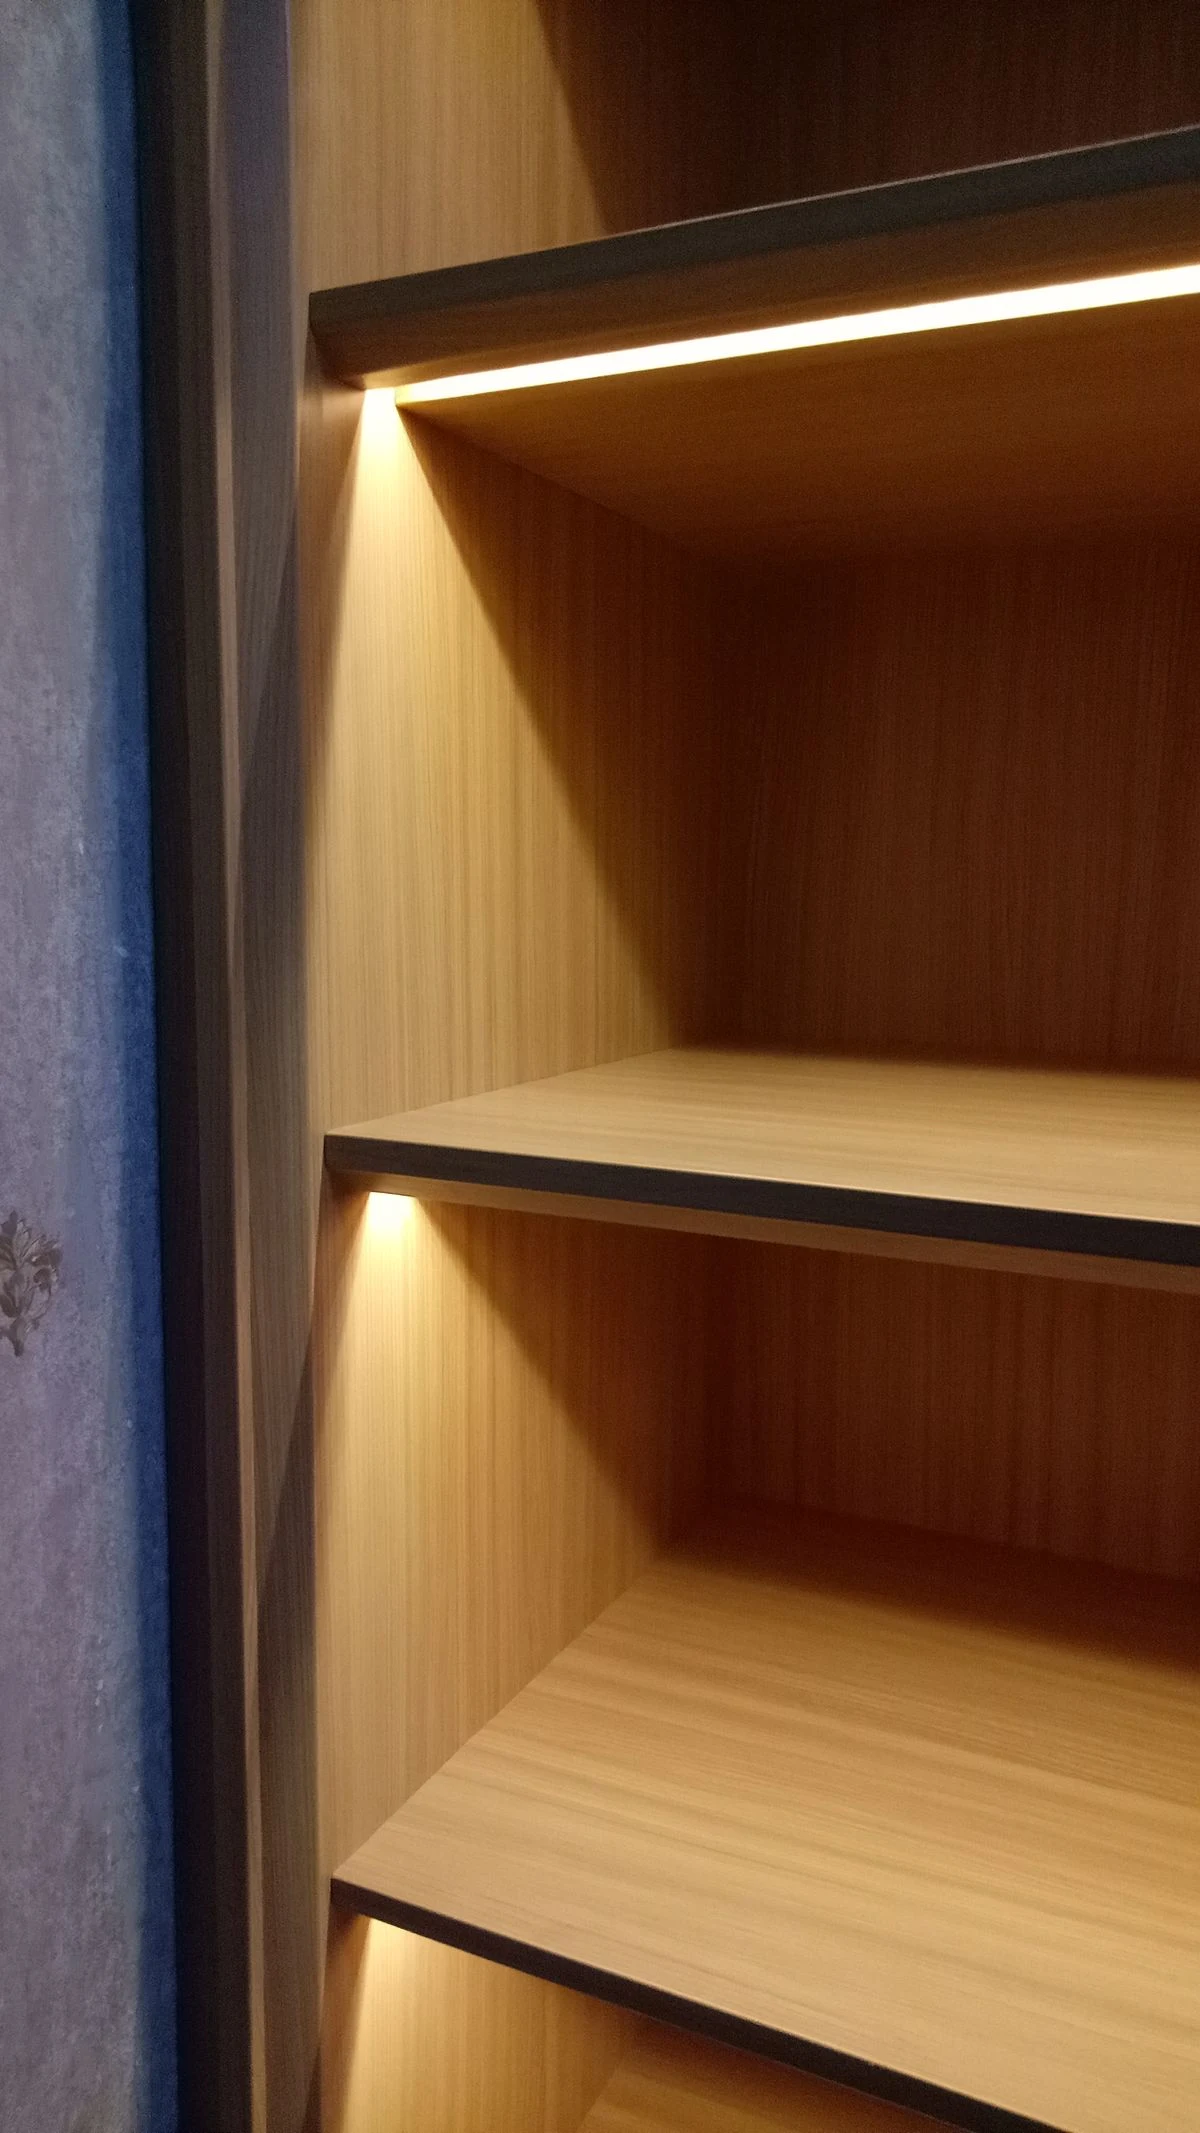
Plan the light fitting and its service access together. A hidden driver still needs to be reachable when it is time to replace it.
Agree the channel, sensor location and cable route before panels are made. Check the light in relation to hanging clothes and shelves.
List strips, channels, sensors and drivers, then coordinate power and connection requirements with your local electrician.
Show an accessible service position on the drawing. Avoid trapping it behind fixed cabinetry with no agreed way to remove it.

08 / REVIEW THE COMPLETE QUOTE
The same wall length can contain very different interiors. Compare the finish, fittings and delivery scope—not just the headline cabinet price.
Specify the cabinet core, back panels, door finish, visible ends and internal layout. Ask which fillers and non-standard pieces are included.
Count drawers, rails, hinges, handles, trays and pull-outs. Record the selected models instead of a general “premium hardware” allowance.
List light channels, strips, sensors, drivers and wiring preparation. Agree who supplies and connects each part.
Separate packing, freight, unloading, assembly, wall fixing and final adjustment. Compare the complete installed scope.
Ask for one itemised scope. Include fitting quantities, exposed panels, lighting and the work that remains at your property.
09 / APPROVE BEFORE PRODUCTION
Keep one final drawing revision and specification. Make sure your local installer understands the same scope.
Confirm finished dimensions, ceiling slopes, skirting, sockets and opening paths.
Final room surveyApprove rails, shelves, drawers, visible panels and the recorded finish sample.
Layout & finish scheduleRecord hardware models, quantities, lighting preparation and service access.
Fitting & lighting scheduleAgree packing, labels, local assembly and fixing, delivery access and replacement arrangements.
Packing & installation scope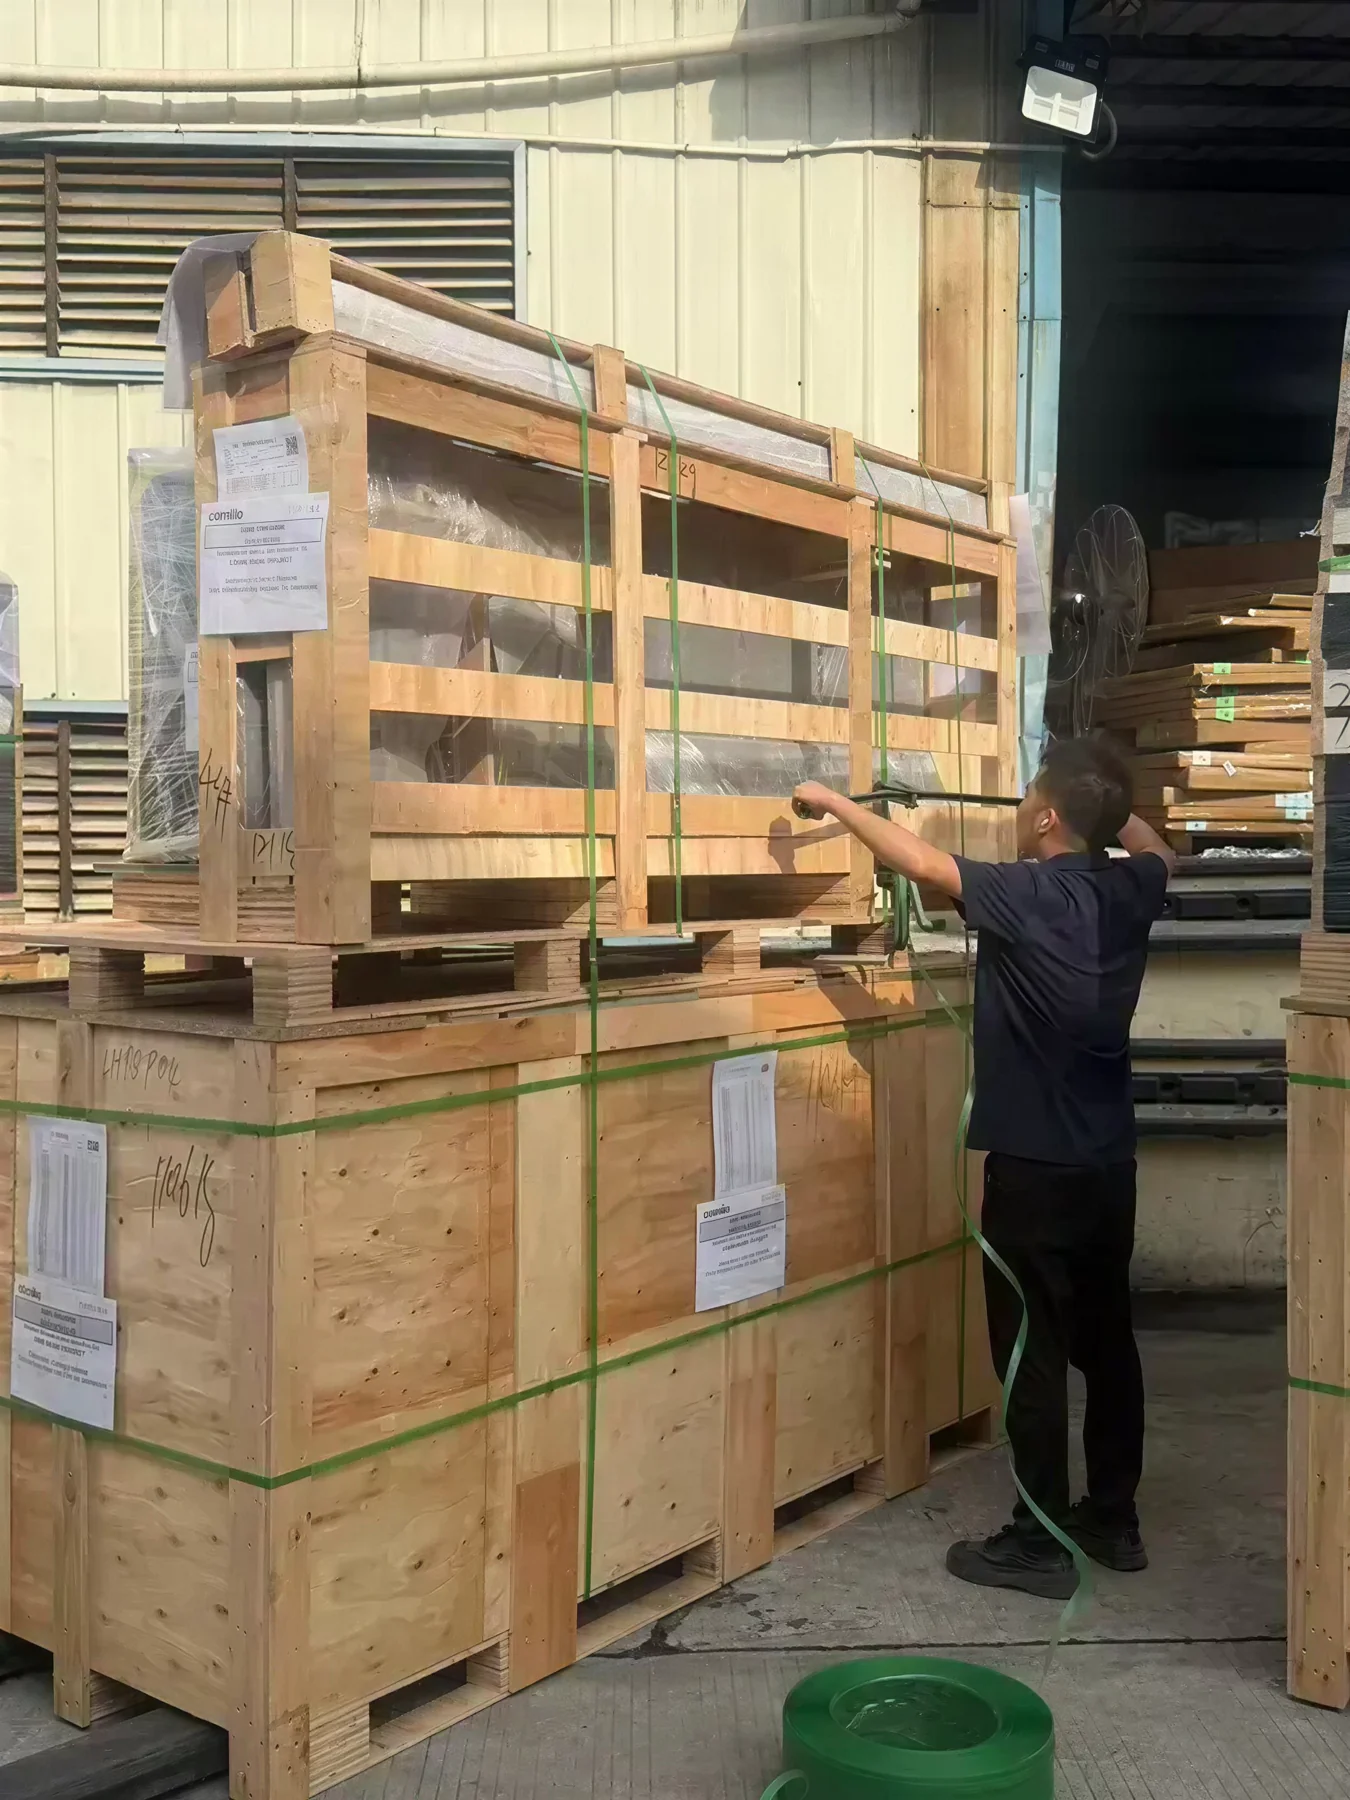
10 / PREPARE DELIVERY & INSTALLATION
Carry the approved plan through to the room. Confirm the people, labels and checks needed when the cabinetry arrives.
Use cabinet and part numbers on the cartons and packing list so your installer can identify the pieces.
Name who unloads, moves the cartons inside, assembles, fixes and adjusts the wardrobes. Include any local lighting connection.
Check the delivery against the packing list. Report a missing or damaged item with its part number and photos, following the agreed replacement process.
BEFORE YOU ORDER
A fitted run can be worth exploring before setting aside space for a walk-in. Survey the finished walls, bed position and opening paths, then choose the internal storage around what you actually own.
They avoid a hinged door swinging into the room, but the door positions still limit the opening available to drawers and pull-outs. Check the whole access sequence on the plan before choosing.
Some shelves and rails can be adjustable when planned that way. Identify the fixed structural panels separately and agree which fittings can move; do not assume every divider can be removed.
Send a floor plan or sketch, room photos, your destination and the items you need to store. Include the longest garments, bulky coats, luggage and any special access needs.
Final site dimensions, walls and fixings, delivery access, assembly labour and any electrical connection need a clear local owner. Agree these responsibilities alongside the cabinet specification.
11 / SHARE YOUR PROJECT
Share your plans, destination and the questions you want to resolve. Start with the layout—and build a clear scope from there.
support@arcayaliving.comA floor plan, room photos and a short list of what you need to store make a useful starting point.