
Check that plates fit the basket with the door closed.
Check clear width and height with your own cookware. A basket can fit the cabinet yet still catch a plate on the tier above or prevent the door from closing.
MADE TO FIT YOUR EVERYDAY
A kitchen that feels at home.
A plan that travels clearly.
Explore the look. Resolve the details. Bring your room, appliances and installation into one considered cabinet plan.
Plan your kitchenExplore the possibilities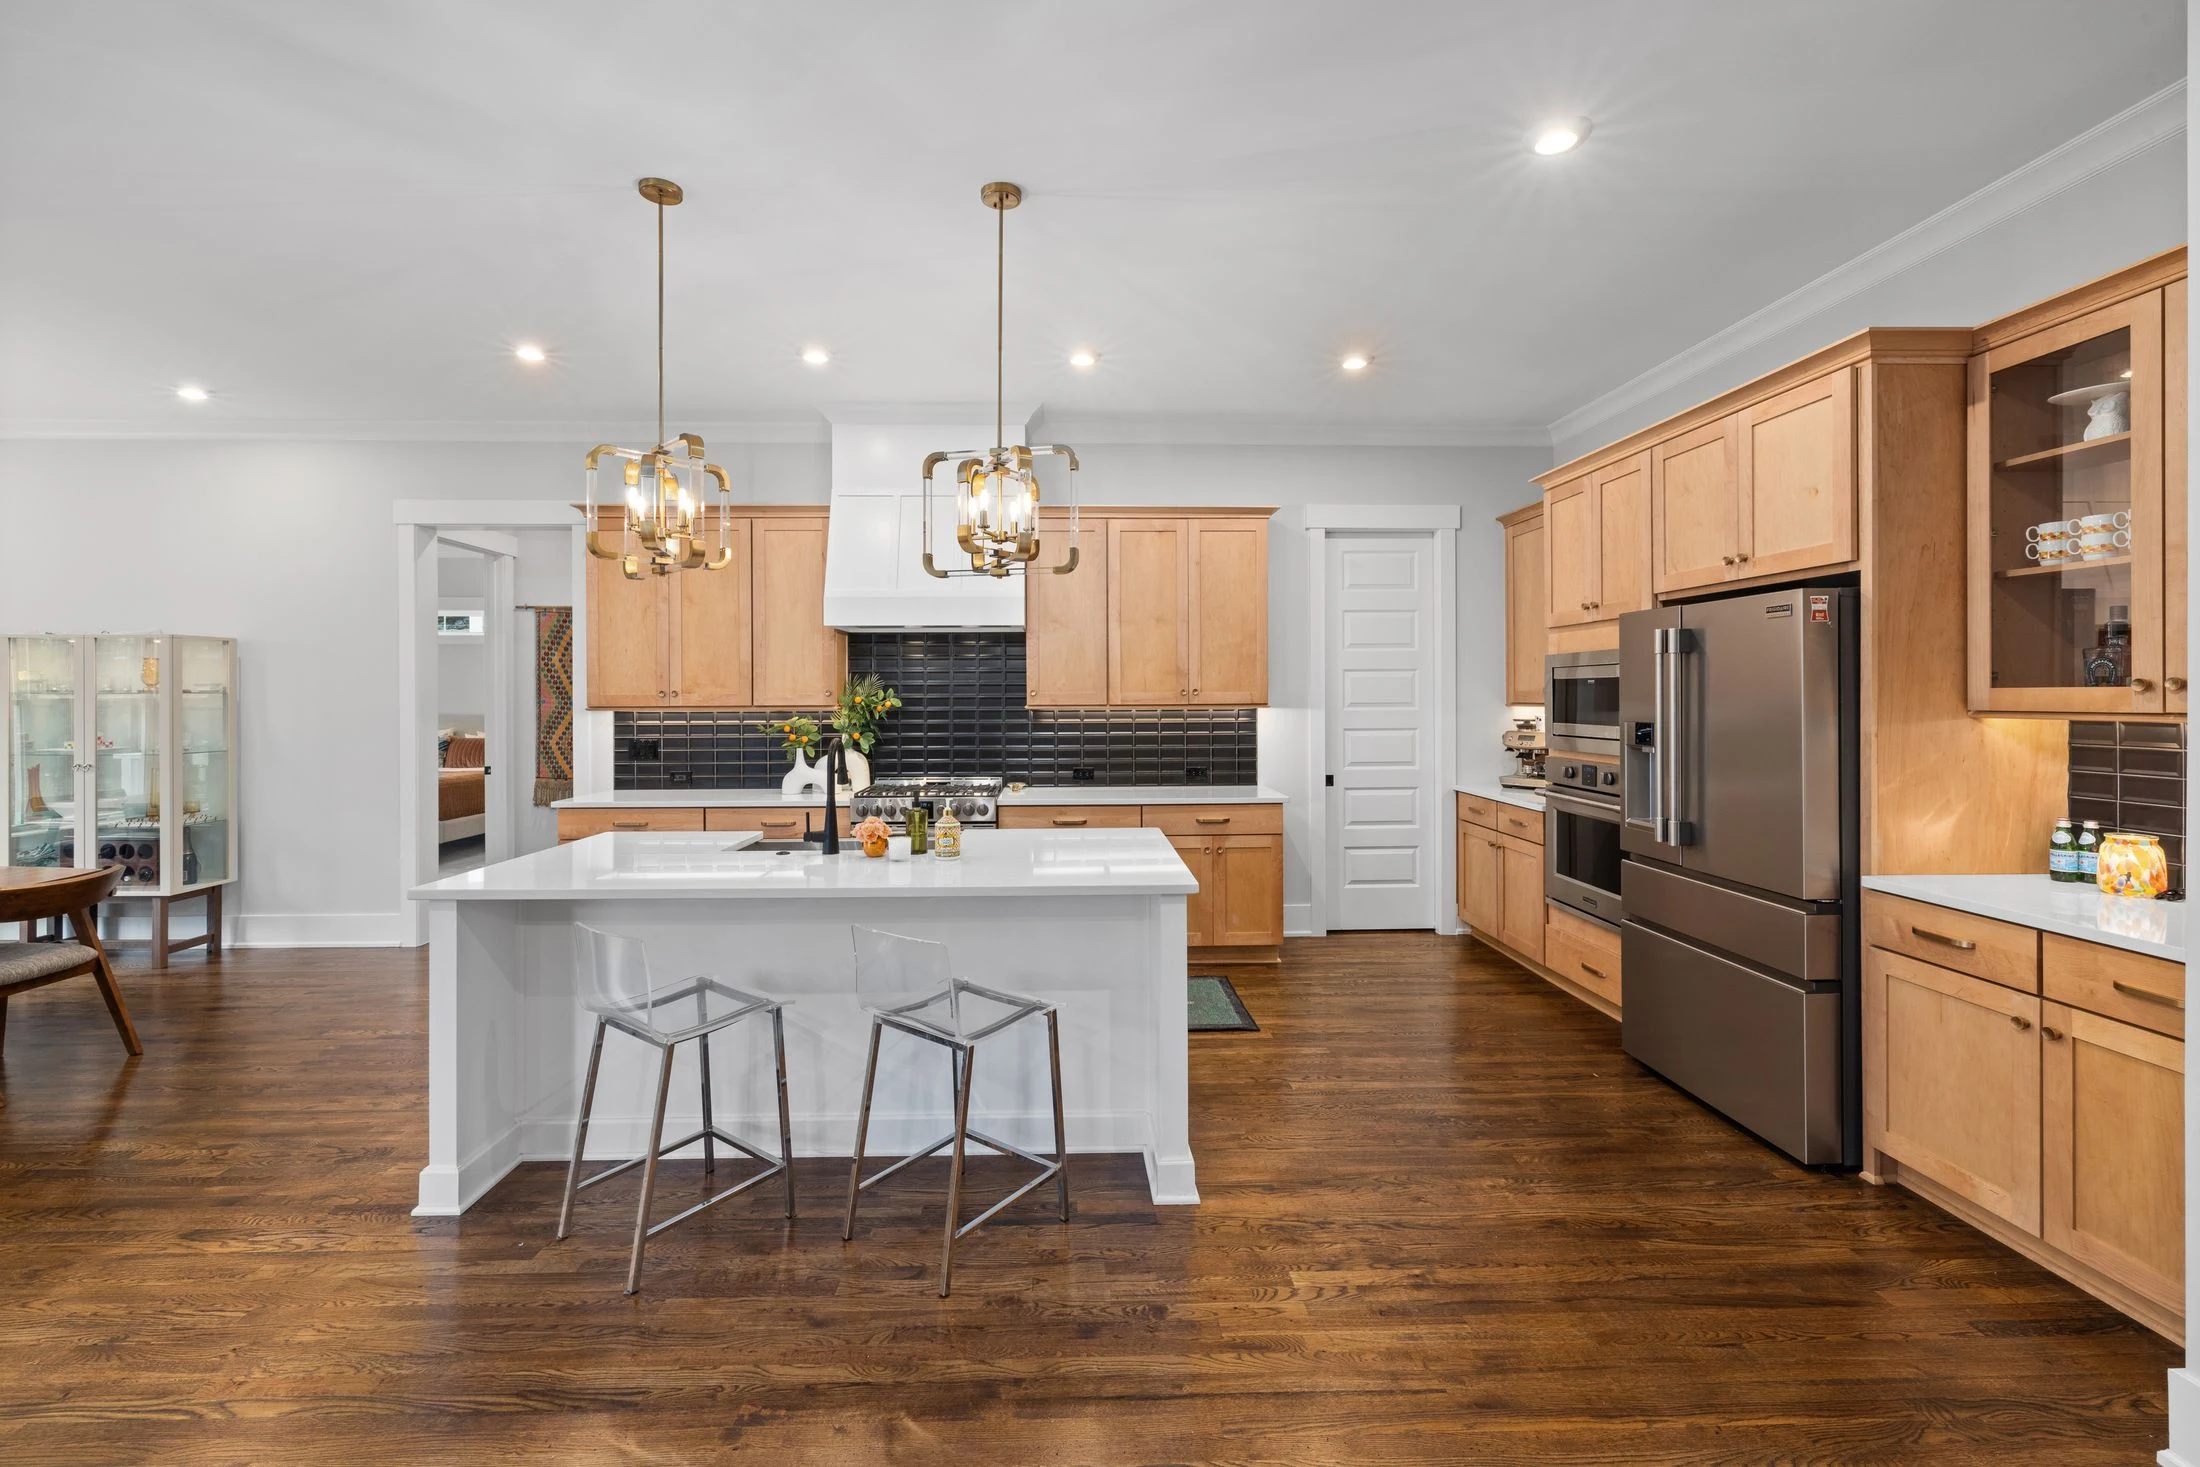
01 / FIND YOUR DIRECTION
A reference image starts the conversation. Your room, storage needs and approved samples turn that idea into a specification.
Wood tones, quiet fronts and a lighter countertop for a relaxed, welcoming room.
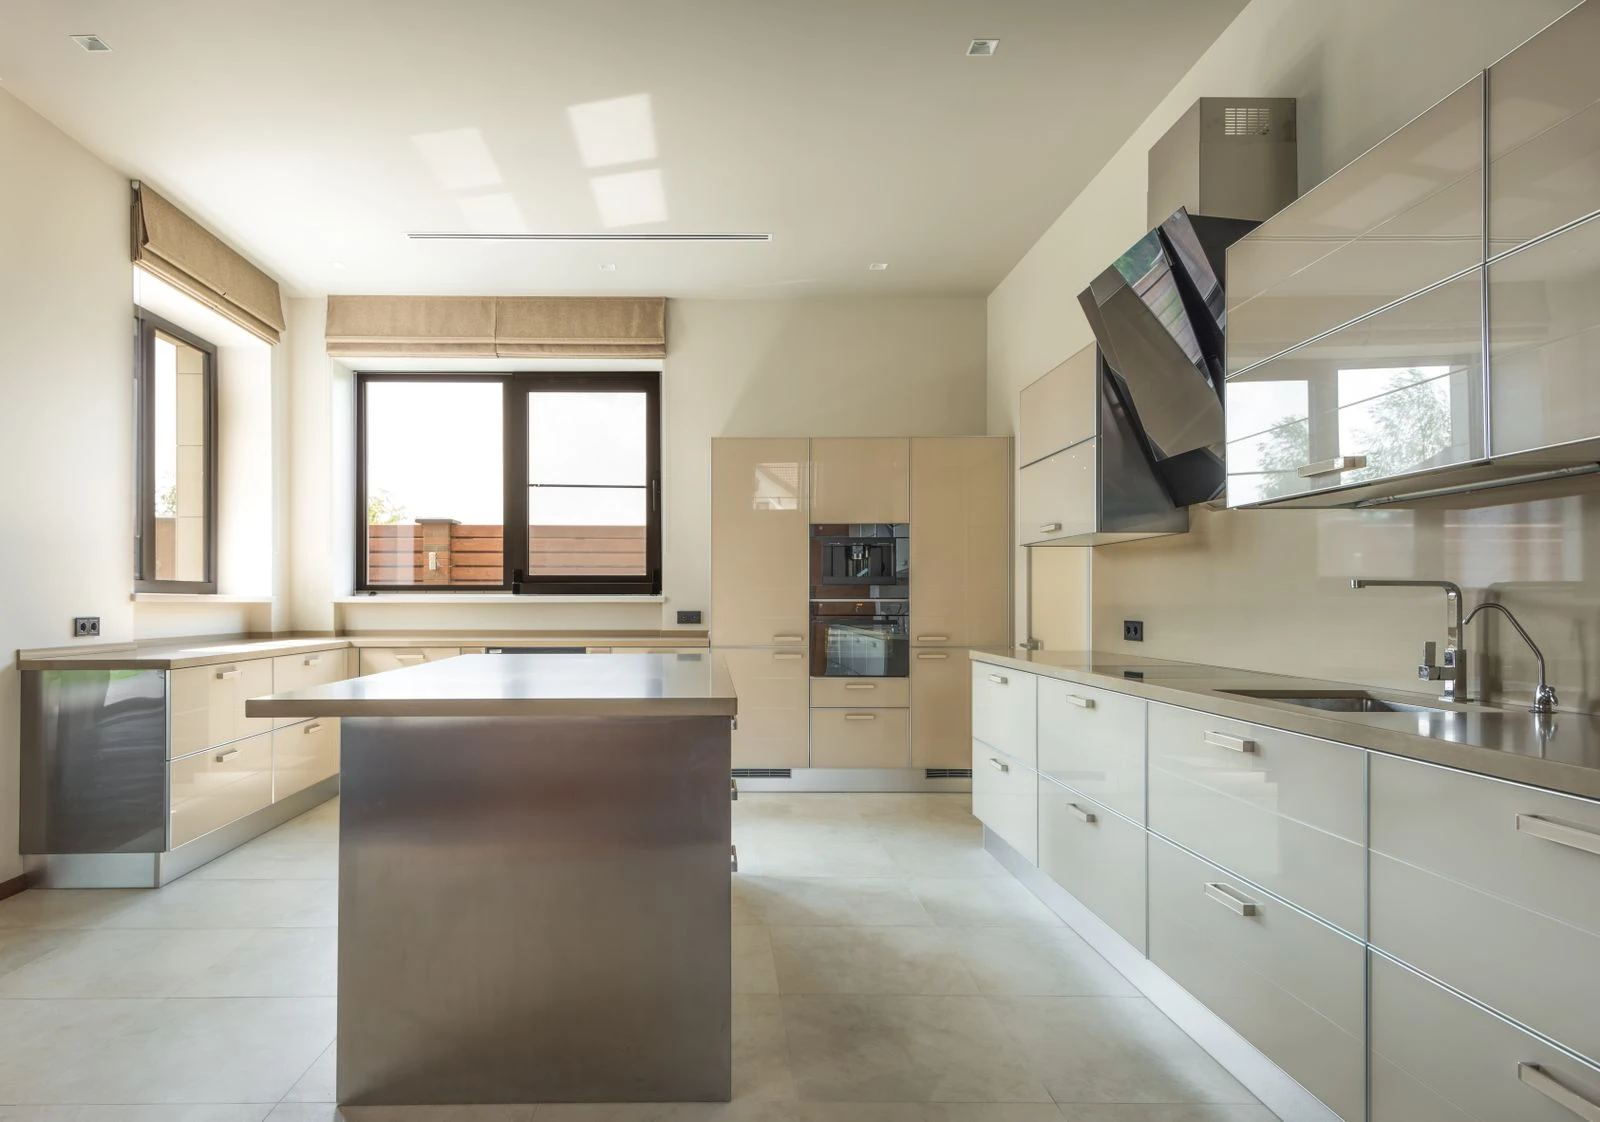
Restrained profiles and a consistent palette make the cabinetry feel calm.
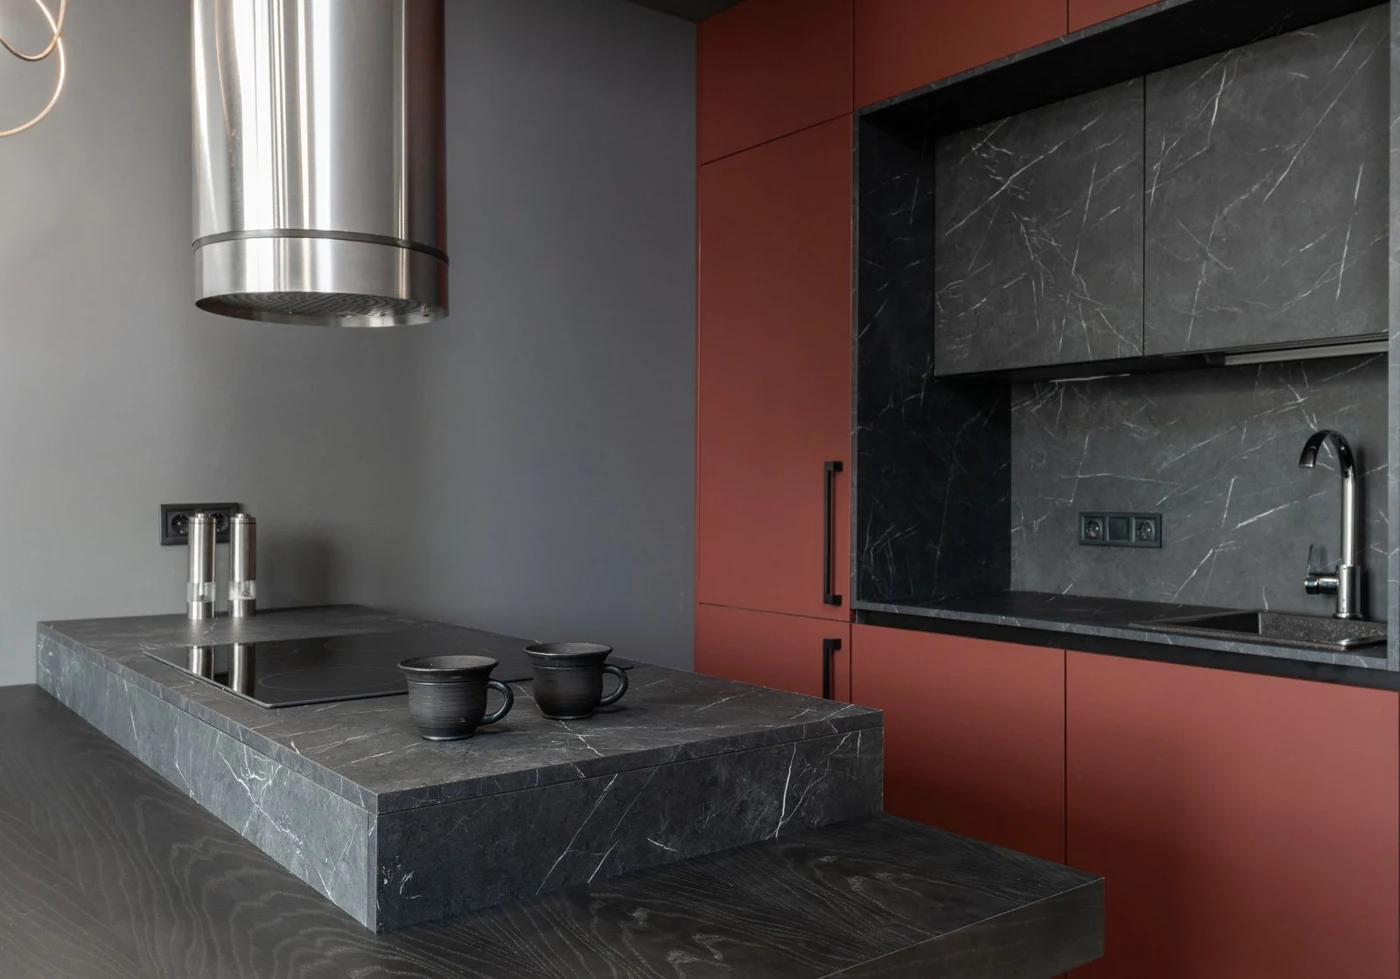
Pair deep cabinet colours and dark stone with lighter walls or flooring. Review the combination in your room’s natural and planned lighting.
Reference photography for design discussion. Final colours, materials and details are agreed for your project.
02 / MAKE THE ROOM WORK
Look beyond the closed cabinet view. Walking routes, door movement and appliance access belong in the first layout review.
LAYOUT STUDY / 01
An island adds preparation, seating or storage only when the surrounding space still works. Review the kitchen with stools in use and appliance doors open.
LAYOUT STUDY / 02
An L-shaped run can leave a difficult corner. Compare an accessible pull-out with a simpler cupboard or a deliberately closed corner, then plan the adjoining drawers.
LAYOUT STUDY / 03
Parallel runs can put preparation and storage within easy reach. Check the space between the finished fronts, including handles, with drawers and appliances in use.
Share the manufacturer's installation drawing, including ventilation, door swing and service access. Overall product dimensions alone do not describe the space it needs. Have your local installer check the coordinated plan.
03 / DESIGN FROM THE INSIDE OUT
Bring a short inventory to the design conversation: your largest pan, everyday plates, tall bottles and countertop appliances.
Check clear width and height with your own cookware. A basket can fit the cabinet yet still catch a plate on the tier above or prevent the door from closing.
Choose drawers, shelves and pull-outs by what they need to hold. Confirm the fitting model, usable internal space and stated load guidance before ordering.
Coordinate the sink bowl, waste, plumbing and any selected bins or equipment. Keep connections accessible instead of allocating the same space twice.
ONE CABINET / EVERYDAY ACCESS
Cabinet width is only the starting point.
The fitting and its contents must work together.
04 / PUT THE SPECIFICATION IN WRITING
Record what each part is made from, then approve how the finished pieces look together.

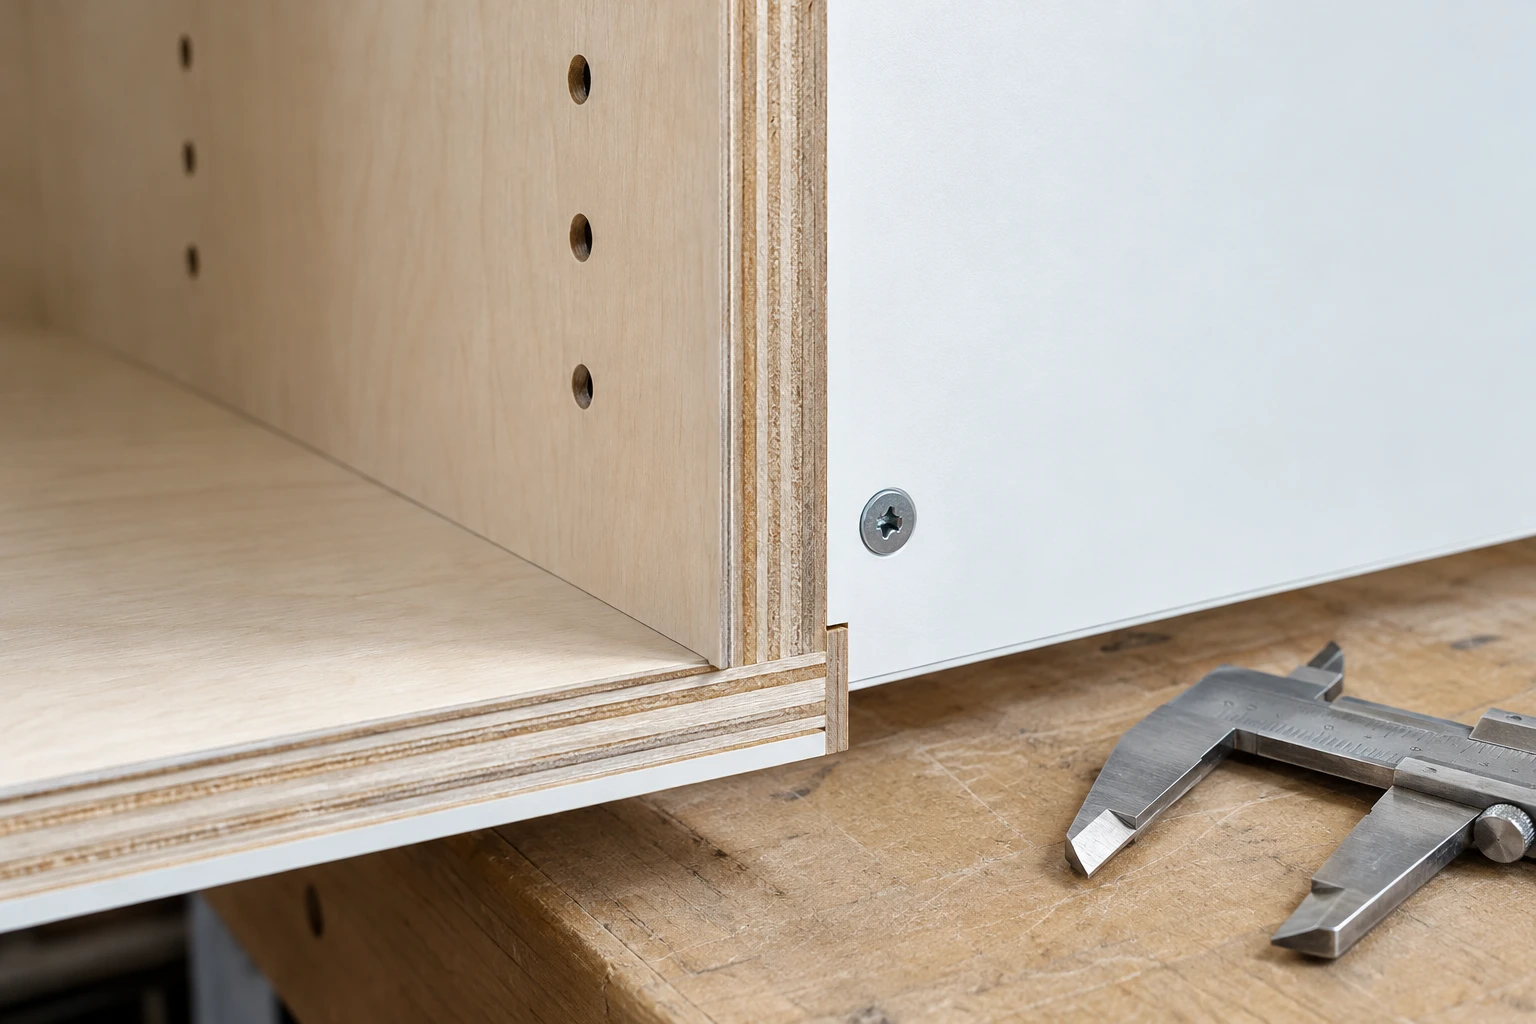
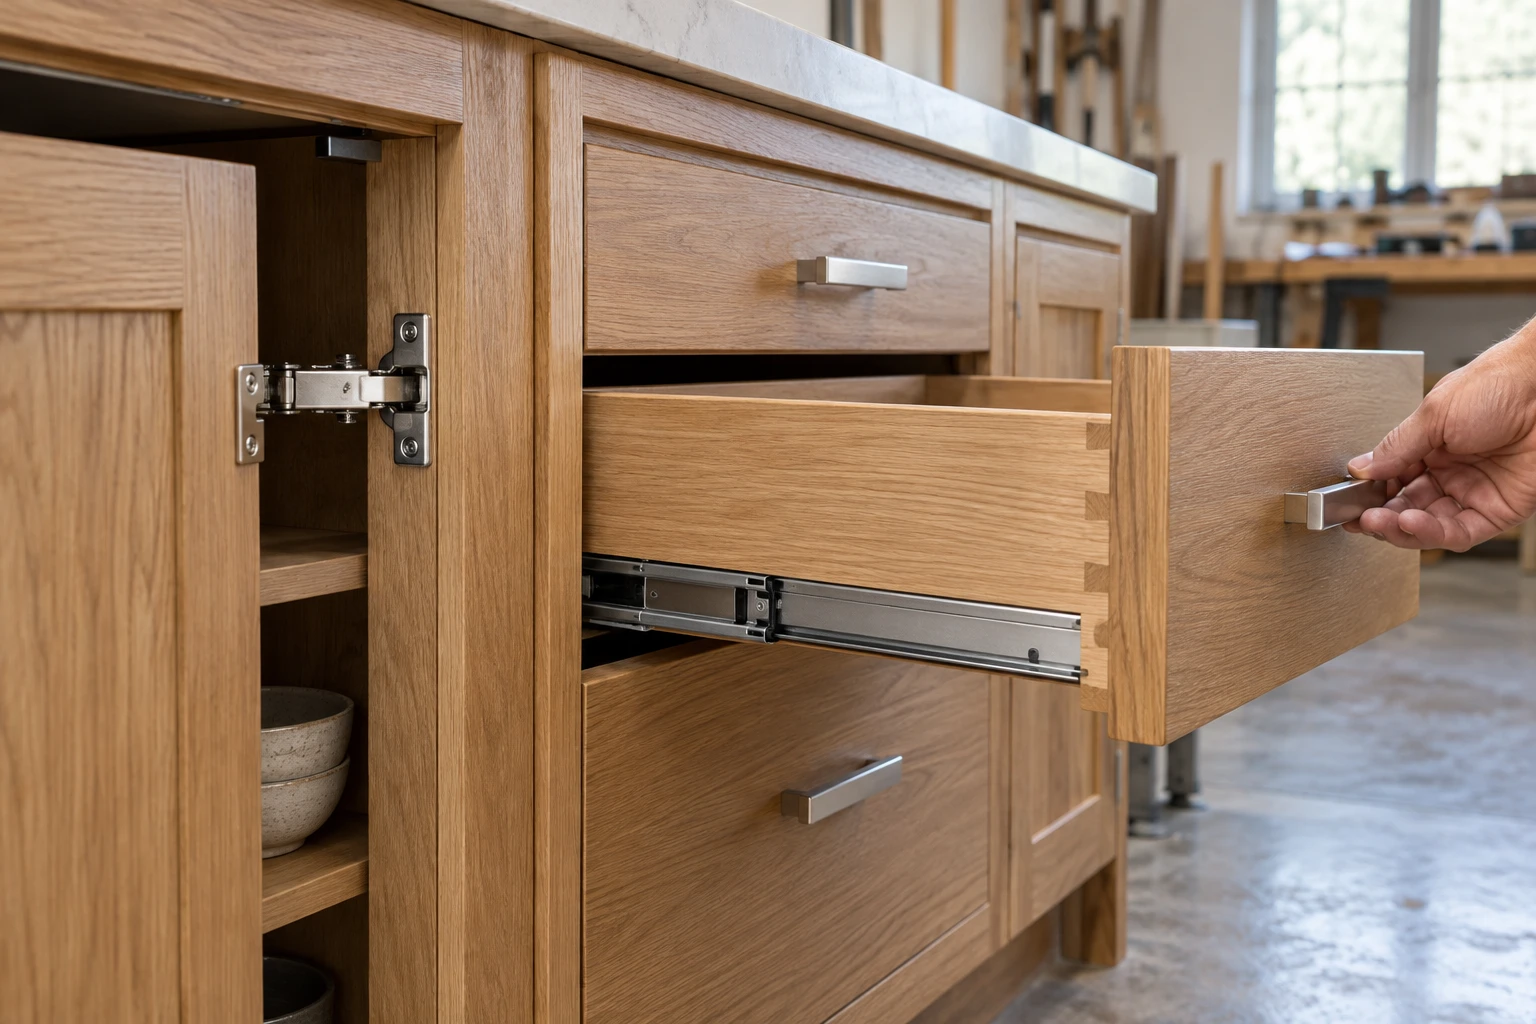
Name the core, thickness, interior finish and edge treatment. Ask for the relevant product information for your project destination.
Record the door construction, finish code, sheen, grain direction and exposed side panels. Match fillers and trims to the approved design.
List hinges, drawer runners, handles and pull-outs by model and quantity. “Premium hardware” is too broad to define the order.
Review a physical sample beside your flooring and countertop in your own lighting. Keep its reference with the approved drawings.
05 / COMPARE THE COMPLETE COST
A headline cabinet price is a starting point. Compare the same drawings and quantities, including the work that will happen at your property.
Base, wall and tall units; doors, end panels, fillers and trims.
Dimensions, construction and finish for each unit.
Drawer systems, hinges, handles, bins and specialist pull-outs.
Selected models, quantities and any optional upgrades.
Countertop, sink/hob openings, edge profile and splashback, if supplied.
Who templates, supplies, supports, seals and installs each item.
Packing, freight, delivery endpoint and the local installation scope.
Unloading, assembly, fixing, service connections and final adjustment.
Supplied with the cabinetryConfirm the material, final dimensions, cut-outs, protection and installation responsibilities in the order.
Sourced locallyA local fabricator can template after cabinet installation. Agree the sink and hob requirements before finalising the cabinet drawings.
06 / RELEASE A CLEAR PLAN
Keep one approved revision of the plan, elevations and specification. Changes need a visible record before parts are made.
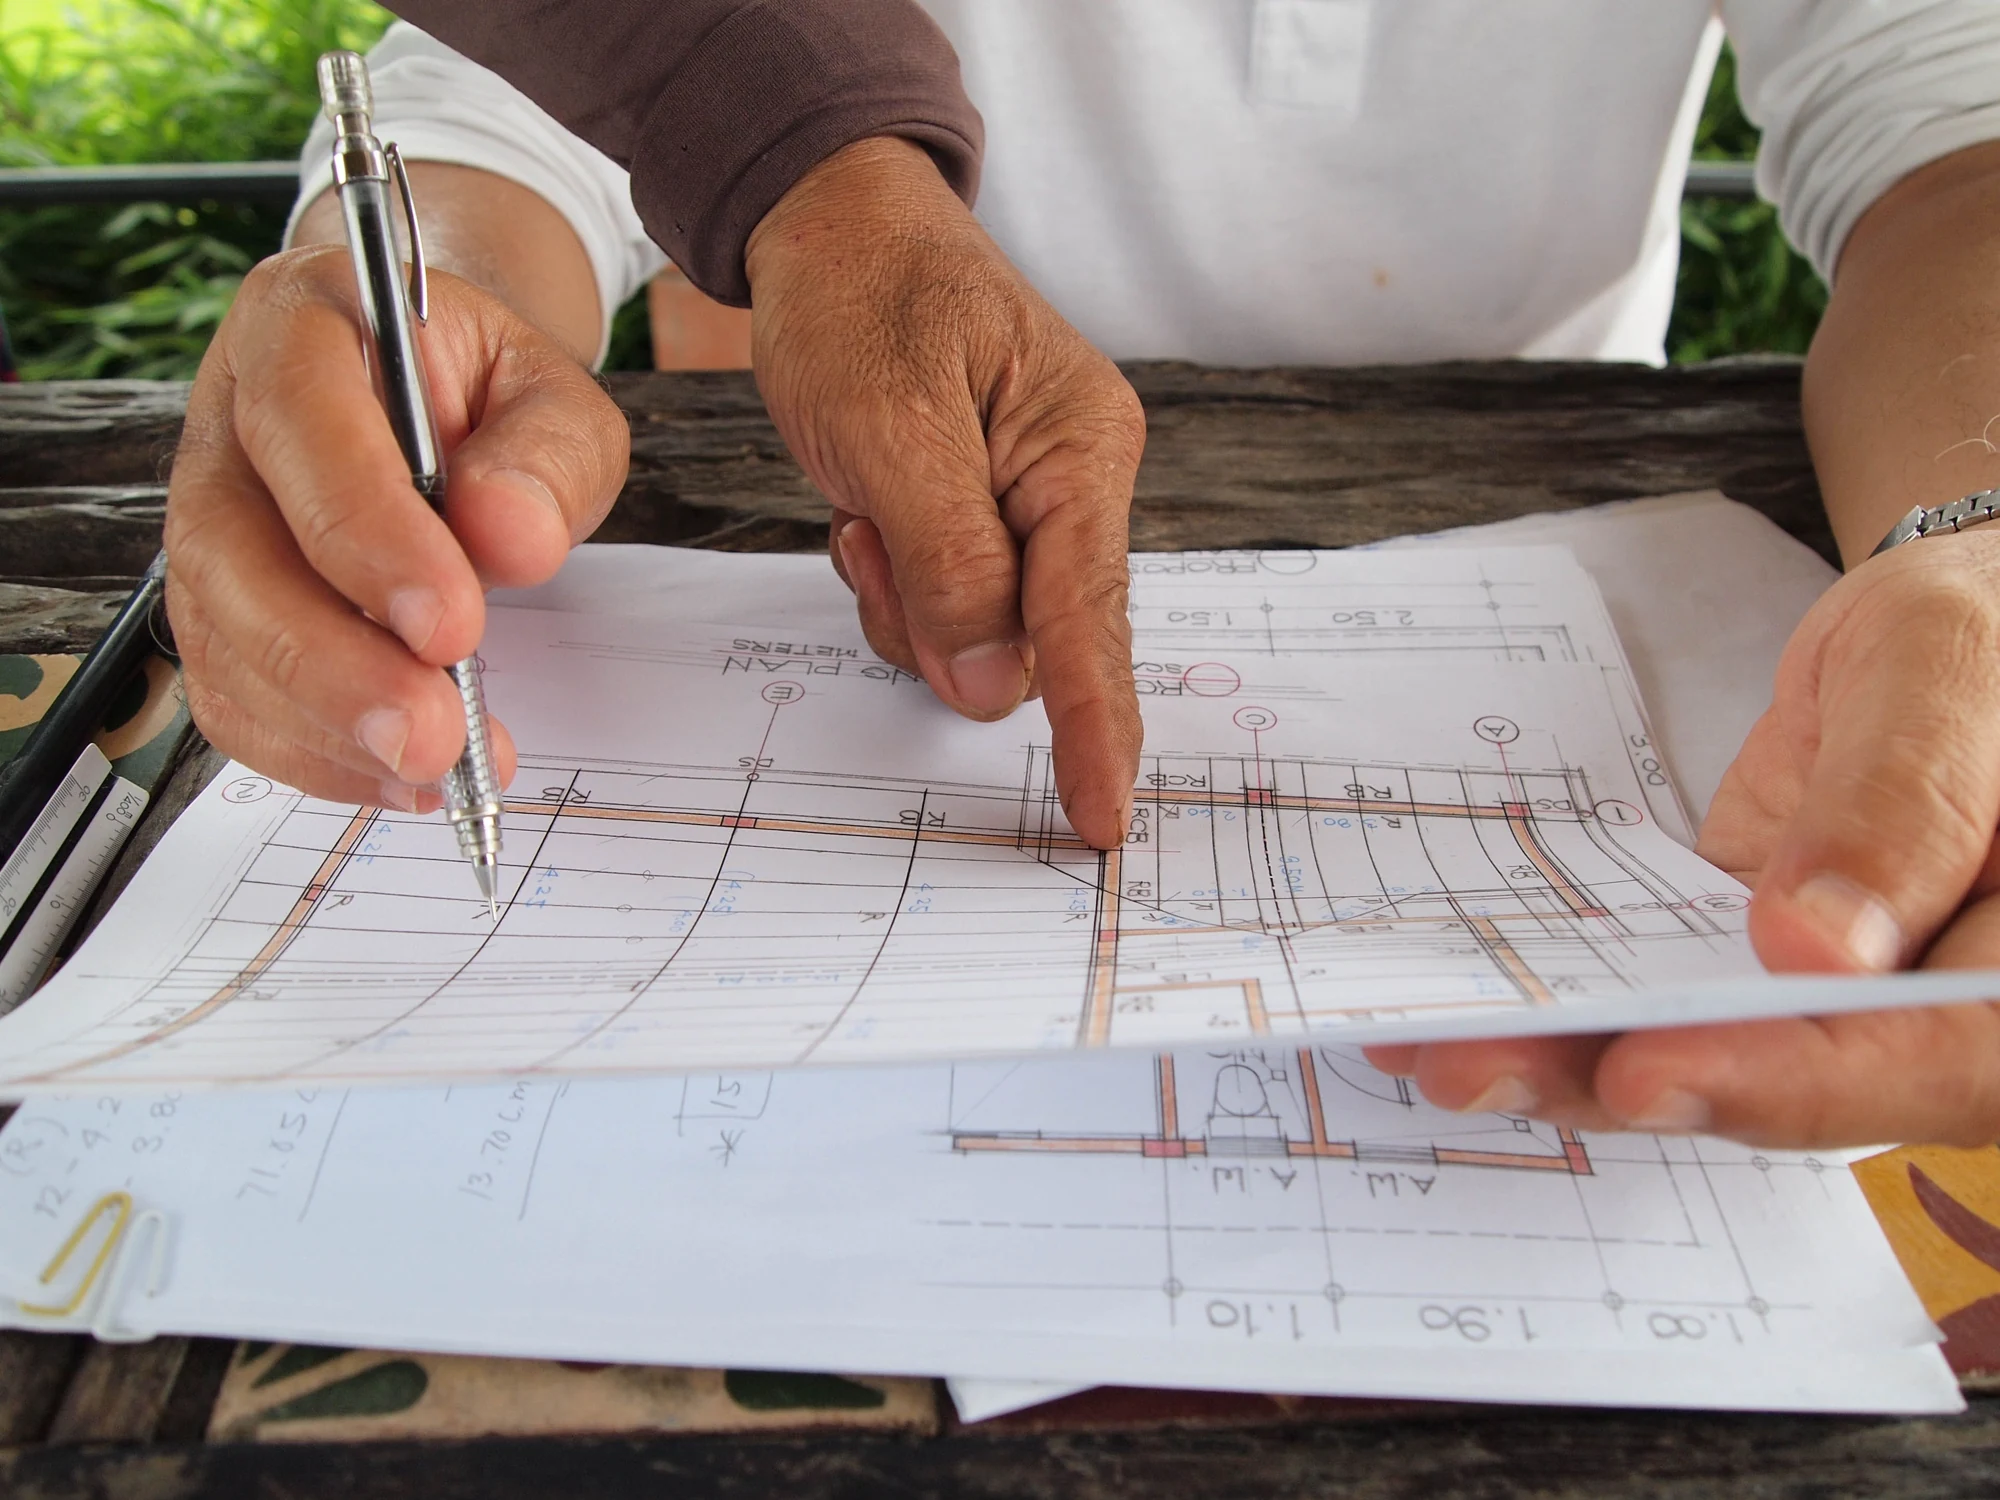
Have site dimensions checked against the finished walls and floor. Show windows, obstructions, service positions and agreed fitting allowances.
Attach the exact appliance installation drawings. Check openings, door direction, fillers, handles and the agreed countertop interface.
Record the finish sample, door layout and hardware schedule alongside the drawing revision. Confirm how later changes will be handled.
Compare flat-pack and pre-assembled options with your local installer. Include assembly labour and the route into the property in that decision.
07 / KEEP YOUR PREP SPACE CLEAR
A kettle, coffee machine and toaster can fill the worktop before you start cooking. Plan where each one is used and stored, so preparing a meal does not begin with moving everything out of the way.
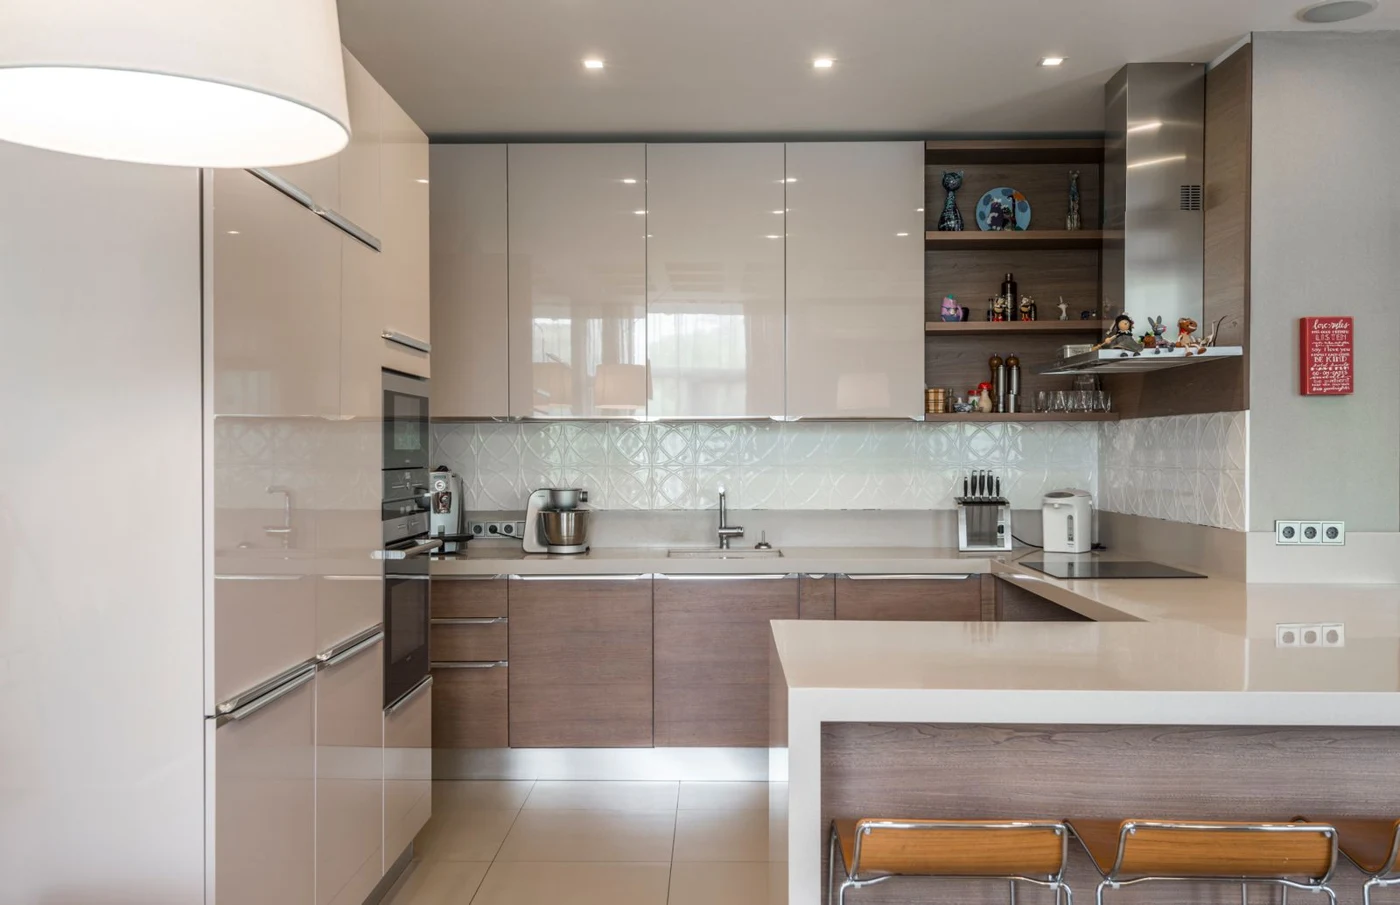
Mark the countertop space you use for chopping and serving. Put the daily coffee and breakfast setup in a separate part of the layout, with nearby storage for mugs and supplies, so these routines do not compete for the same surface.
Measure the appliance with its lid, water tank and trays in use—not just its closed footprint. Check the manufacturer’s operating clearances before placing it beneath wall cabinets or inside an appliance cupboard; storage space is not automatically suitable for operation.
List the mixer, blender and other items you only use occasionally. Compare their dimensions with the cabinet’s clear opening and shelf space, including handles and accessories. Choose accessible storage for heavier items and keep the equipment you use daily close to its working spot.
BEFORE WE START
Yes. Start the discussion with a room plan, approximate dimensions, room photos and your destination. Mark any measurements or appliance choices that are still provisional.
You can explore the layout first. Before cabinet openings are approved, confirm the actual models and share their installation drawings for coordinated review.
The price depends on the cabinet layout, construction, finish, fittings and delivery scope. An itemised quotation makes those choices and exclusions clear; a reference photo alone cannot define the total.
Discuss the supplied package with your local installer before ordering. Confirm what arrives assembled, what needs work on site and which trades are responsible for connections and final checks.
YOUR KITCHEN / THE NEXT STEP
Send a plan, a few room photos and your destination. Add appliance models if you have them, and tell us what needs to work better in your everyday kitchen.
support@arcayaliving.com