BUILT-IN MEDIA WALL / DESIGN REFERENCEBUILT AROUND YOUR ROOM. PLANNED AROUND YOUR EQUIPMENT.
01 / START WITH THE ROOM
Fit the TV to your room. Then fit the cabinetry.
Choose the screen and seating position before locking the opening. A balanced elevation still has to work when you sit down, open a drawer or replace the TV.
TV CABINET, SEATING & ROOM FIT / DESIGN REFERENCE
01
Test the screen height from your actual sofa.
Mark the screen outline on the wall and view it from the seats you use. Check the screen, soundbar and cabinet together before choosing the cabinet height; one standard TV height will not suit every room.
02
Keep a larger future TV from becoming a rebuild.
Record the current screen’s full width and height, mounting details and connector positions. Discuss any planned upgrade before framing the niche, including how the screen can be removed.
03
Let cabinet doors open without moving the coffee table.
Show the room with doors and drawers fully open. Include the cabinet depth, handles and main walking route, especially in narrow rooms and cabinetry beside an entrance.
02 / DESIGN WHAT YOU DO NOT SEE
Hide the cables. Keep the connections reachable.
Custom media wall cabinets need more than a neat front. Plan the equipment, cable route and access method on the same drawing.
Change a cable without dismantling the wall.
Draw the route from each device to the TV, then decide how the connectors will be reached. A concealed cable route still needs an accessible entry, exit and replacement path.
Show plugs and connector depth behind equipment.
Keep access panels clear of fixed dividers and drawers.
Ask your local electrician to coordinate fixed power and cable routes.
Allow for connected equipment, not just the box.
Measure each device with its plugs, accessories and operating position. Use its own ventilation instructions to set the usable compartment size and decide whether a closed door is appropriate.
Record the exact console, receiver and streaming device models.
Keep the required ventilation areas free of stored items.
Allow access for controls, removable media and cleaning.
Keep the soundbar out of an unsuitable recess.
Check the selected soundbar’s placement guide before drawing a shelf around it. Speaker output, upward-firing drivers and the TV’s sensor may need a clear path.
Show the real soundbar height beneath the screen.
Confirm front, side and top clearances for the chosen model.
Agree a shelf or mounting position with your AV installer.
The diagram explains the planning questions. Actual ventilation, fixing and cable requirements depend on your equipment and site.
MAKE THE EQUIPMENT WORK INSIDE THE DESIGN
A closed cabinet is not right for every device.
Give each item a working position before deciding which doors can conceal it.
Keep a games console’s ventilation space free.
Use the selected console’s instructions to define the compartment and operating orientation. An opening for a cable does not establish that the unit is sufficiently ventilated.
Check soundbar placement before adding a shelf.
Do not assume a soundbar can be enclosed or recessed. Follow its placement guide and keep the relevant drivers and TV sensors clear. Confirm the arrangement with your AV installer.
Test controls and connectivity with the doors closed.
List how each device is controlled before selecting the cabinet front. Confirm remote operation and network reception in the proposed location instead of assuming a closed door will work.
03 / STORE THE EVERYDAY. DISPLAY THE PERSONAL.
More storage. Fewer things left out.
Plan built-in living room cabinets around the items you own: books, games, children’s projects and the small things that otherwise collect beside the TV.
LIBRARY & MEDIA WALL / DESIGN REFERENCE
DISPLAY WITHOUT THE DAILY RESET
Use fewer open shelves for a calmer wall.
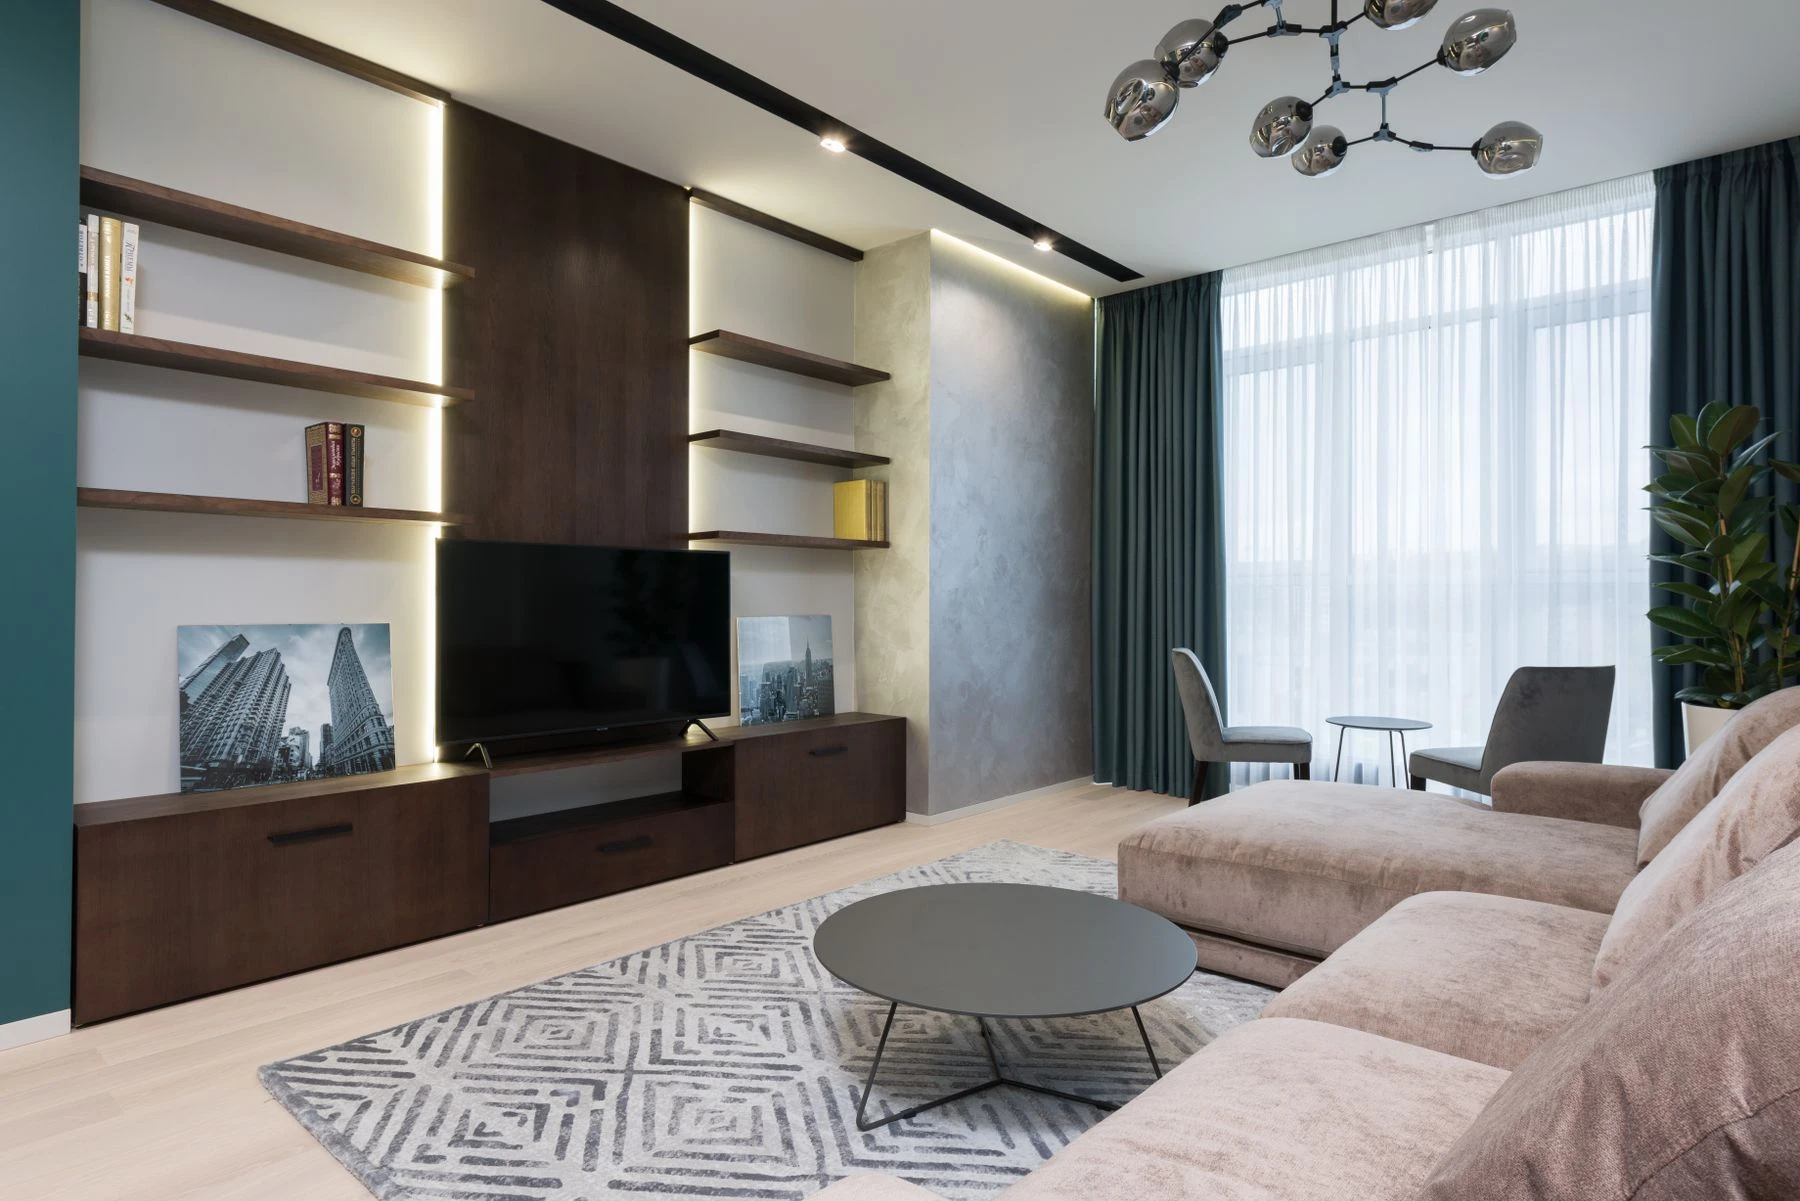
Choose the pieces you actually want to show and size those openings first. Put everyday clutter behind doors. If a collection needs protection while remaining visible, discuss glass-fronted display separately from equipment storage.
MAKE THE STORAGE FIT THE CONTENTS
Measure books, games and baskets before setting shelves.
Check the usable opening, shelf spacing and depth against your largest items. Group controllers, spare leads and games where they are used; reserve less accessible cupboards for occasional storage.
04 / RESOLVE THE FINISHING DETAILS
Make the wall feel fitted. Keep it easy to maintain.
A clear material and detail schedule helps the finished cabinetry sit comfortably with the rest of the room.
COORDINATED TV CABINET FINISHES / DESIGN REFERENCEFLOATING MEDIA CABINET & LIGHTING / DESIGN REFERENCE
Match doors, fillers and exposed sides to the same sample.
Record the core, finish code, sheen and grain direction for visible pieces. Check a physical sample beside the floor and wall finish in your own lighting. A wood appearance alone does not define the construction.
Place display lights where they do not distract from the screen.
Review the proposed shelf lighting with the TV position and reflective finishes. List the channels, strips, controls and drivers, and agree who supplies and connects each part.
Reach the lighting driver without removing fixed cabinetry.
Show the service position and the panel or cupboard used to access it. Keep the route practical for future replacement and coordinate the electrical details with your local electrician.
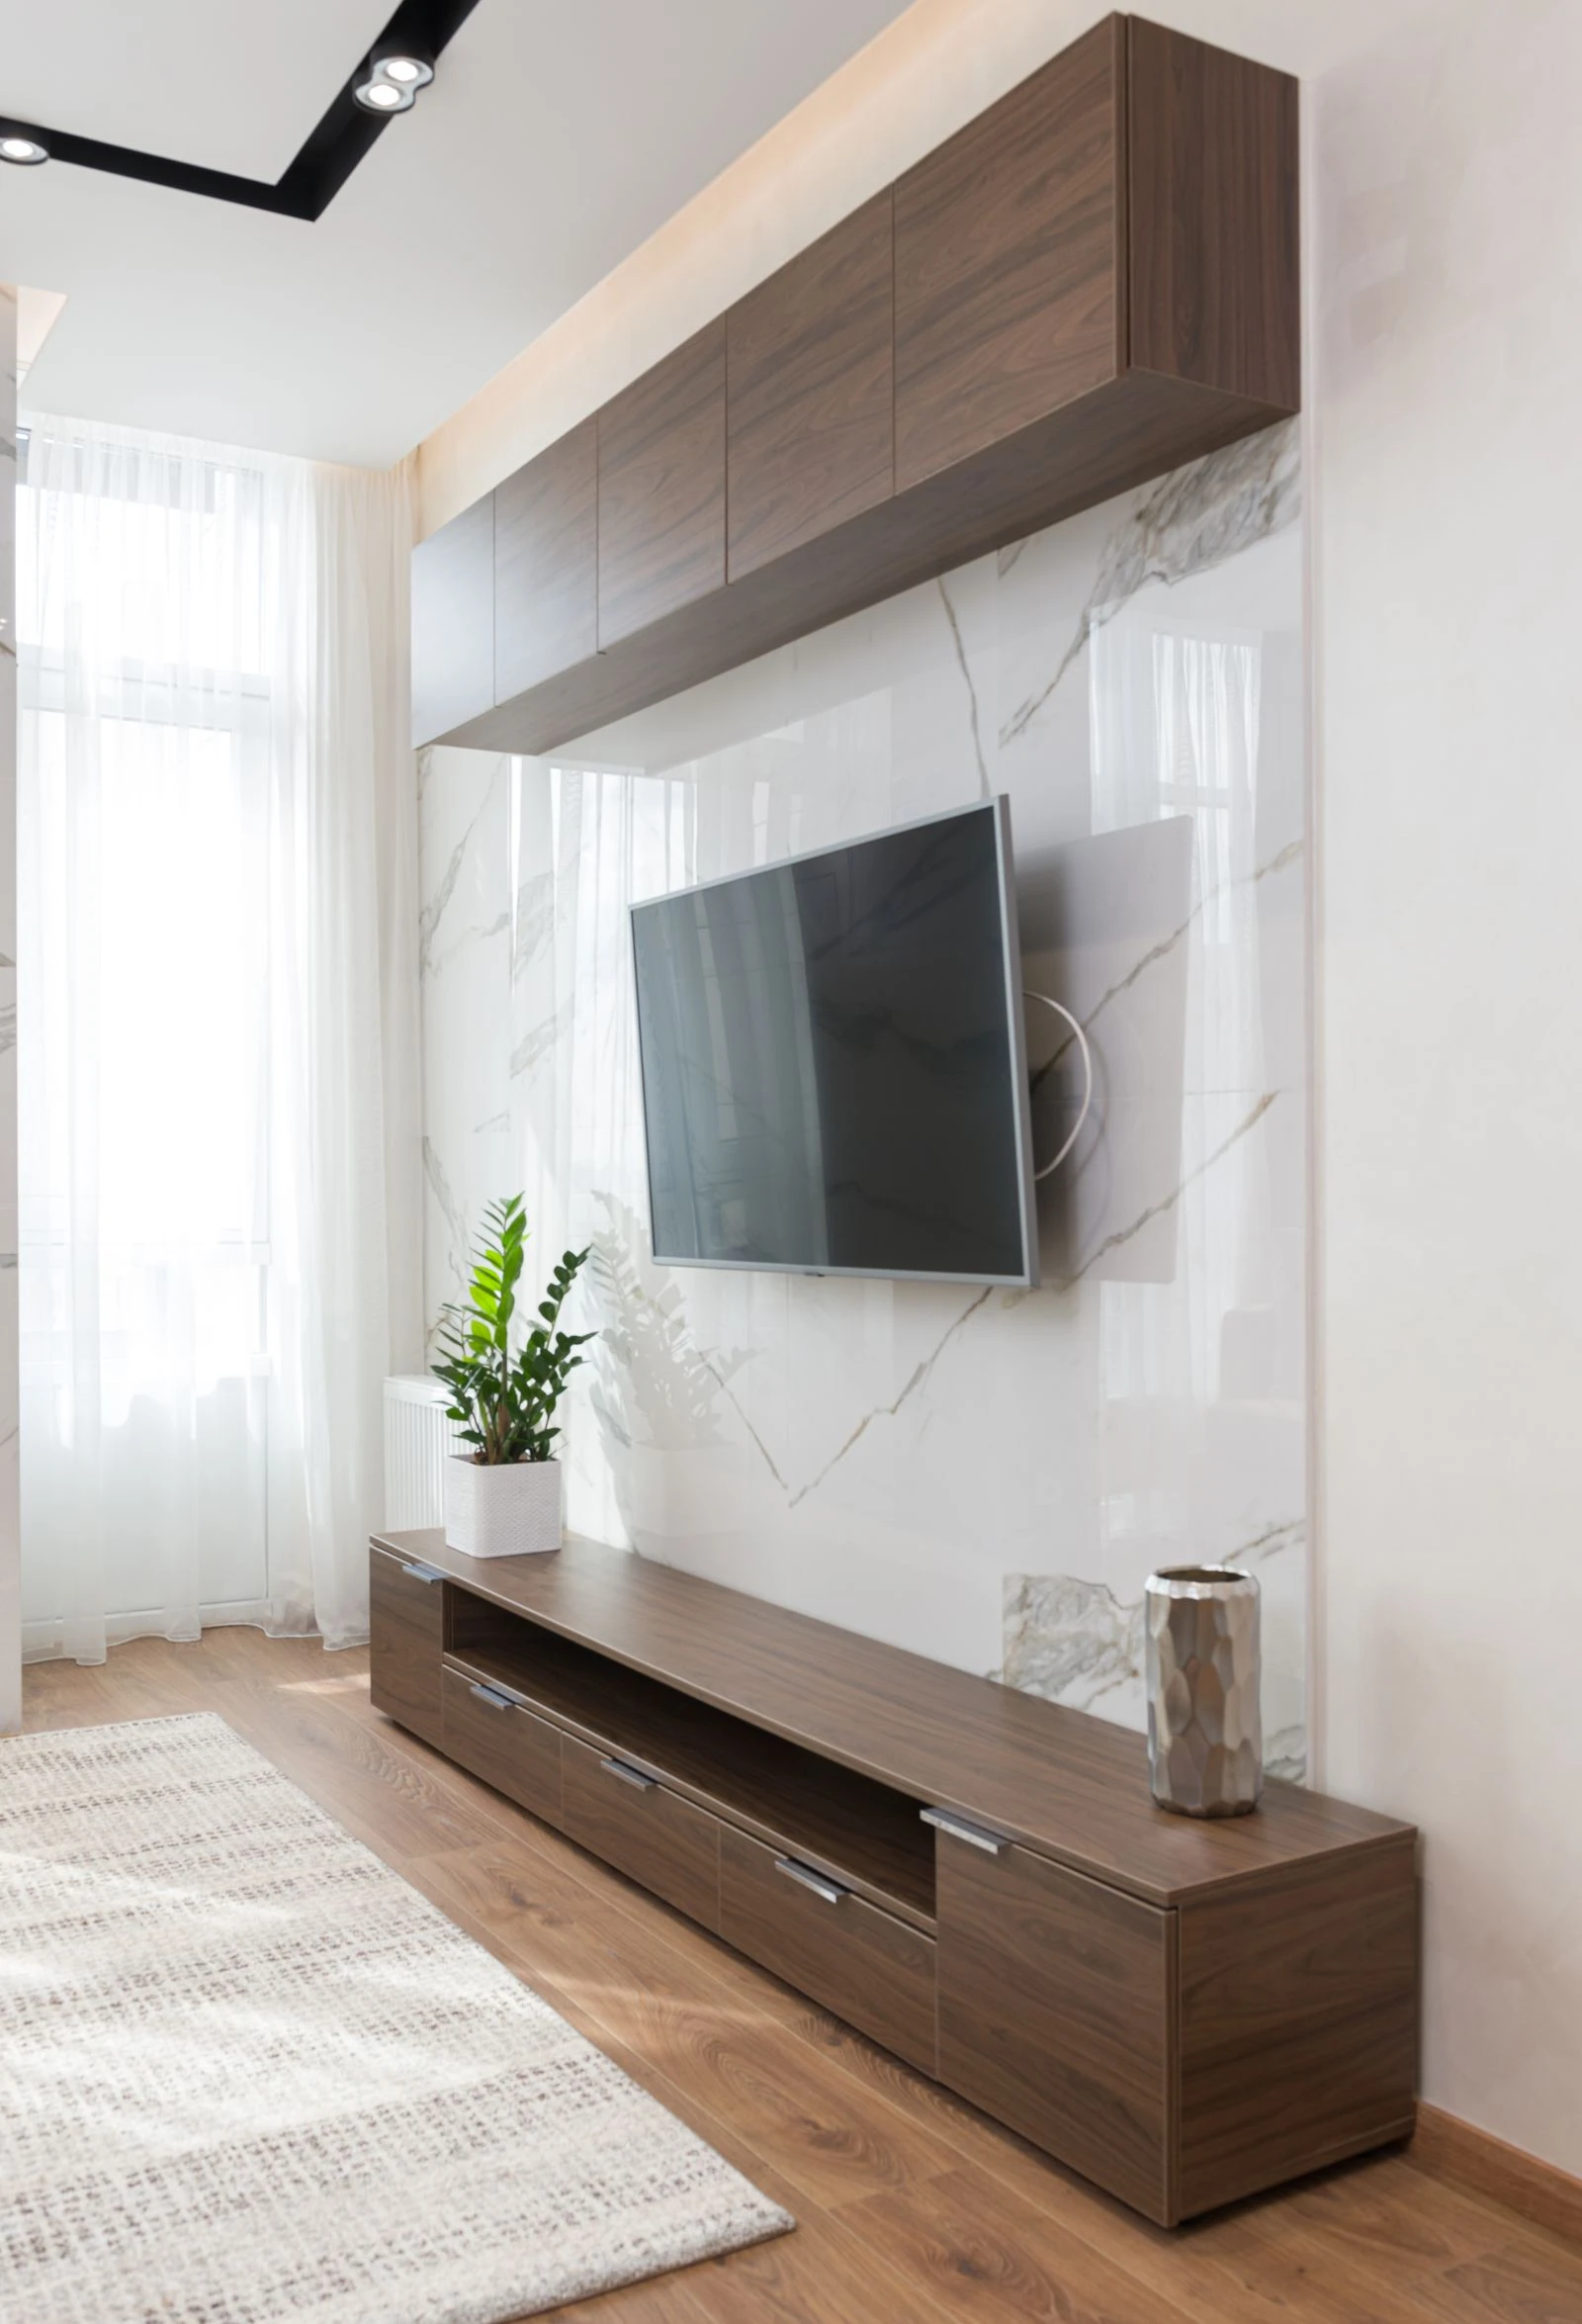
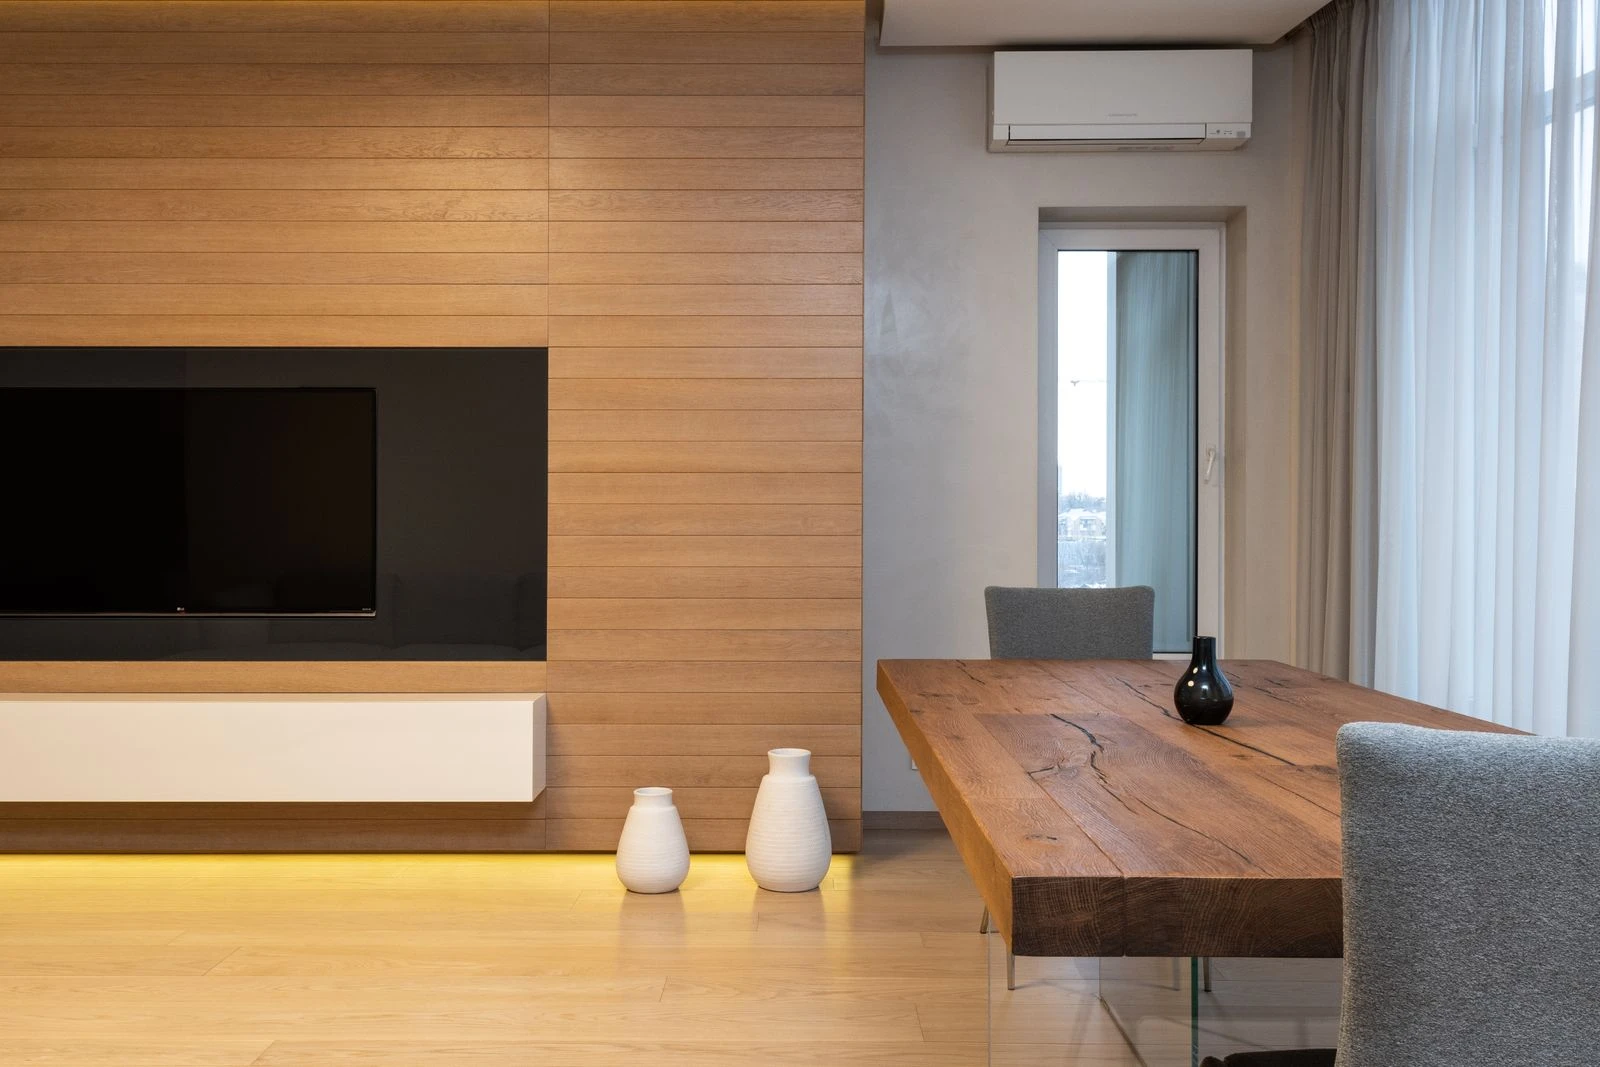
Choose floating cabinets only with a confirmed fixing plan.
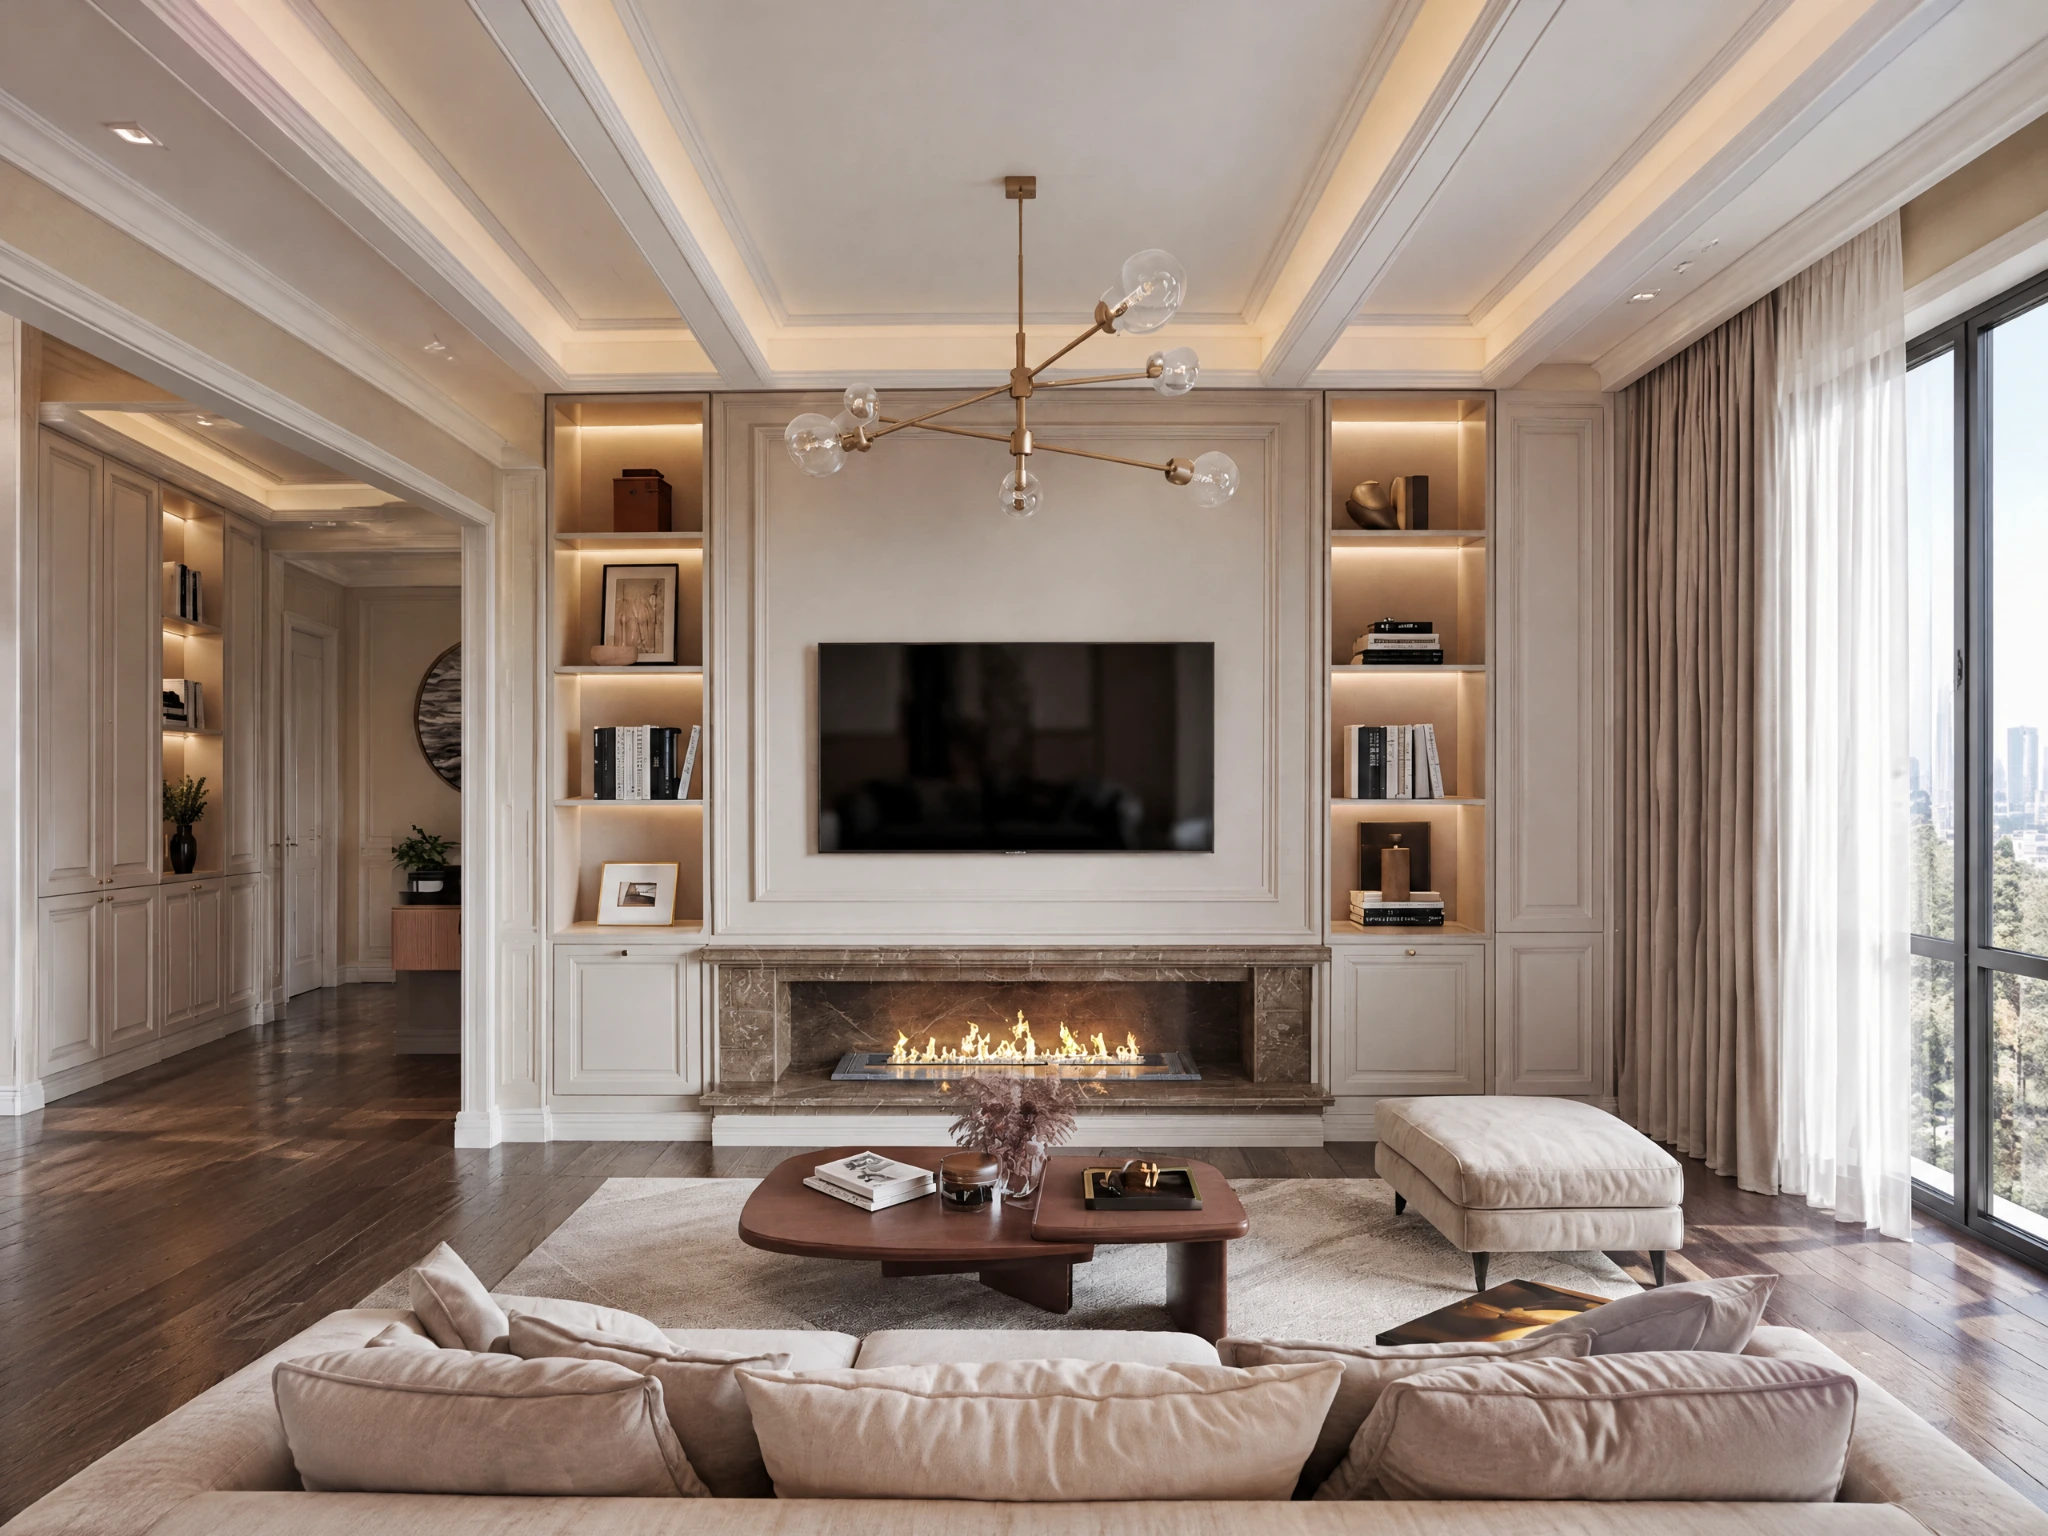
Have your installer review the actual wall, cabinet construction and intended loads before approving a wall-hung design. A decorative backing panel is not a mounting specification. Where a fireplace is included, resolve its own installation and heat requirements with the specialist before cabinet details are finalised.
05 / CHOOSE THE RIGHT CABINET LAYOUT
Choose the storage you need. Leave the room you want.
A media wall does not have to fill every available surface. Start with what your living room is missing, then choose where the cabinetry will help most.
01 / LOW TV CABINET
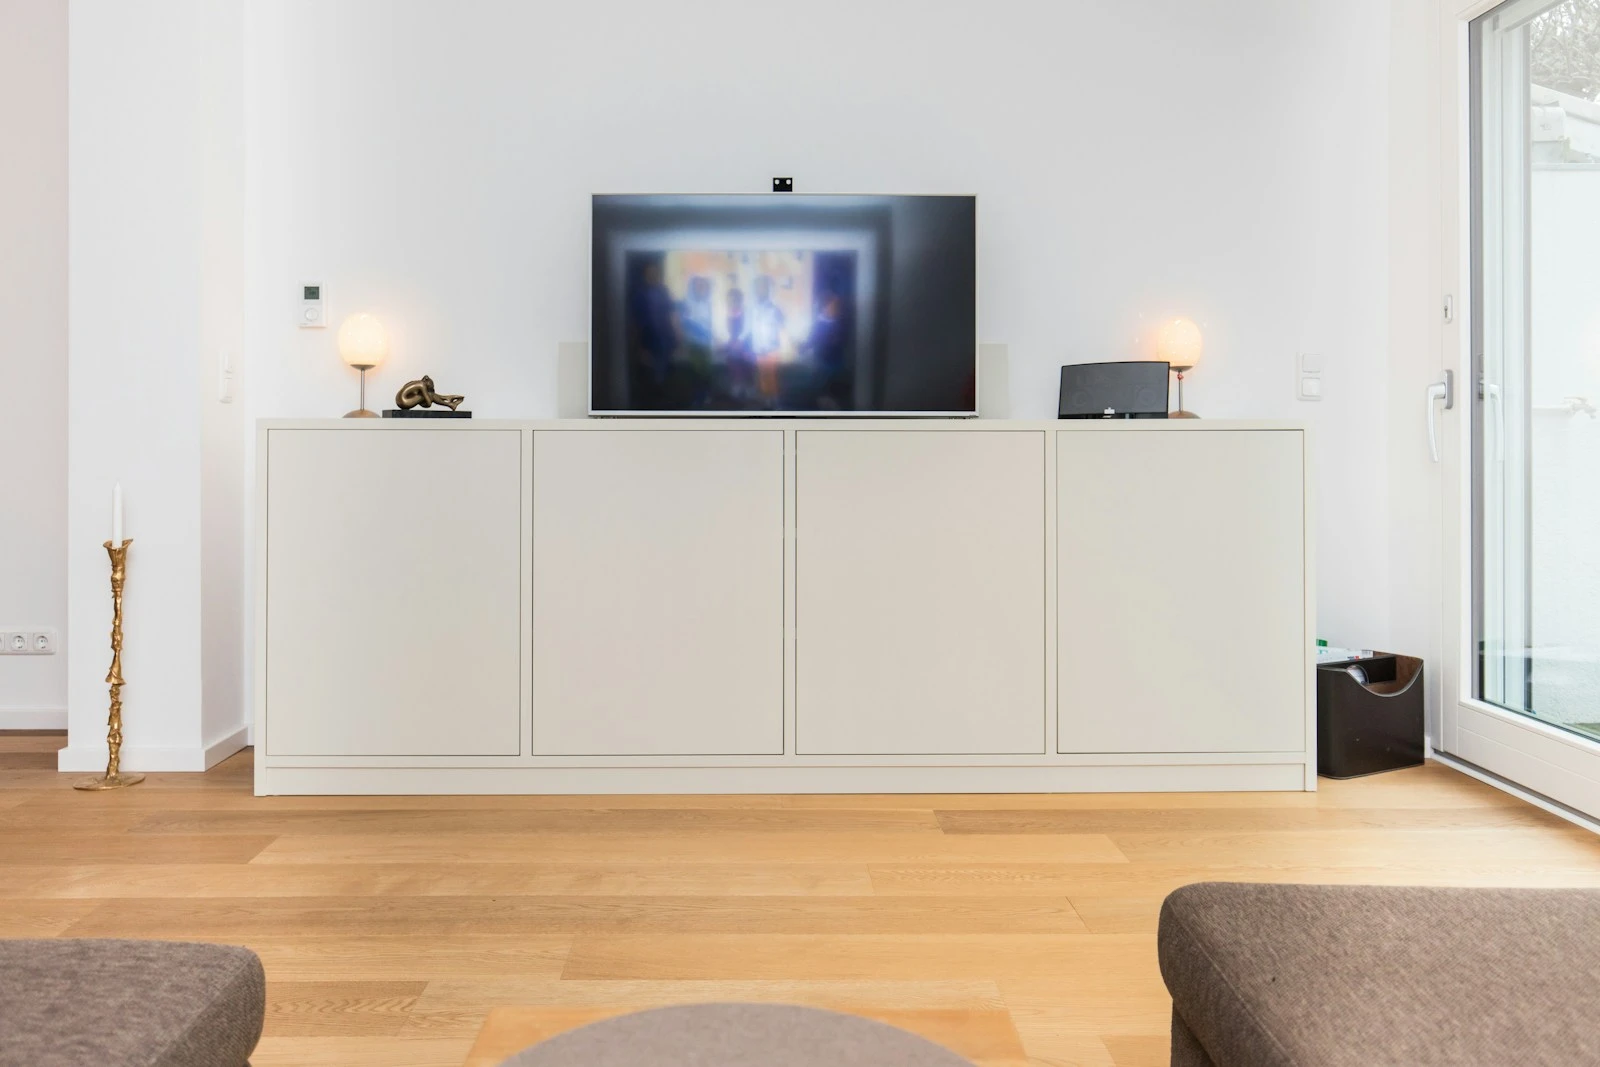
Keep a narrow living room from feeling crowded.
Start with a low TV cabinet and leave the wall above largely open. Fit its depth to the actual equipment, then check the remaining walkway and doors at full opening. Store occasional items elsewhere if adding more cabinetry would squeeze the seating area.
02 / LOW CABINET + SIDE STORAGE
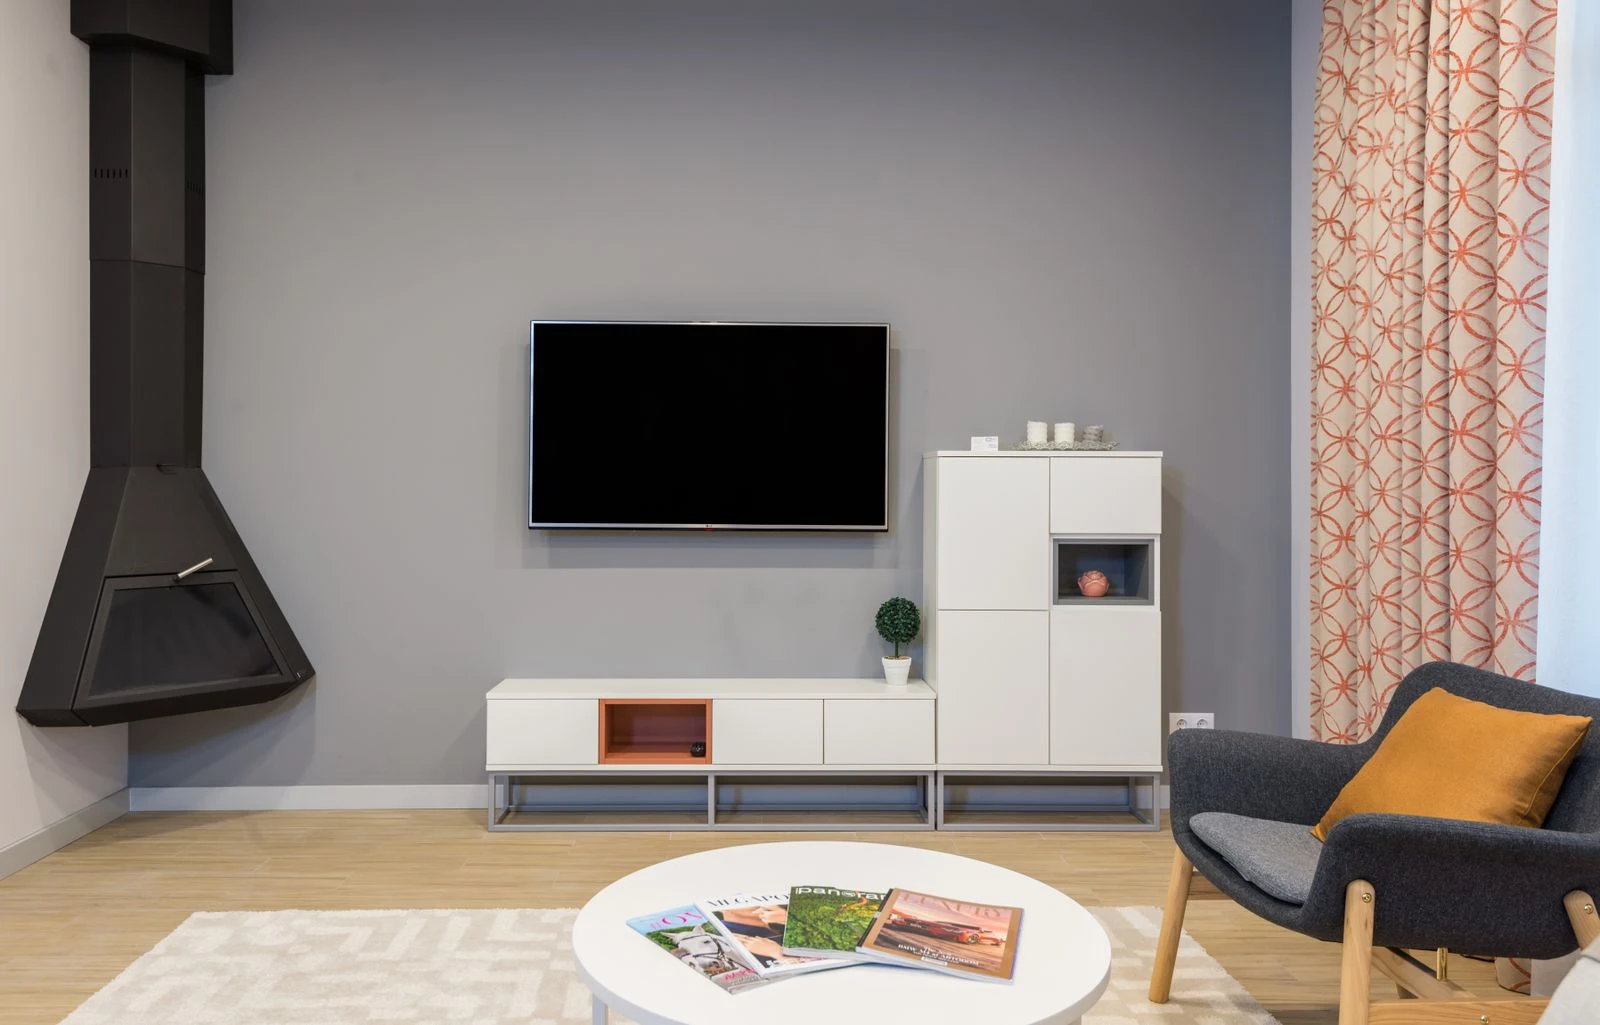
Add closed storage without surrounding the screen.
Pair a low media cabinet with a tall unit at one side, or use existing alcoves. Put bulky items behind doors and keep only a few display shelves. Draw the arrangement beside windows and doorways so the extra storage does not obstruct them.
03 / LIBRARY & MEDIA WALL
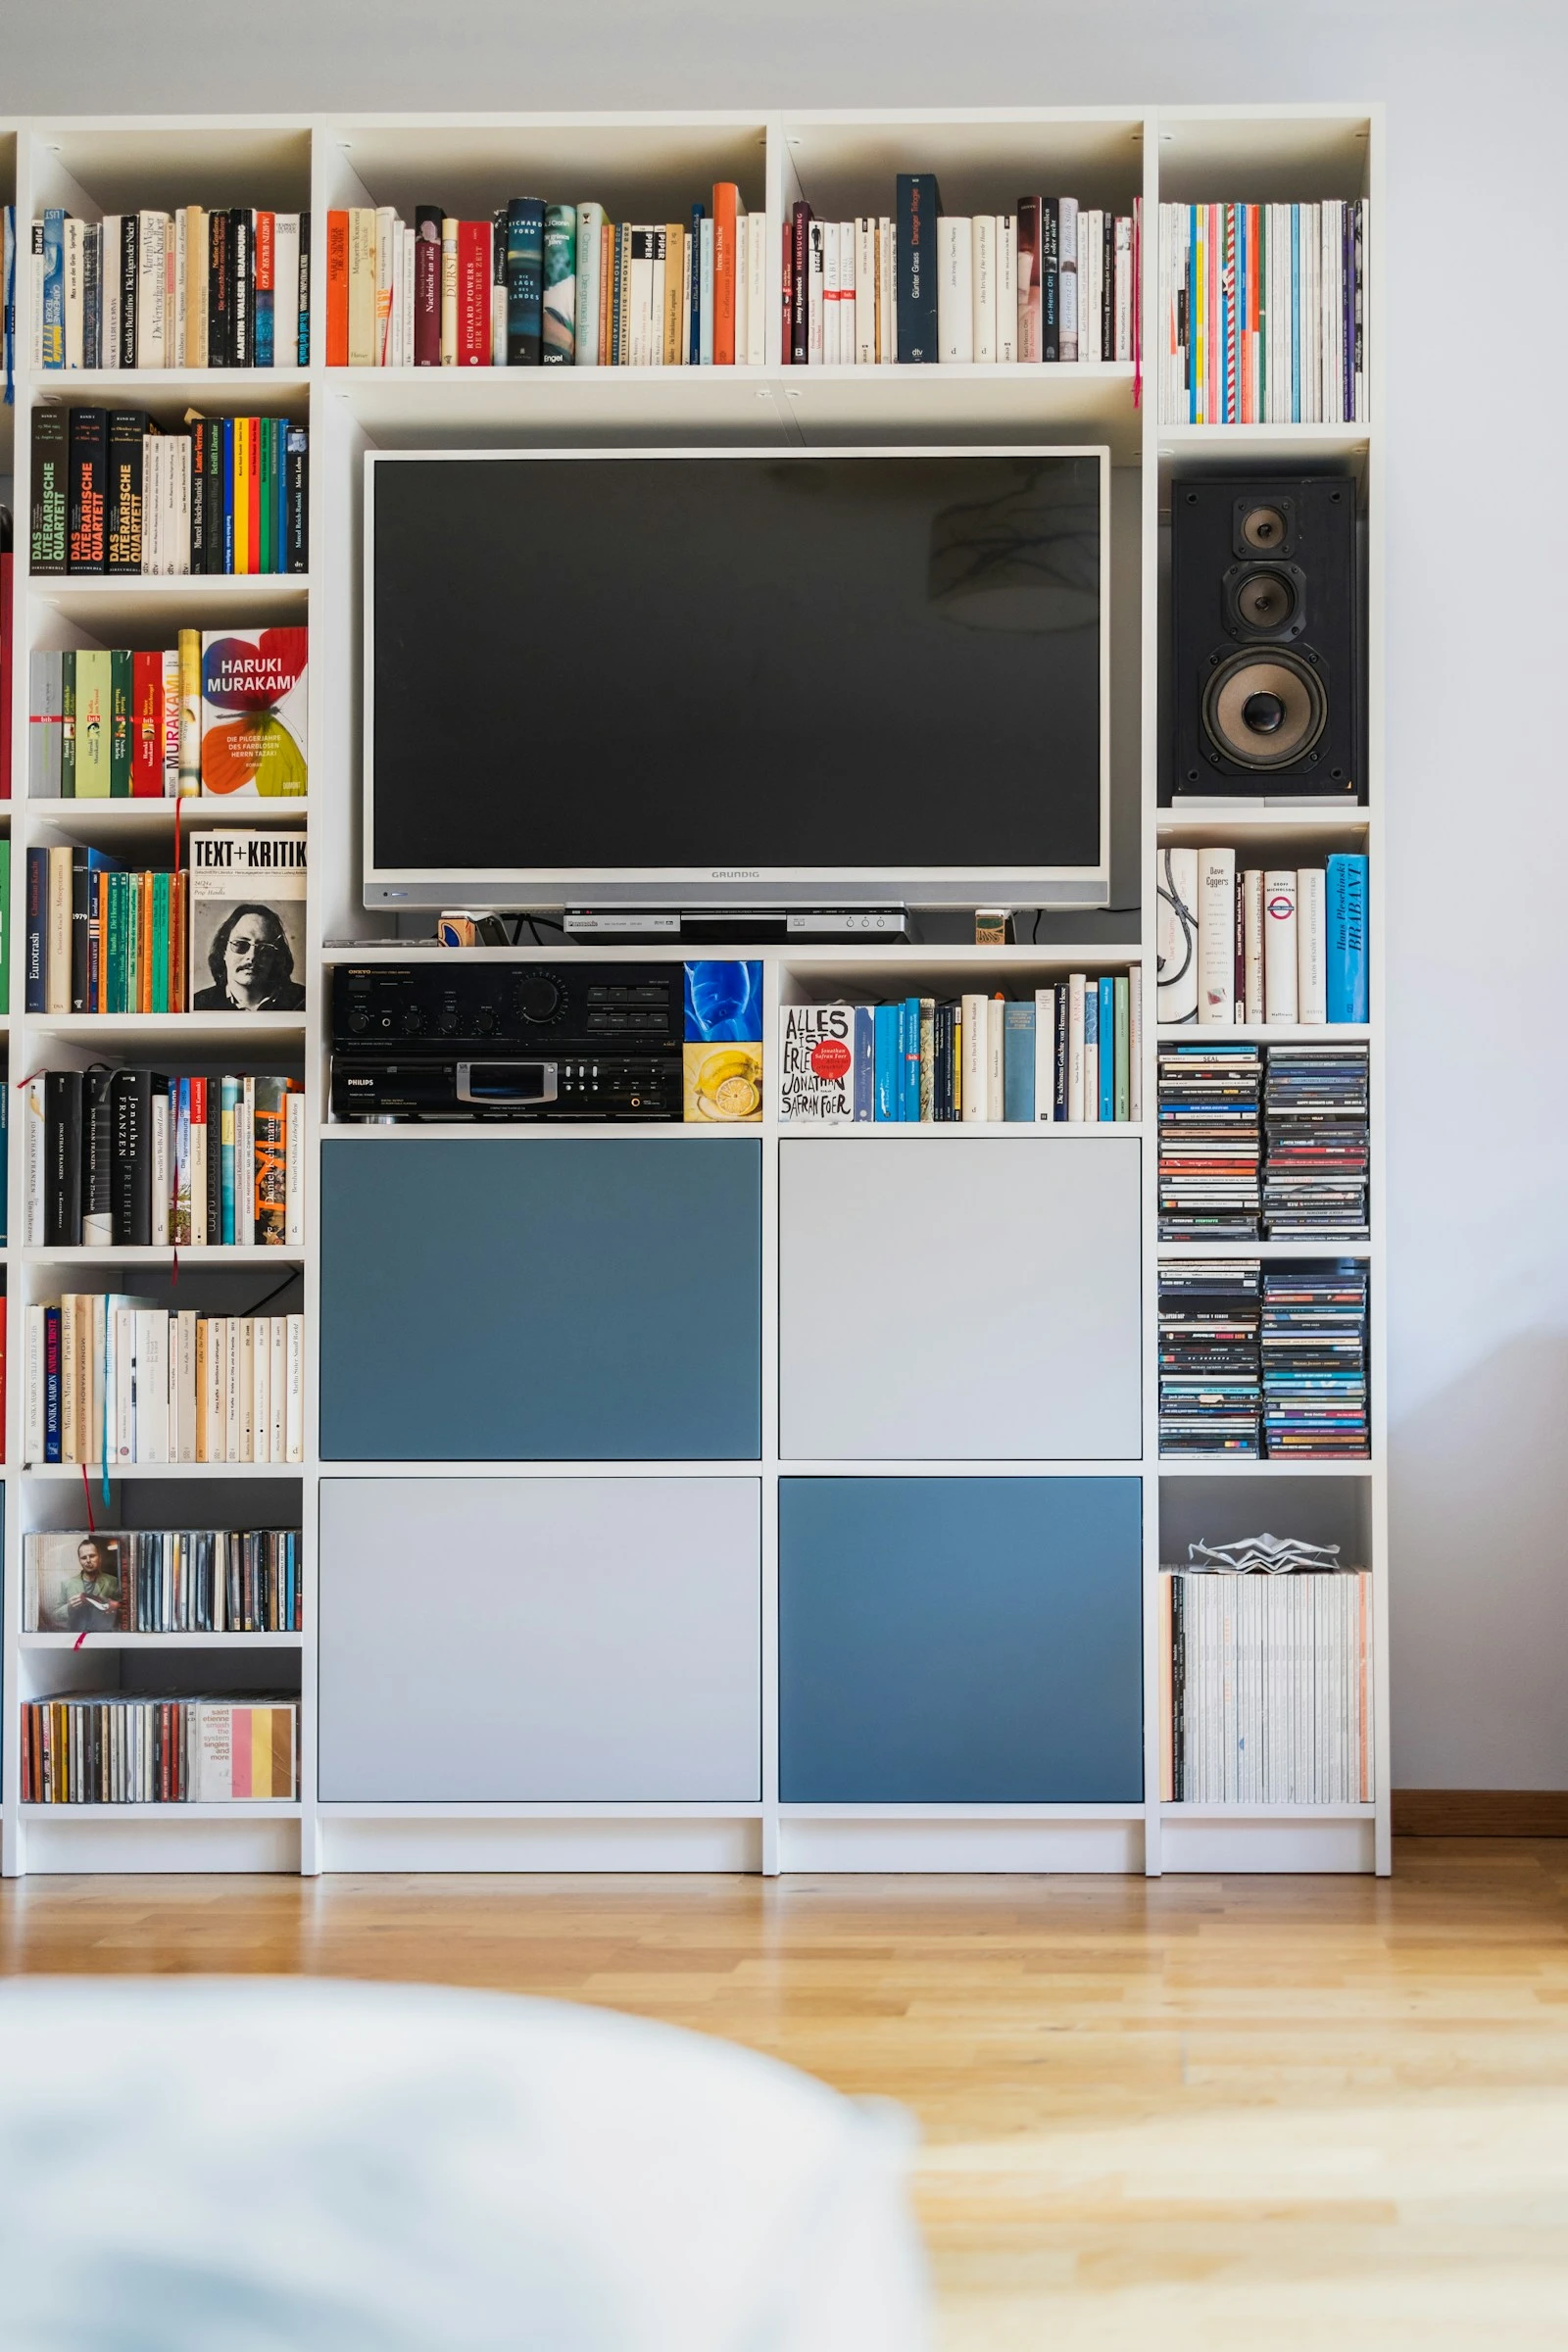
Give books and collections a home on the TV wall.
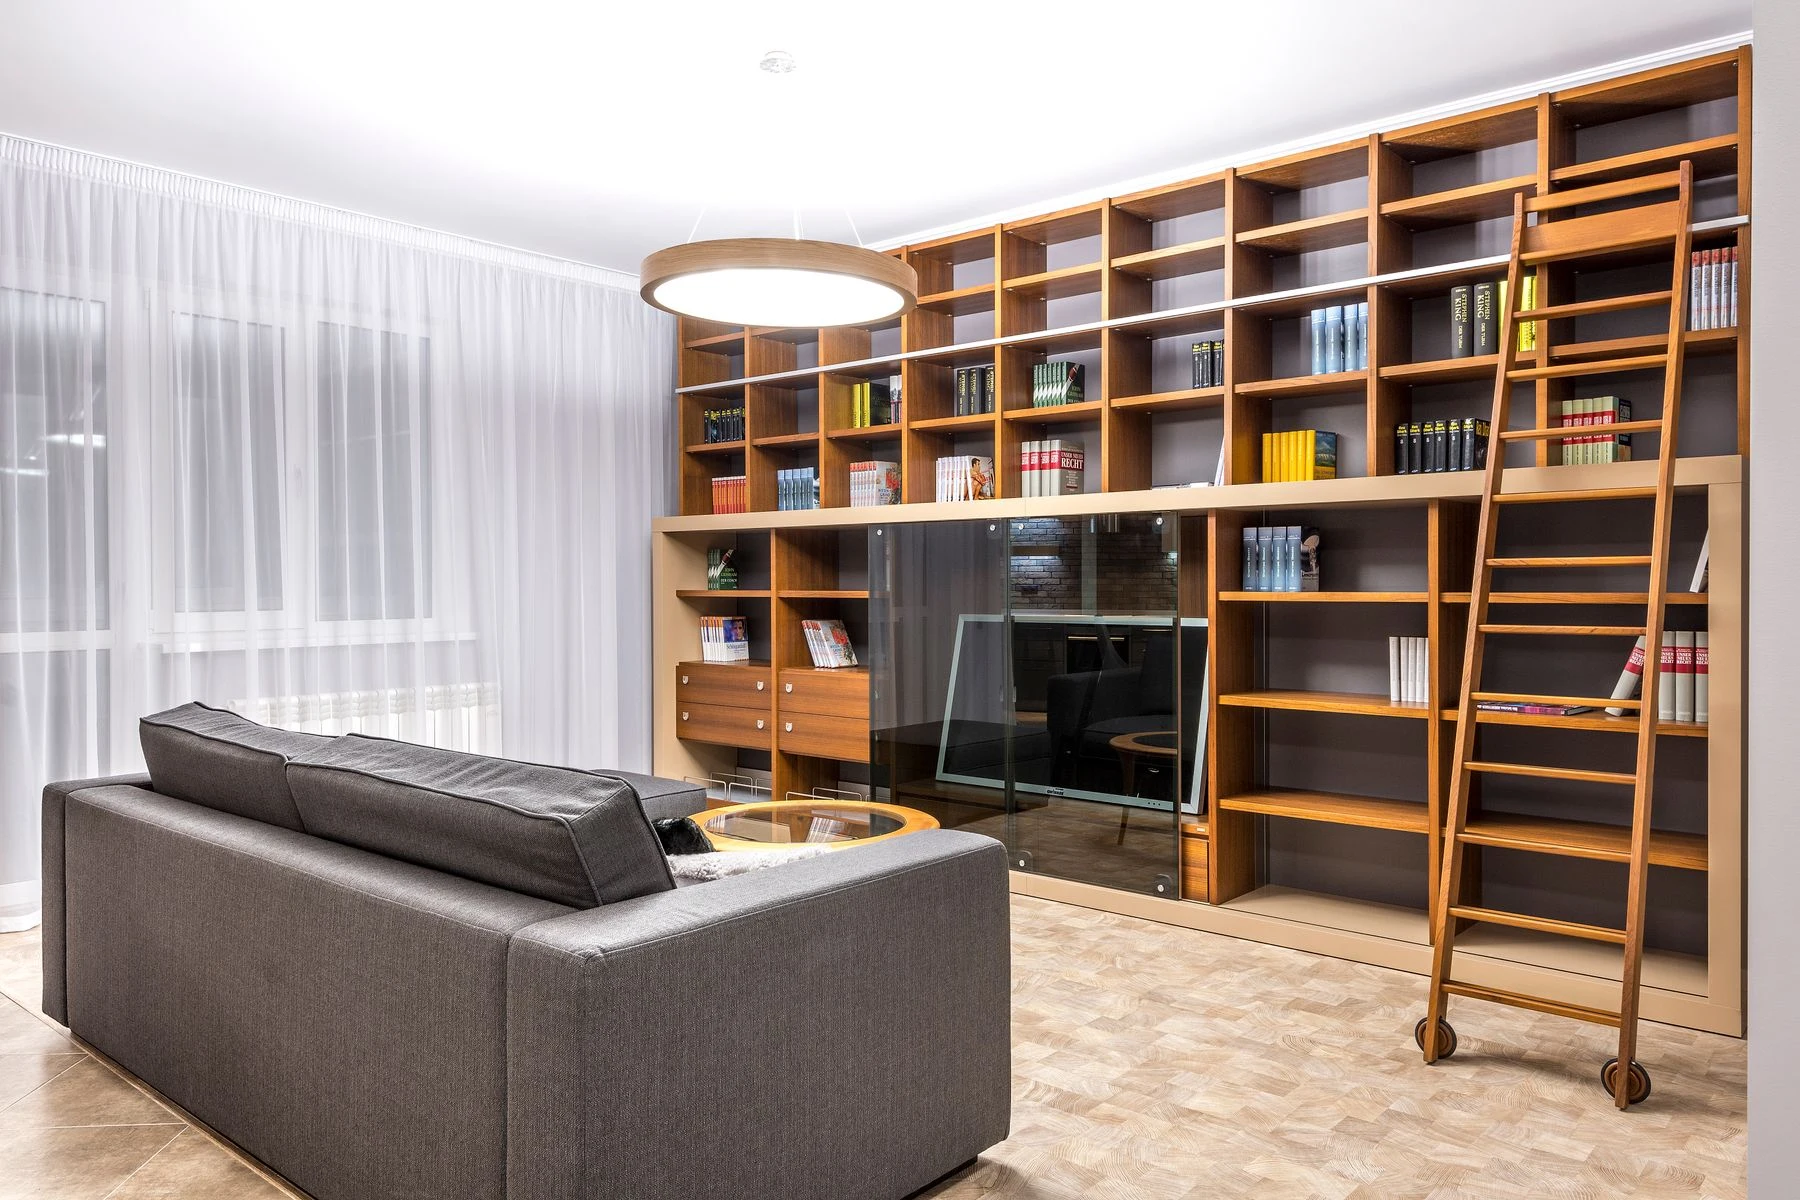
Consider a full-height built-in with a clear screen opening, selected display bays and closed storage below. Size shelves around the collection before dividing the wall into equal grids. Keep the TV removable and leave a planned route to the equipment.
TEST THE LAYOUT BEFORE COMMITTING
Mark the cabinet footprintOpen every doorCheck the seating viewFit your largest items
QUESTIONS BEFORE YOU ORDER
Resolve the details that shape your media wall.
Can a media wall work in a small living room?
Start with the seating, screen and walking route. A low run with selected shelving may suit the room better than surrounding the screen with tall cabinets. Check usable storage depth and open doors against the room plan.
How deep should a custom TV cabinet be?
There is no single depth for every setup. Measure the intended equipment, connectors, required ventilation and access method, then compare the resulting cabinet footprint with your available room space.
Can I hide a console or soundbar behind cabinet doors?
Only if the selected device’s operating and placement requirements permit the arrangement. A soundbar and a games console have different needs; their own manuals should guide the cabinetry review.
Can I upgrade the television later?
Discuss the future screen size before approving the surround. Record how the TV will be removed and check the mounting, access and equipment requirements again when a replacement is selected.
What should I send for a built-in cabinetry quote?
Send a wall elevation or dimensioned sketch, room photos, your destination and a list of items to store. Add TV, bracket, audio and console models where known, plus a few references for the look you want.
YOUR WALL / YOUR EQUIPMENT / YOUR EVERYDAY
Send the wall. The screen. The things to store.
Start a custom built-in cabinetry enquiry with a sketch, room photos and your destination. Tell us what is difficult about your current setup, so the design can address it.