
A vanity that fits
Single or double basin layouts, with the usable counter space you need.
ARCAYA / A MORE CONSIDERED EVERYDAY
Vanities, mirror cabinets and fitted storage.
Planned around your room.
01 / DEFINE YOUR SPACE
Plan custom bathroom vanities from China around your finished room, basin and daily routine. Bring vanity cabinetry, mirror storage and bathroom built-ins into one coordinated brief.
Single or double basin layouts, with the usable counter space you need.
Mirror cabinets, tall linen units and fitted storage around the room.
Identify the cabinetry, top, basin, fittings and local work in your quote.
02 / FIT & PLUMBING FIRST
Use dimensions after wall and floor finishes. Include skirting, door trim and the shower screen; check that doors and drawers can open without a collision.
Locate the waste outlet, trap and hot and cold valves on the cabinet drawing. Basin depth and plumbing determine which drawers can be full-depth.
Have your local installer verify the wall construction, suitable support and fixings for the selected cabinet, basin and top. Drainage location alone does not confirm mounting suitability.
03 / DESIGN THE SPACE INSIDE
The drawer front is not the storage space. Ask for clear internal dimensions after the basin, pipework and runners are allowed for.
Test the internal depth and height against your hairdryer, skincare bottles and spare toiletries. A wide, shallow drawer may still hold very little.
Agree how drawers come out and how a plumber reaches the valves and trap. Leave a service route rather than filling every void with fixed storage.
Combine small-item drawers with a taller cupboard or linen unit. Keep open shelves for items you are comfortable leaving on display.
04 / FIND YOUR DESIGN DIRECTION
Use these visual references to choose the door profile, proportions and atmosphere. Confirm the actual colour and finish with a physical sample.
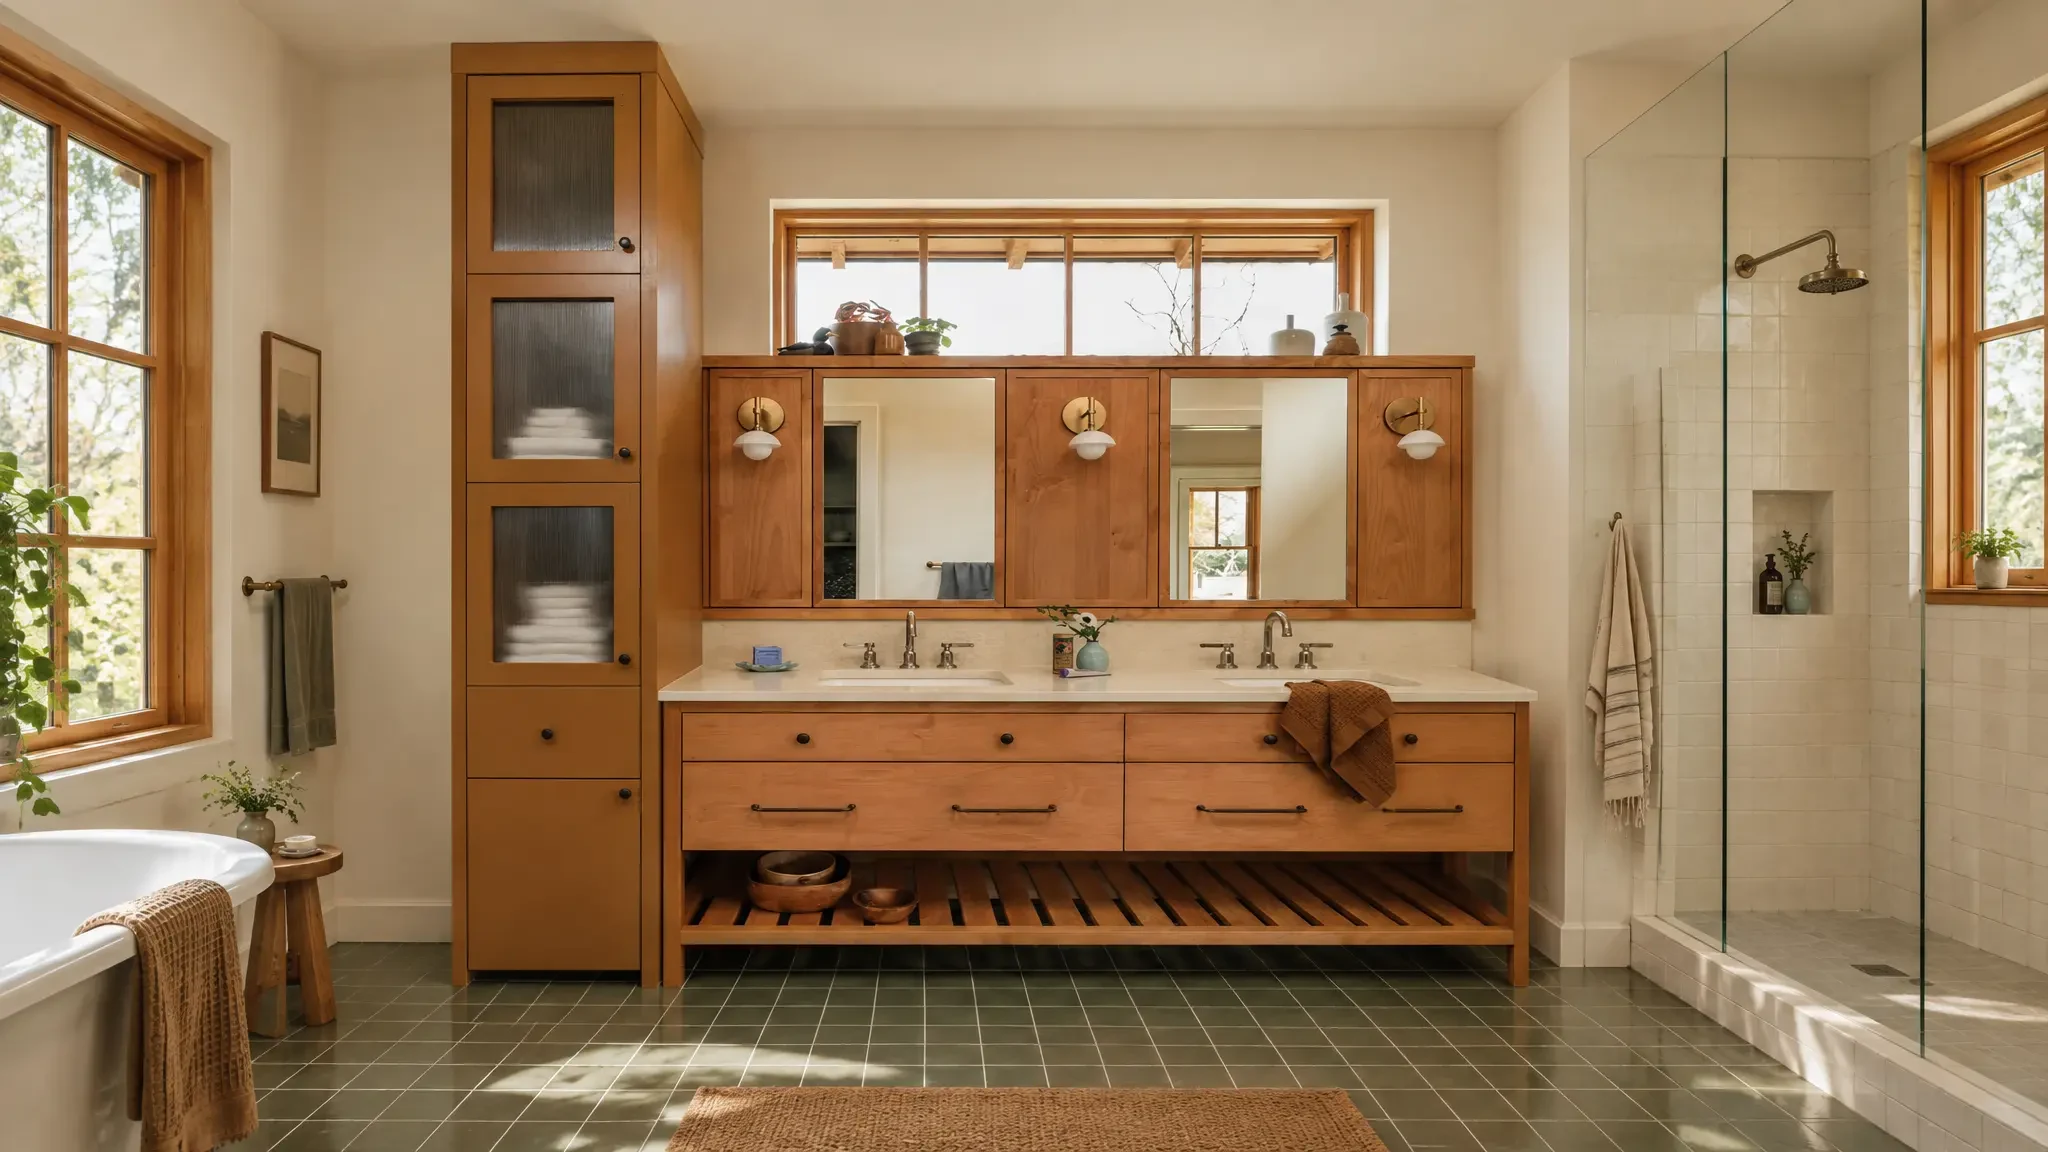
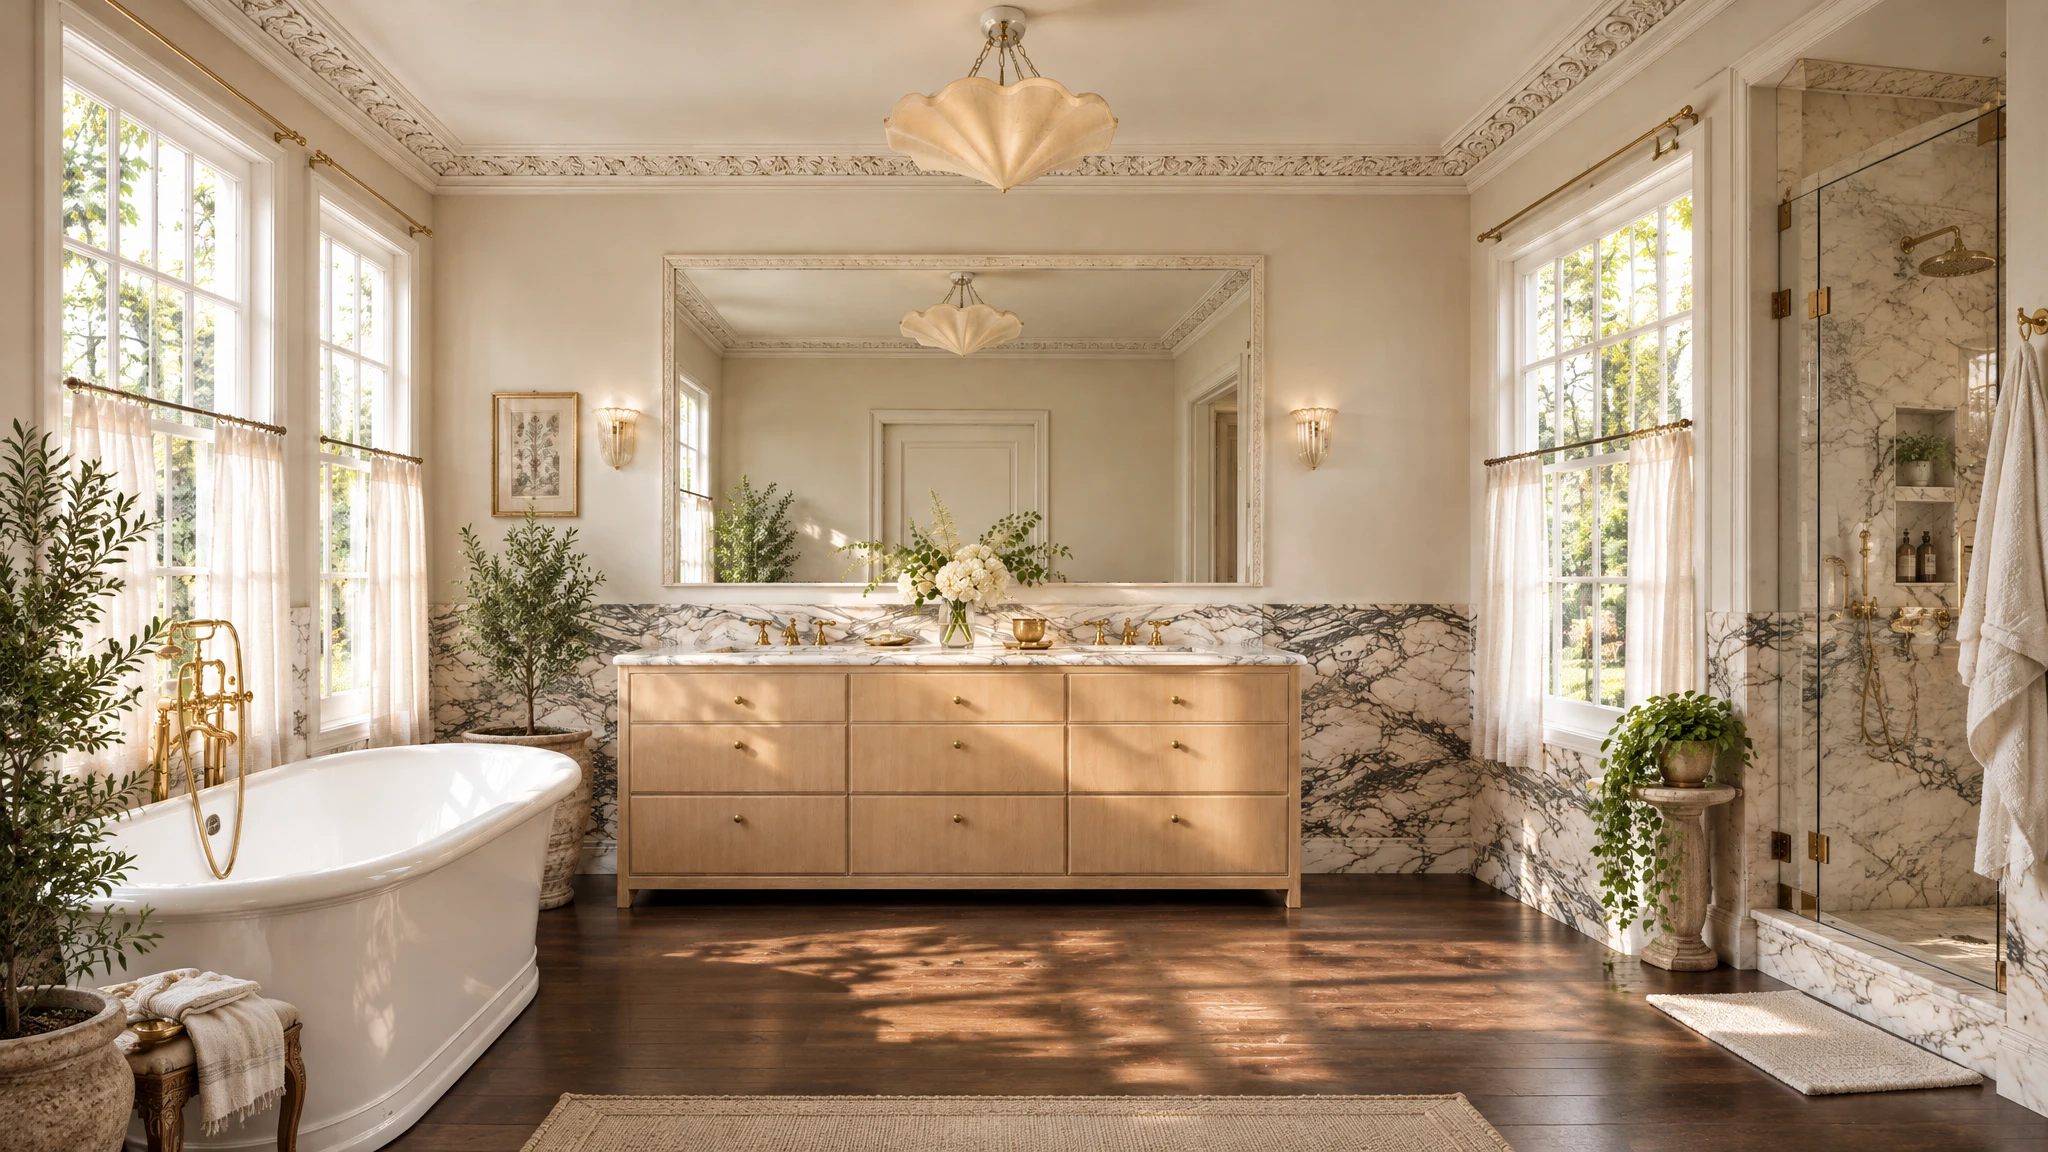
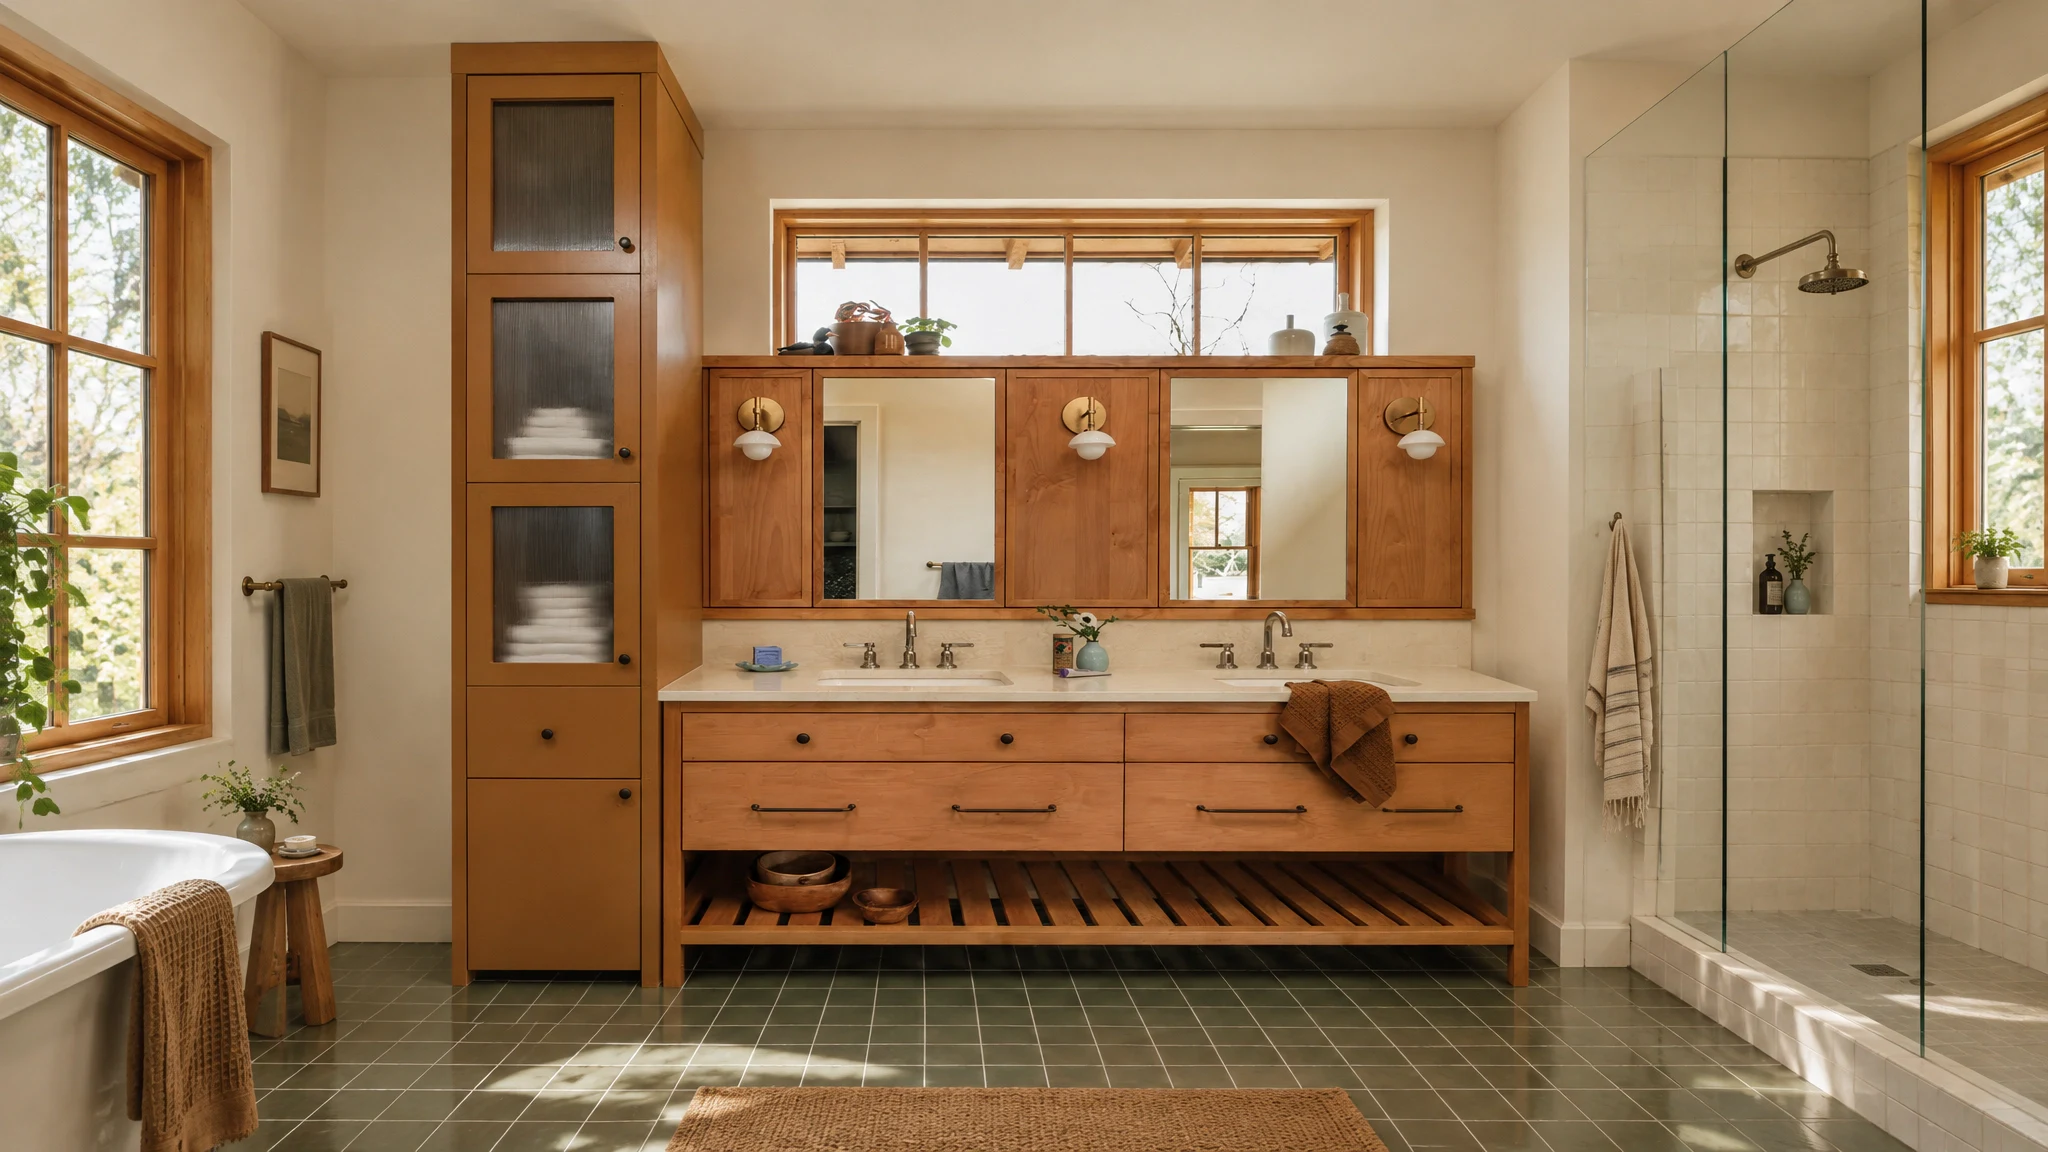
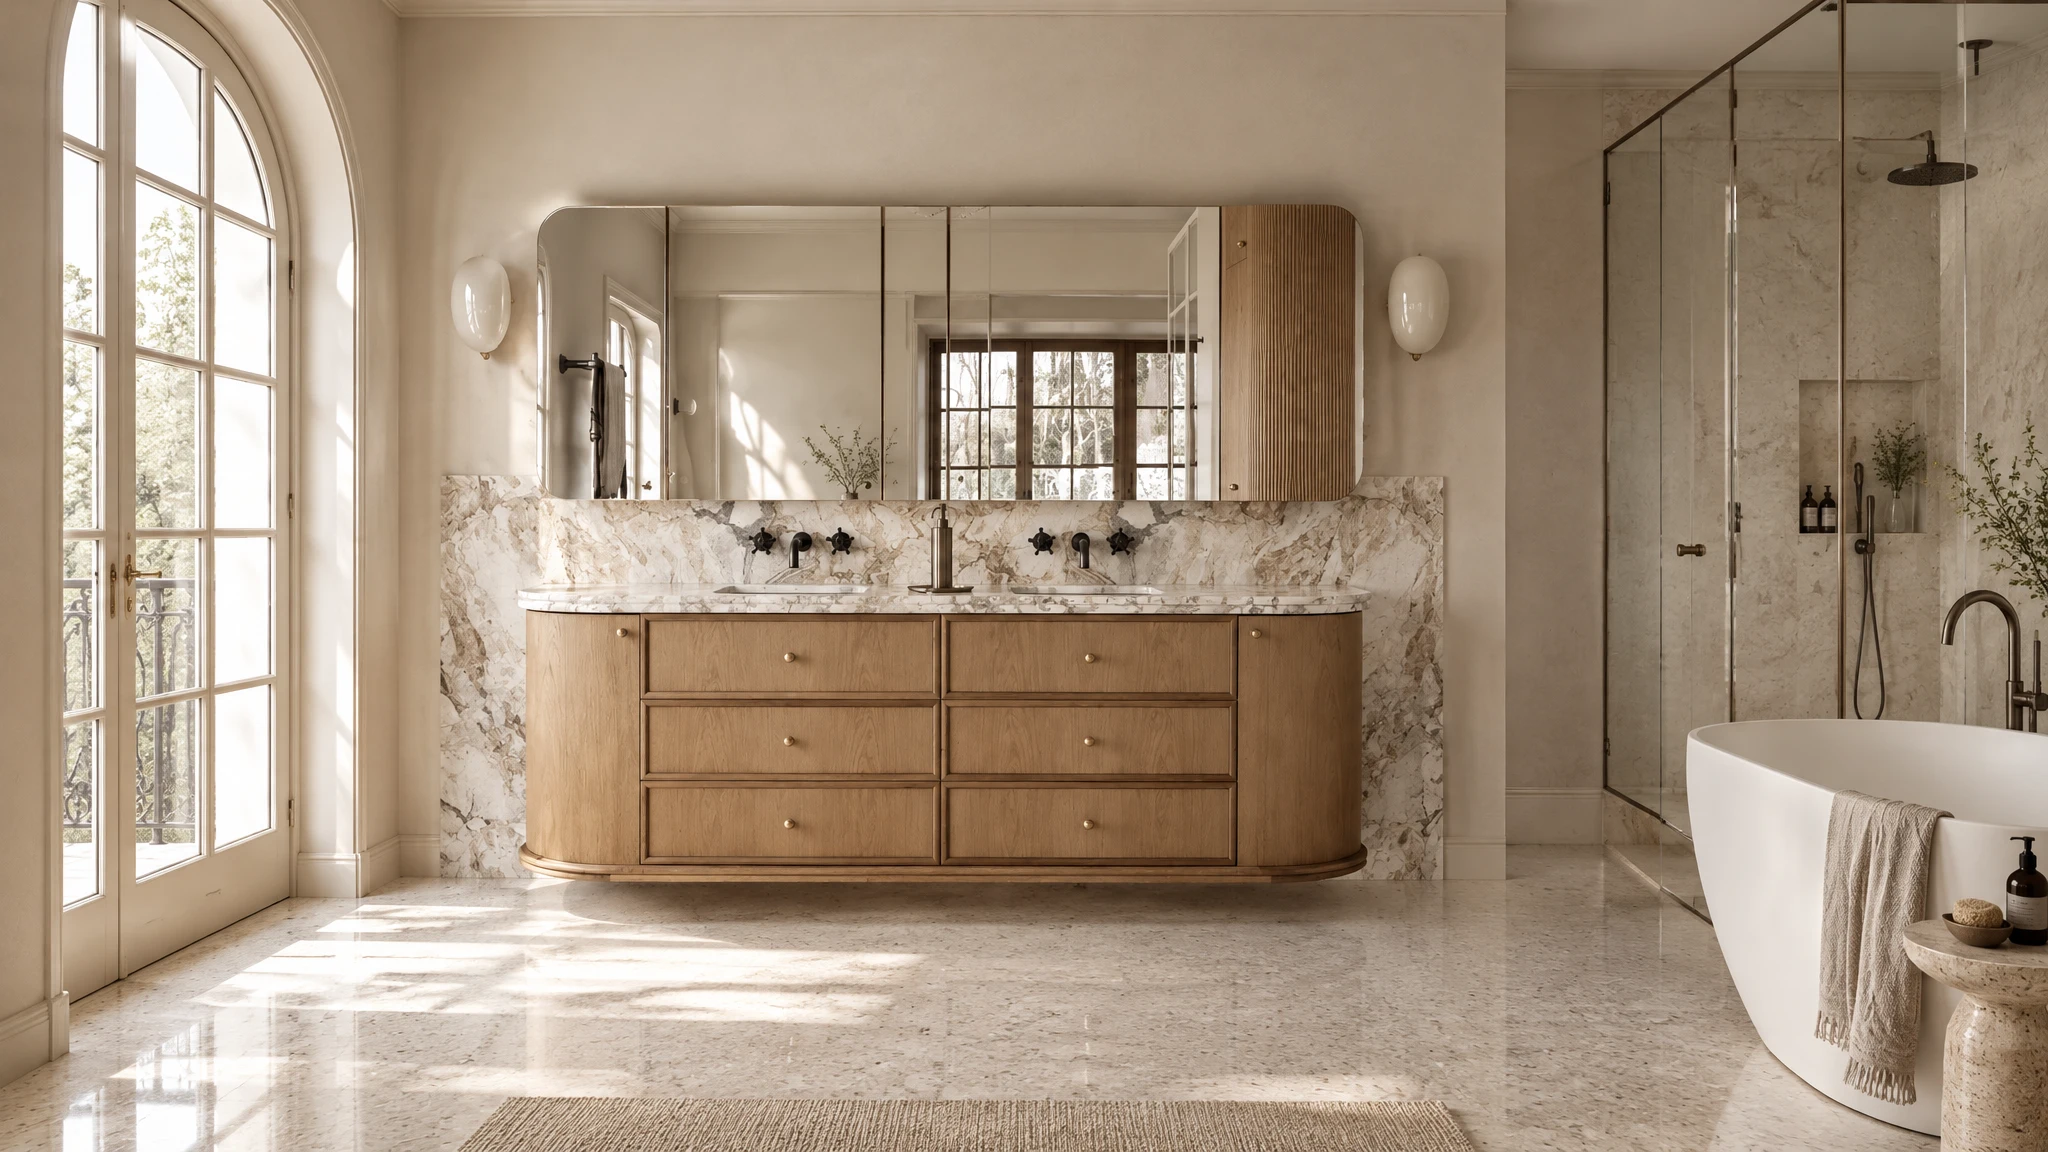
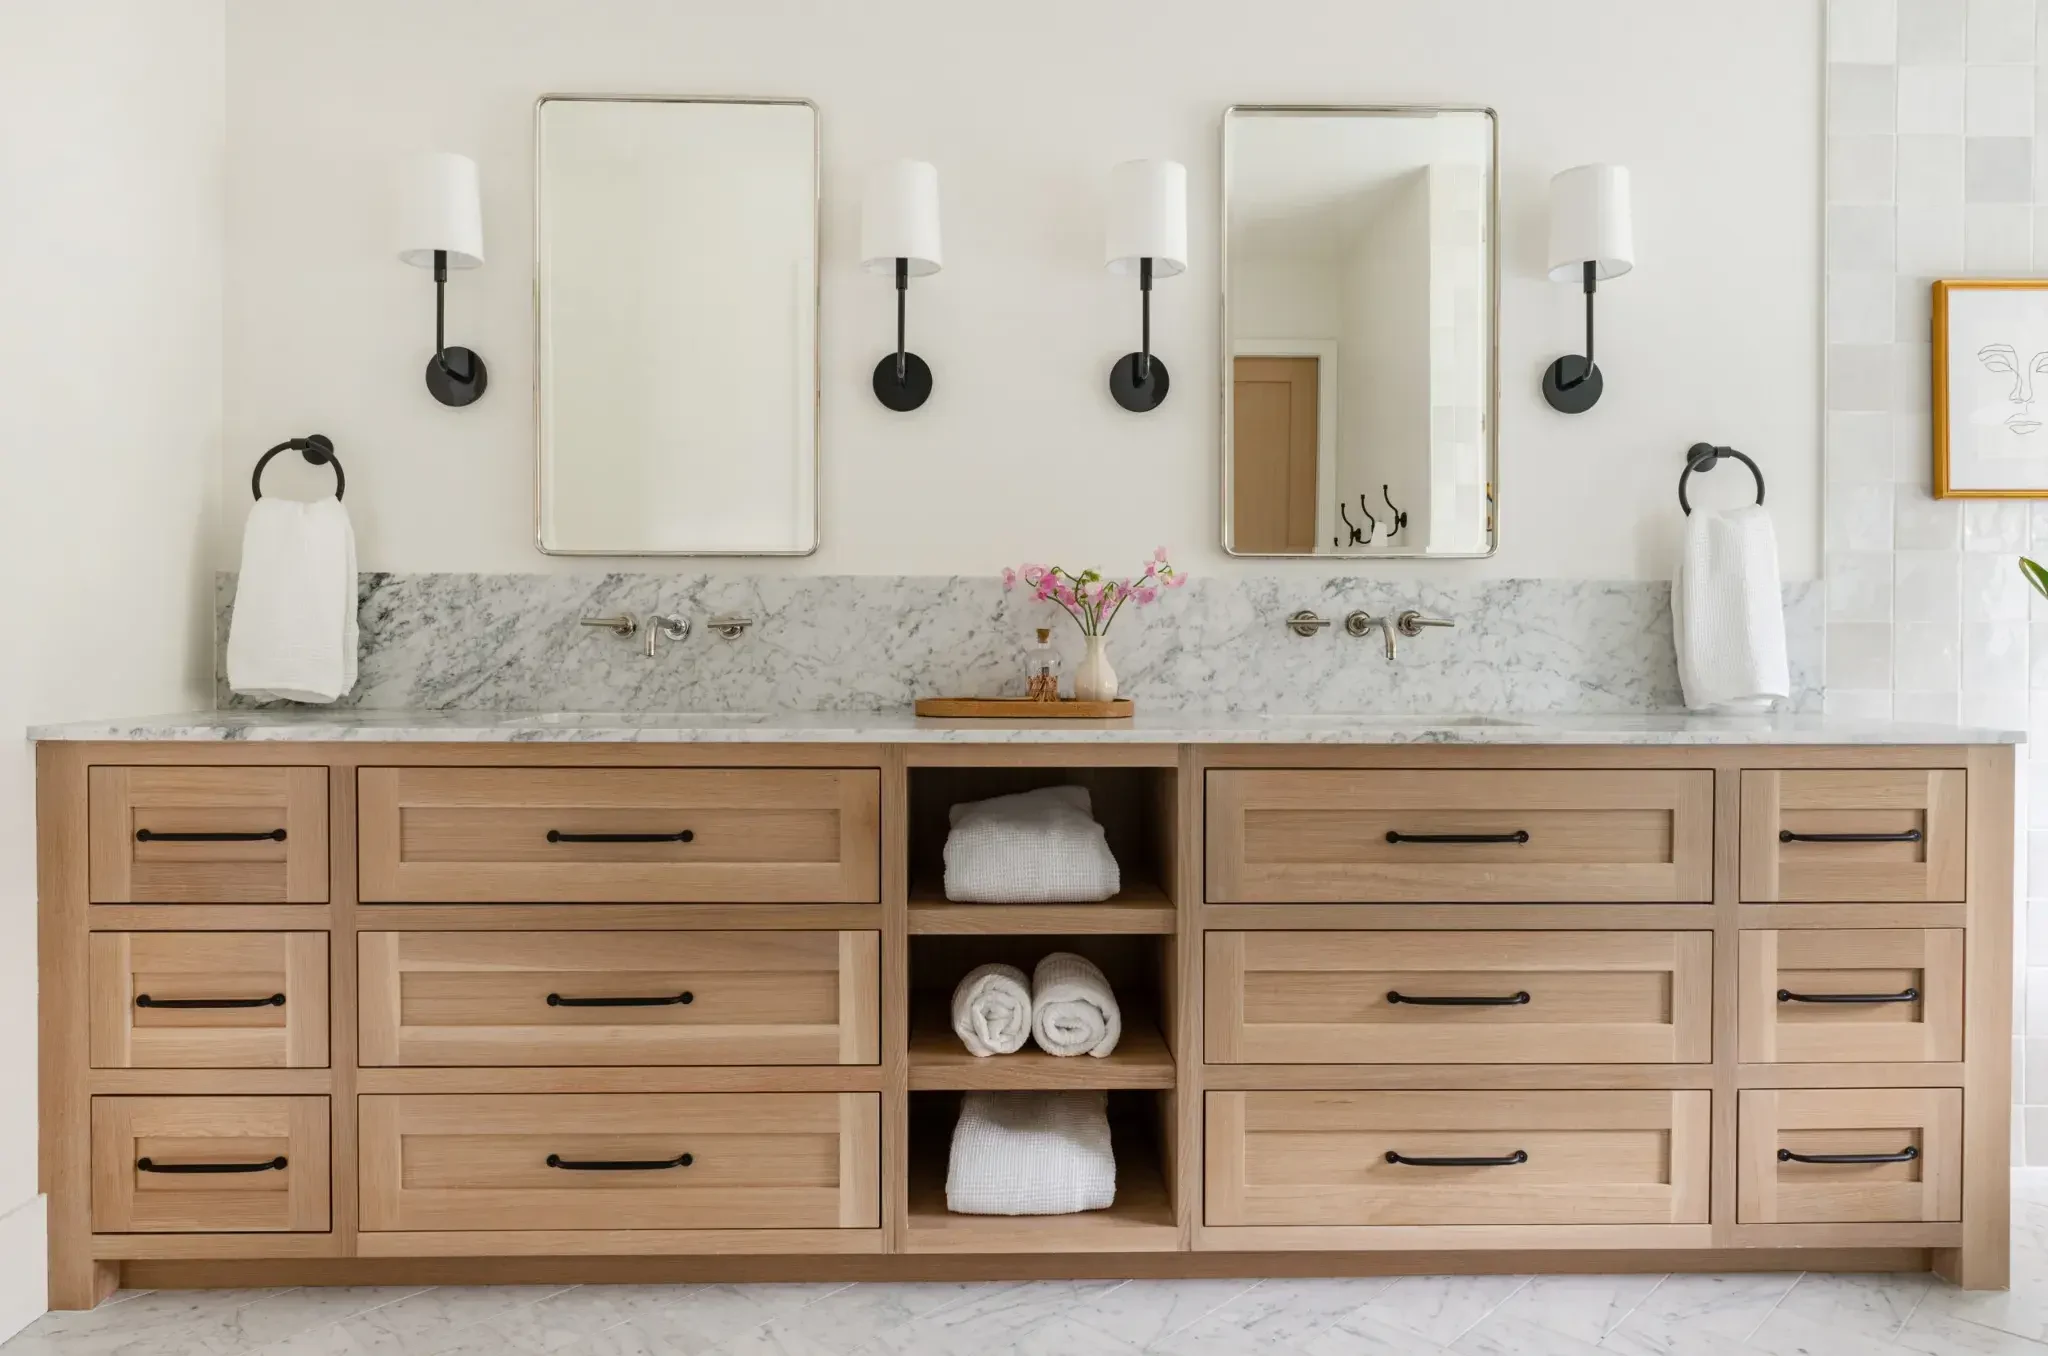
Oak tones, open towel storage and simple lines for a welcoming daily routine.
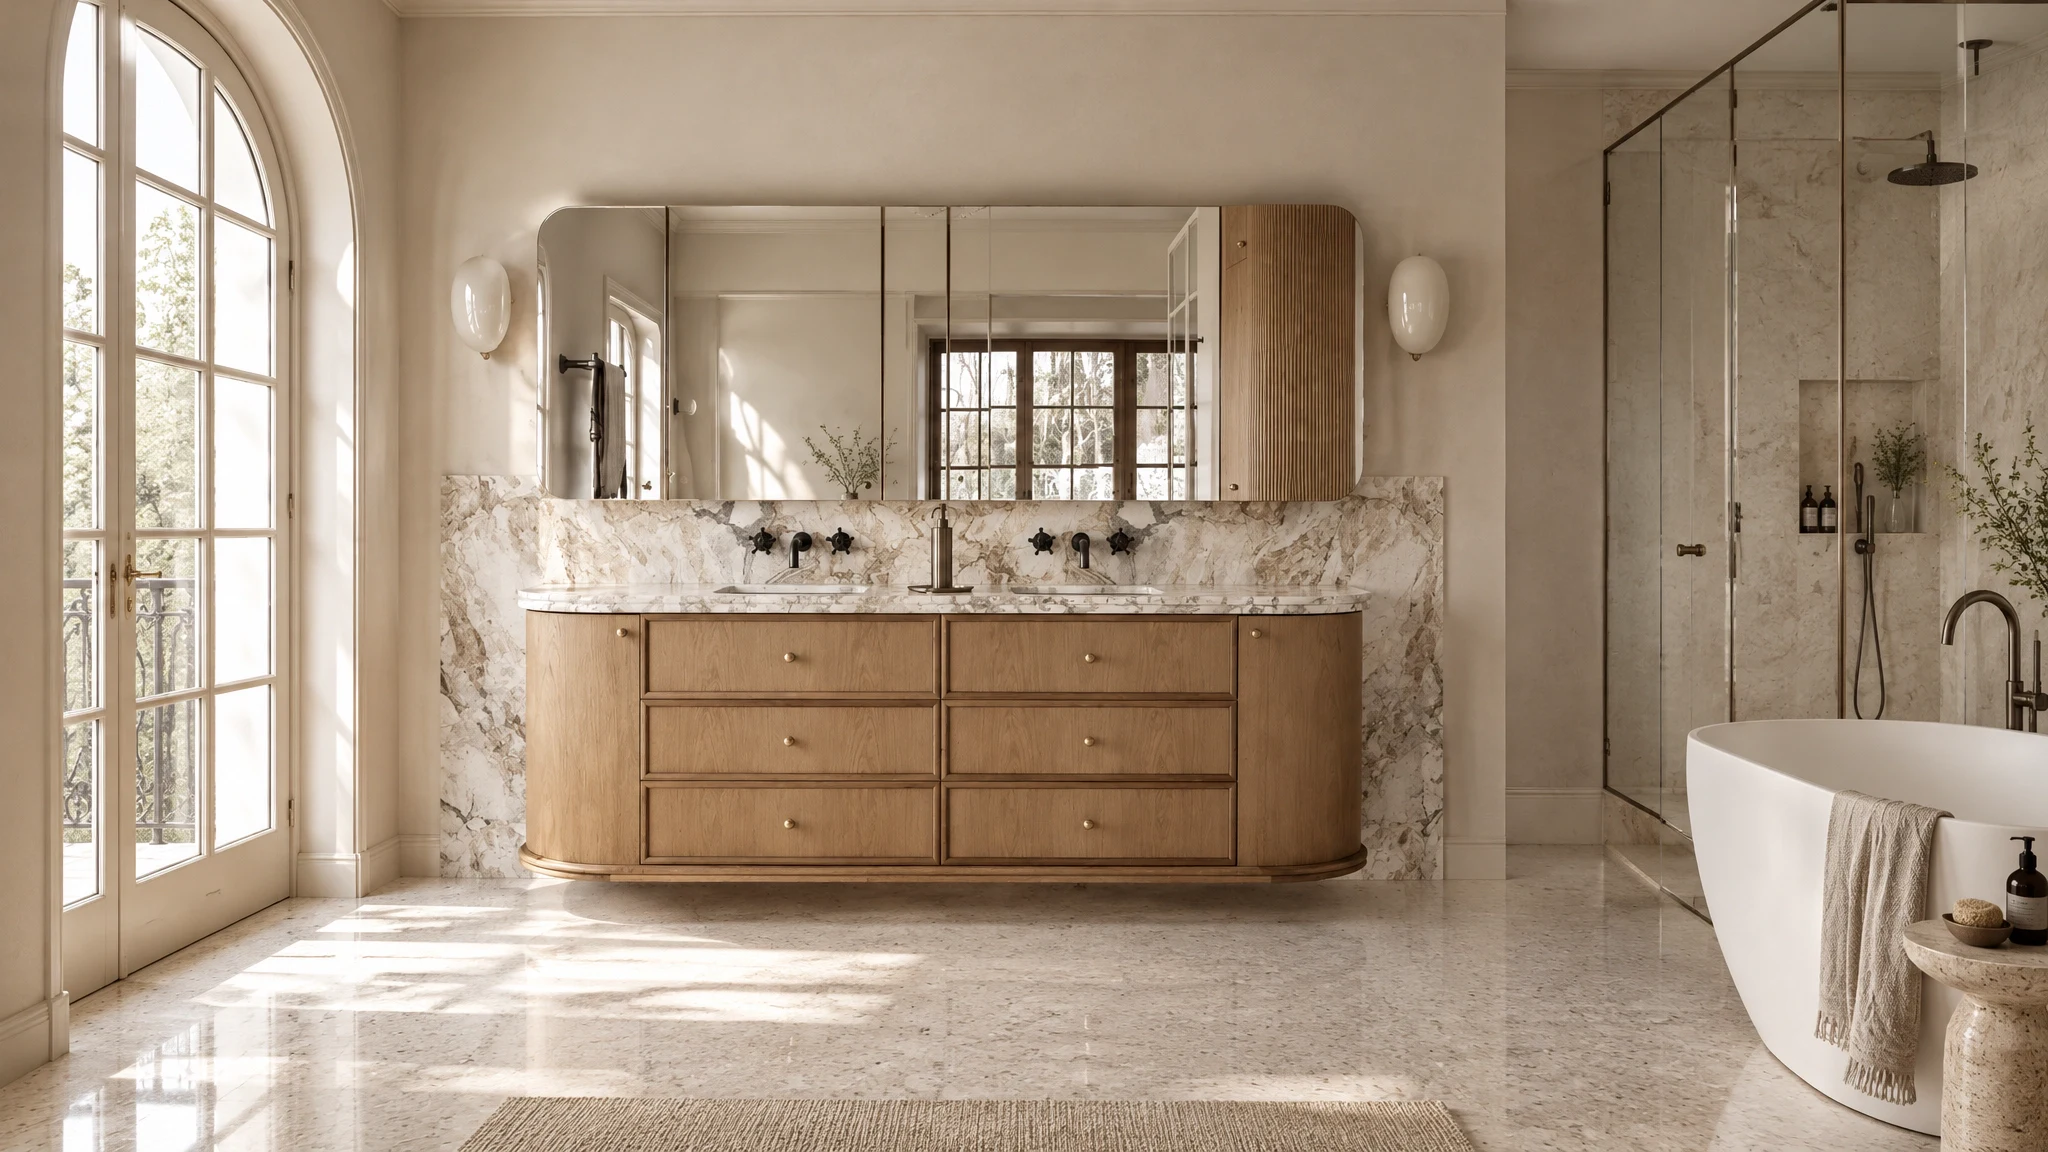
Quiet neutral cabinetry and a generous counter create a calm, uncluttered room.
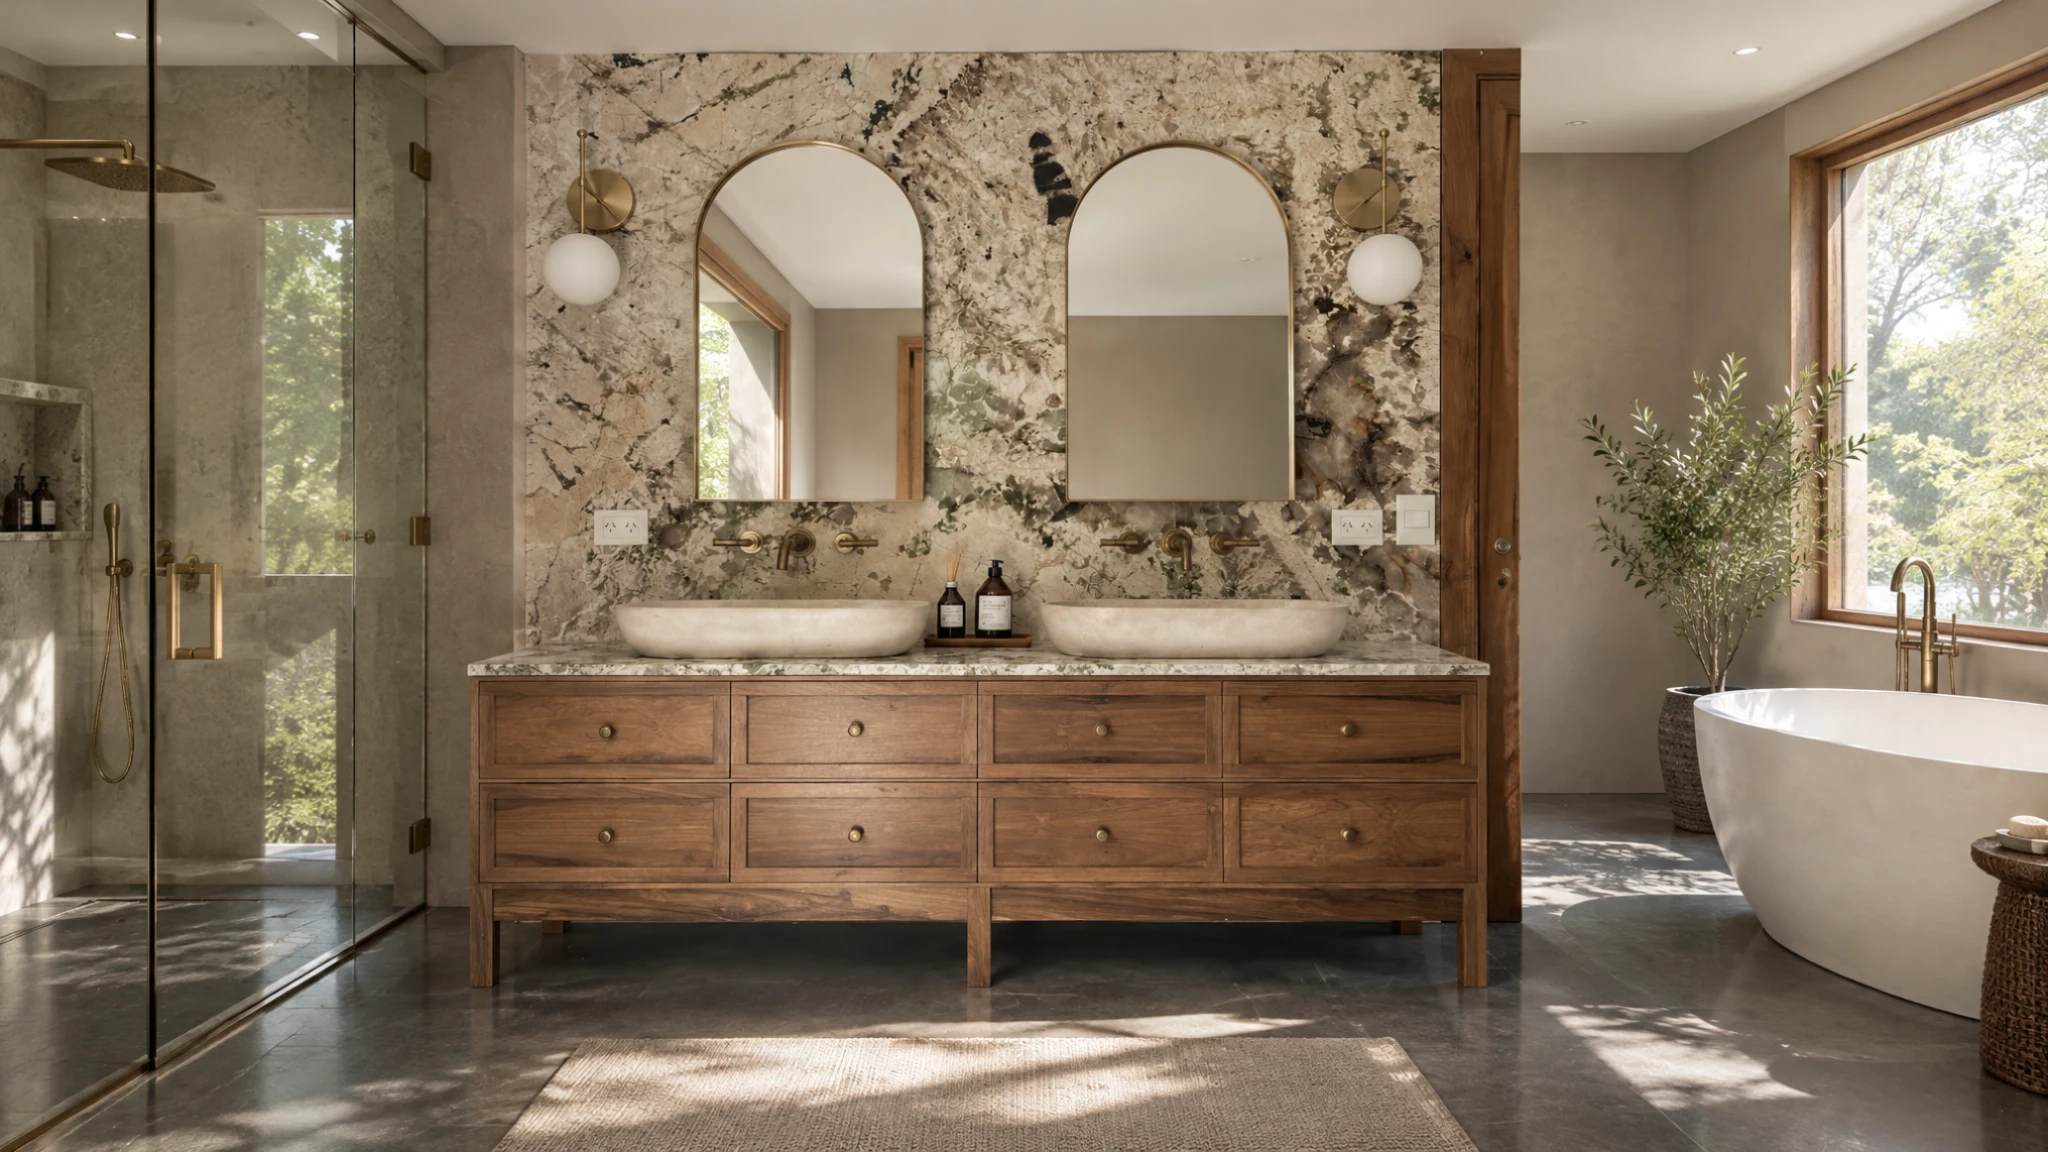
Framed fronts, a freestanding silhouette and coordinated hardware add traditional detail.
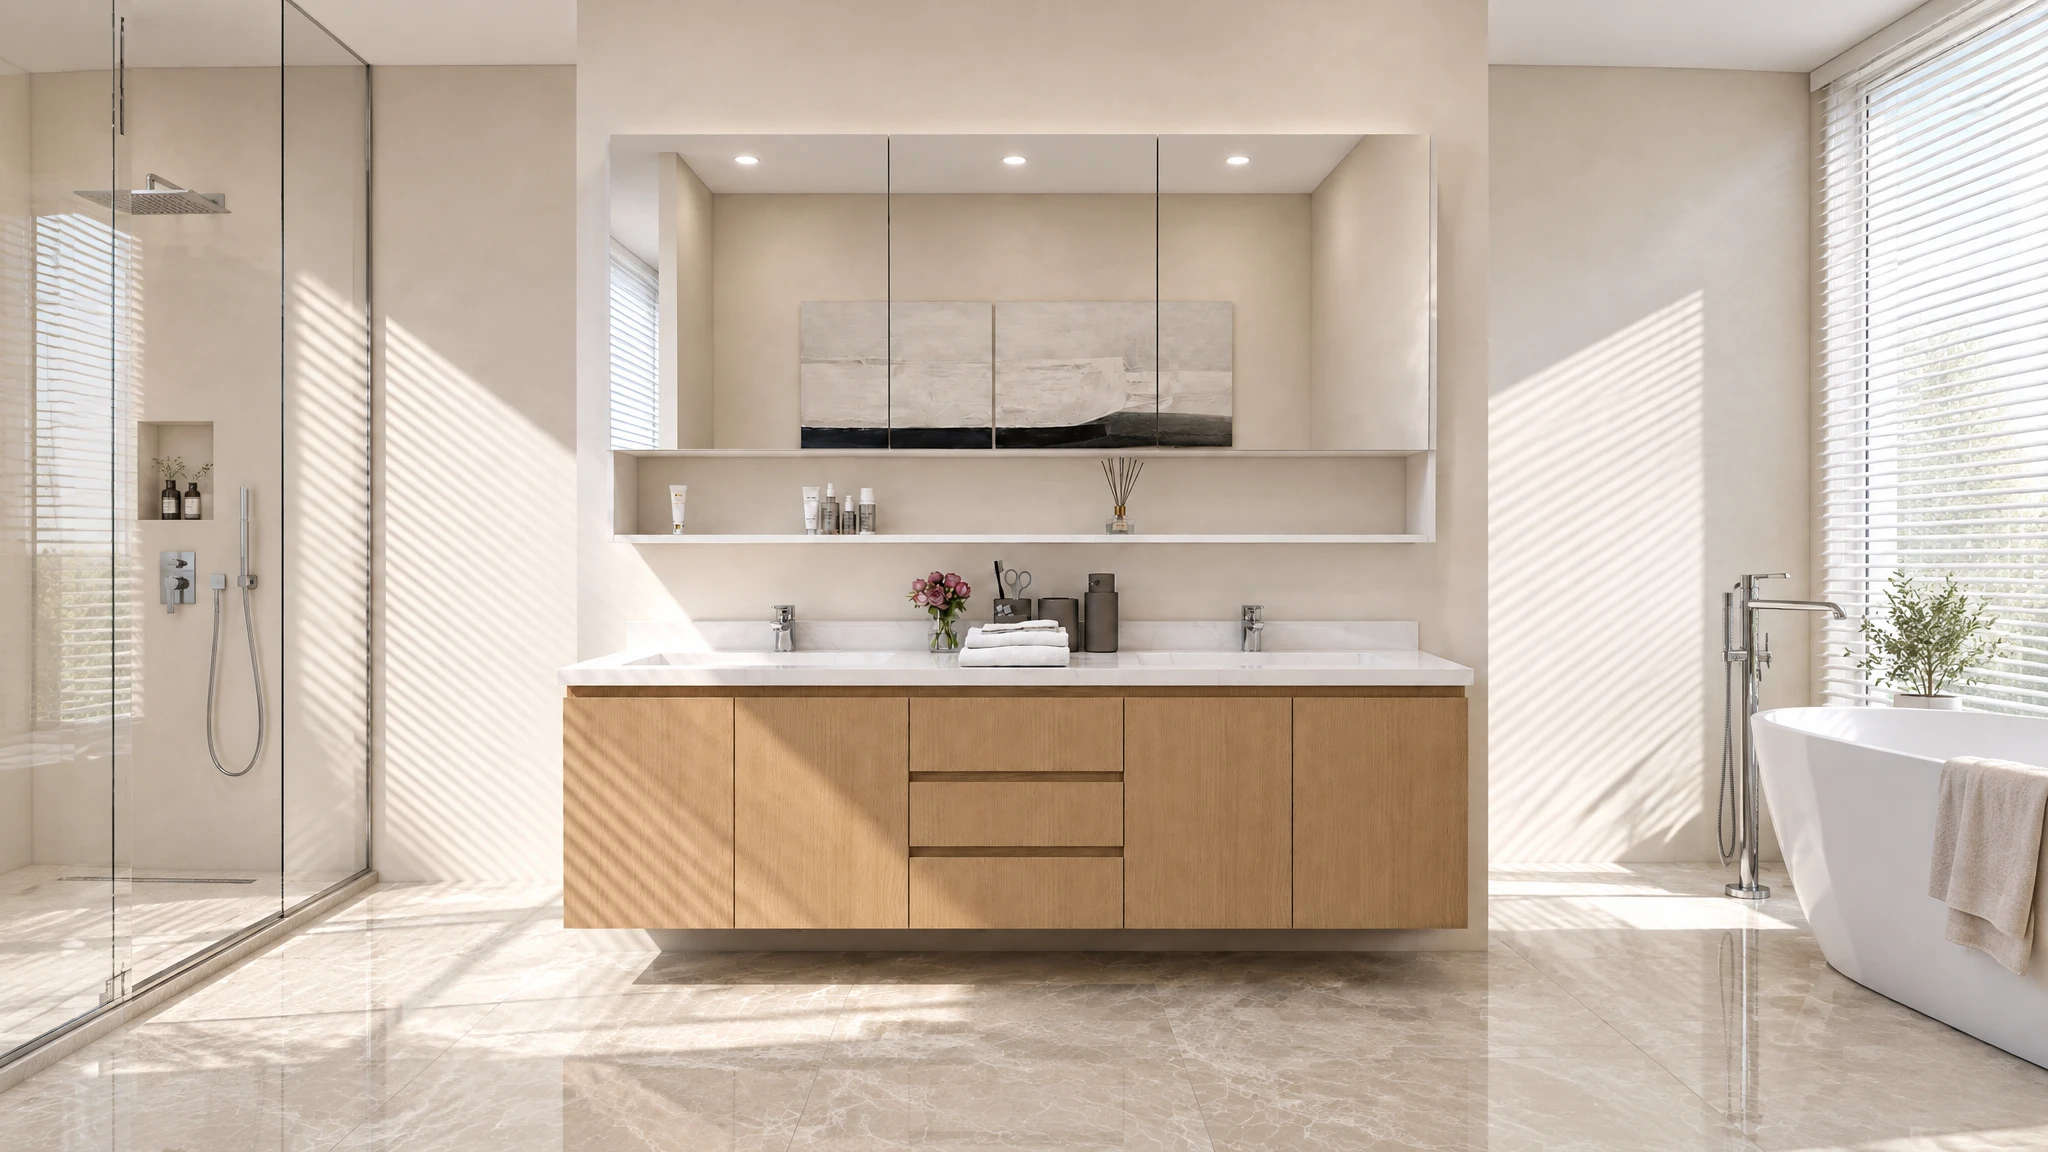
Wall-hung cabinetry and clean fronts keep the floor visible and the composition light.
05 / SPECIFY THE WHOLE CONSTRUCTION
A wood-look surface does not tell you what is underneath. Discuss the core, finish and edge treatment as separate parts of the specification.

Specify the cabinet and back-panel material, thickness, door finish and how exposed edges and plumbing openings will be finished. Ask for the selected material’s suitability and care guidance.
Moisture resistance does not make a cabinet immune to leaks or standing water. Coordinate ventilation, splash exposure and accessible plumbing; wipe up water and resolve leaks promptly.
Check colour, texture and sheen alongside the tile and countertop. Record the approved sample reference with the final drawings.
06 / COORDINATE THE TOP & MIRROR
Basin geometry changes counter height, tap position and storage below. Share the exact installation drawing, not just the product’s overall width.
Fewer separate junctions to wipe around. Check the bowl shape, usable ledge and the replacement route for the complete top.
A clear counter edge makes wiping down straightforward. Confirm the cut-out template, basin support, sealing and access for future replacement.
The bowl becomes a visible design feature. Account for its height when setting the vanity and tap; check reach, splash and cleaning access around the base.
MIRRORS, POWER & DAILY ACCESS
Check shelf heights against your bottles and mirror-door swings against lights and taps. For illuminated mirrors, demisters or charging, agree product suitability and connection requirements with your local electrician. Keep drivers and service parts accessible.

THINK BEYOND THE VANITY
Discuss linen cabinets, cleaning storage or cabinetry in an adjoining utility space as part of the same brief. Check appliance clearances, ventilation and plumbing against the selected models before closing them into a built-in run.
07 / UNDERSTAND THE COMPLETE PRICE
A vanity price can cover very different packages. Use one itemised list to see what is supplied, what is optional and what needs local work.
List the vanity, mirror cabinet, tall units, exposed ends and fillers. Record dimensions, core and finish for each.
Name each supplied item and model. Confirm cut-outs, waste fittings, valves, splashbacks and who supports and seals the basin.
Record drawer runners, hinges and handles by model and quantity. Separate mirror lighting, drivers, sensors and electrical connection.
Separate export packing, freight, unloading, assembly, wall fixing and plumbing. Confirm the delivery endpoint and replacement process.
08 / BEFORE PRODUCTION
Resolve changes before parts are made. Your supplier and local installer should be working from the same approved revision.
Room survey, opening clearances, cabinet height and wall support.
Site & fixing planBasin model, tap holes, trap position, valves and usable drawer space.
Coordinated section drawingSample reference, core, exposed edges, handles and hardware models.
Material & fitting scheduleCabinet and part labels, delivery access and local installation responsibilities.
Packing & installation scope
09 / DELIVERY & LOCAL INSTALLATION
Use cabinet and part numbers on the packing list so your installer can identify the pieces. Agree protection for the top and basin when they are included.
Confirm who unloads, positions and fixes the cabinetry, connects plumbing and electrics, and completes sealing and final adjustment.
Inspect the delivered pieces against the packing list. Have the local installer check operation, fixing and connections, and report discrepancies with part numbers and photos.
BEFORE YOU ORDER
Yes, this can be planned as a separate supply route. Share the exact model, installation drawing, waste arrangement and tap-hole requirements before approving the cabinet. Agree who templates, cuts, supports and seals the top.
Not automatically. Basin depth, the trap, valves and service access still occupy space. Review a section drawing and the usable drawer dimensions rather than the cabinet depth alone.
Treat these as different claims. Specify the core, finish, edges and cut-outs, keep leaks and standing water off the cabinetry, and follow the selected material’s care instructions.
Discuss them as one layout, with separate specifications. Check mirror-door swings, bottle heights, lighting access and how tall units meet skirting, walls and the ceiling.
Production, packing, freight, customs handling and local installation are separate stages. Confirm the destination, delivery endpoint and responsibilities before agreeing a schedule.
10 / SHARE YOUR PROJECT
Share your plans, destination and the questions you want to resolve. Start with the layout—and build a clear scope from there.
support@arcayaliving.comSend a floor plan, finished dimensions, plumbing photos and basin or tap model numbers.